
Earlier this year, Synology announced the launch of their first AI-powered WIFI camera, the CC400W (read the original announcement here).
We recently had an opportunity to test the CC400W for ourselves, and like everything else we’ve reviewed from Synology, the CC400W camera does not disappoint.
It’s no secret we are big fans of Synology products. Because like Apple, they produce both the hardware and software, so everything works together seamlessly. Also, like Apple, whether you are using their rack mounted servers with terabytes of storage, or their smallest home servers, their DSM operating system has the same friendly user experience that even the most non-technical user can work with.
Synology CC400W Camera – Unboxing
We have been using our own Synology NAS for years for everything from a media server, backup destination for laptops, photo storage and shared data storage. We also use it as our 3-2-1 backup with multiple back-ups on site and a back-up exchange with another Synology server that is off-site from each other’s locations.
The one function we had not yet had a chance to try out was the Surveillance Station function that is included in the DSM system. With our testing of the CC400W, we now get to check that off the list.
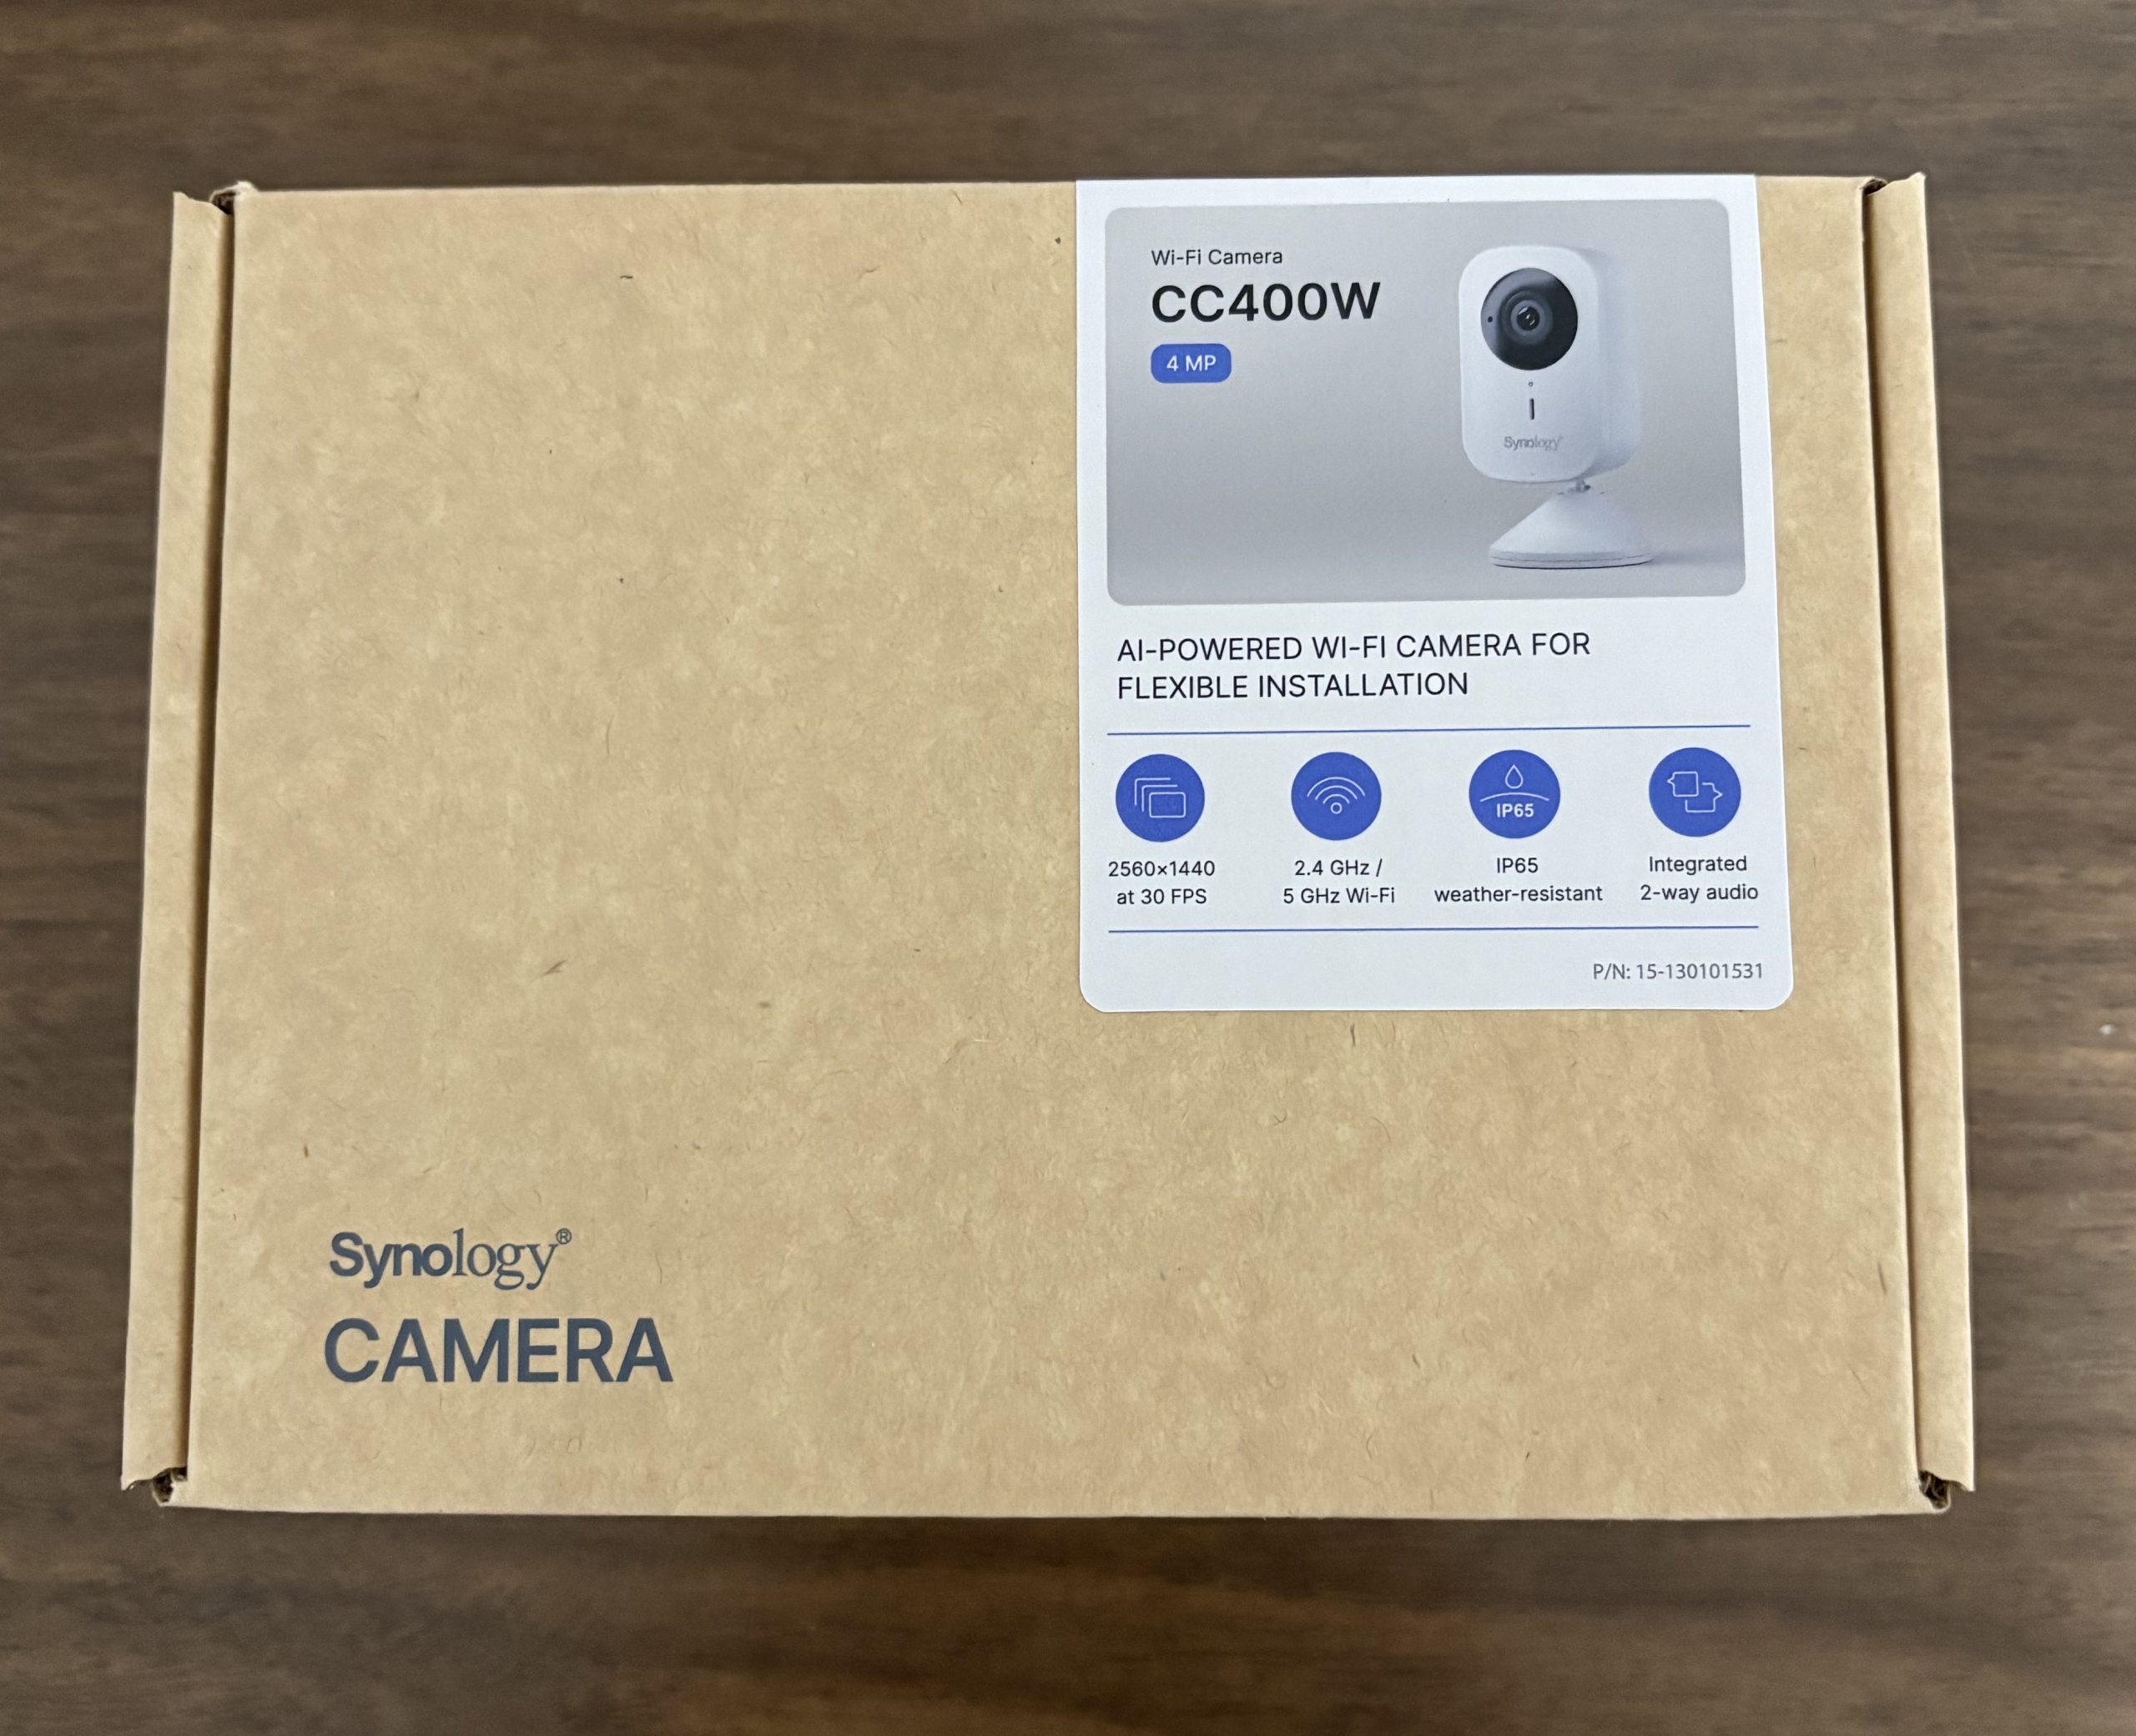
If you have seen any of our other Synology reviews, you will see that the packaging is very similar to their NAS devices.
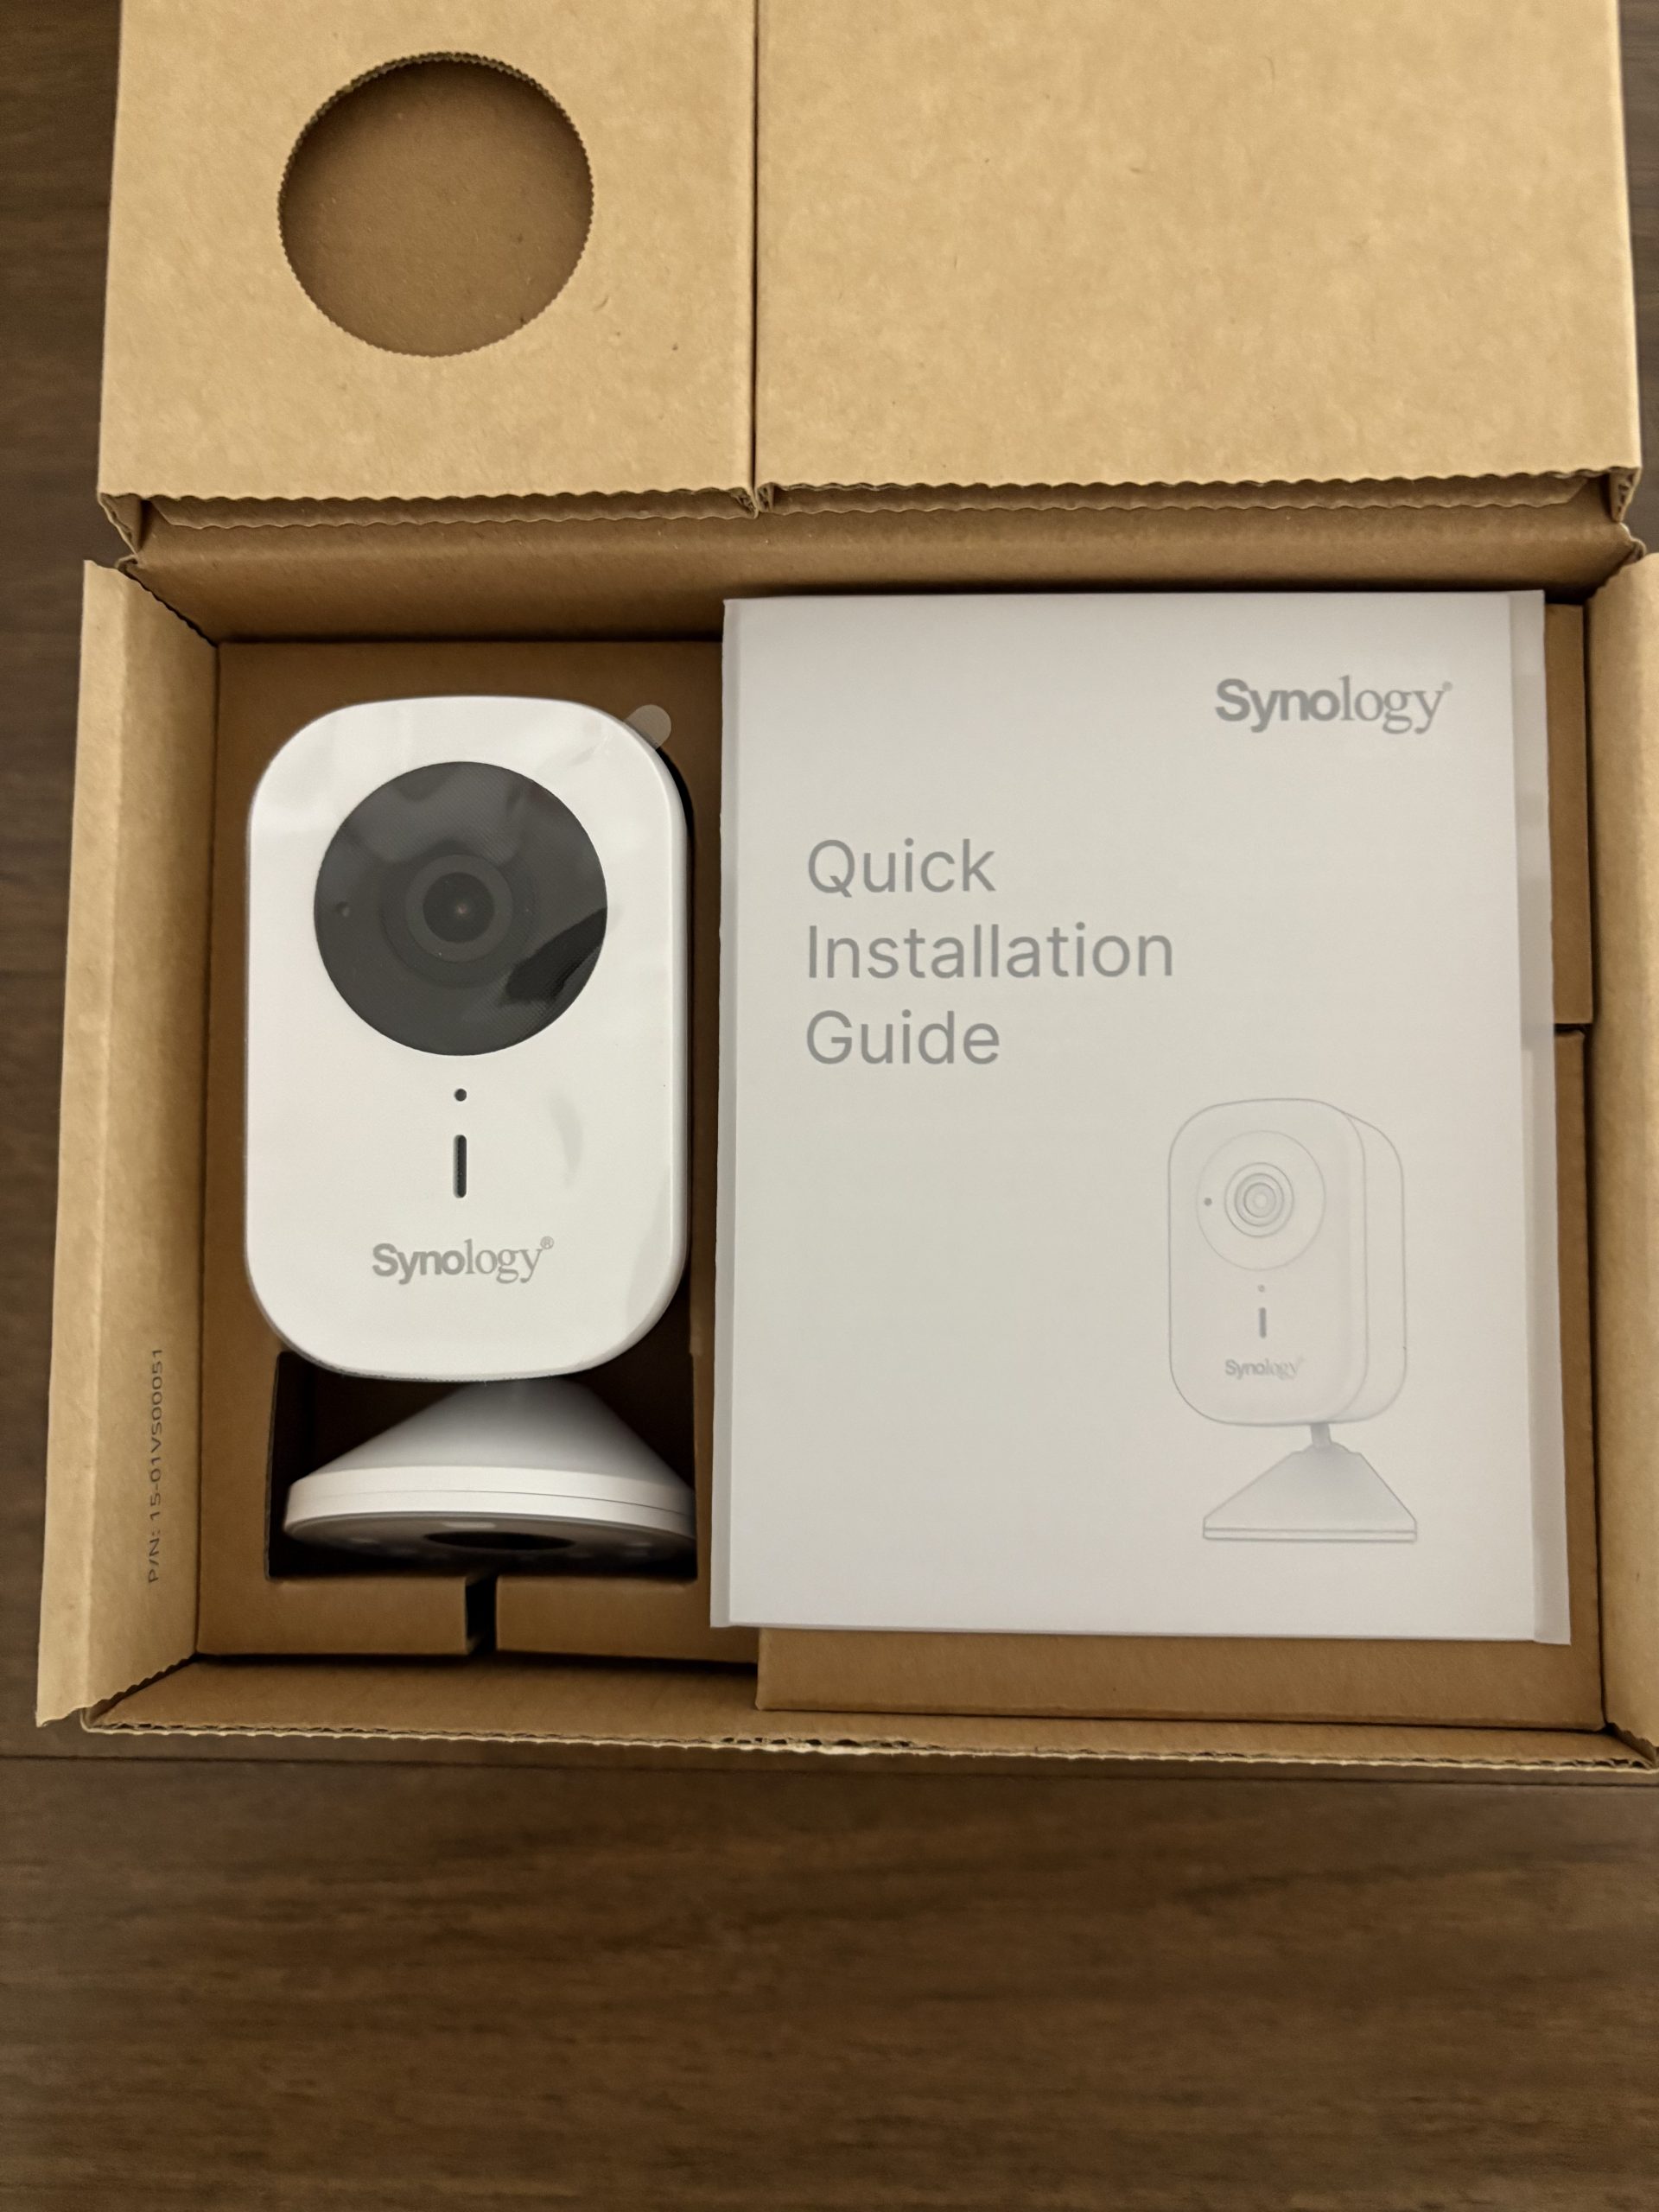
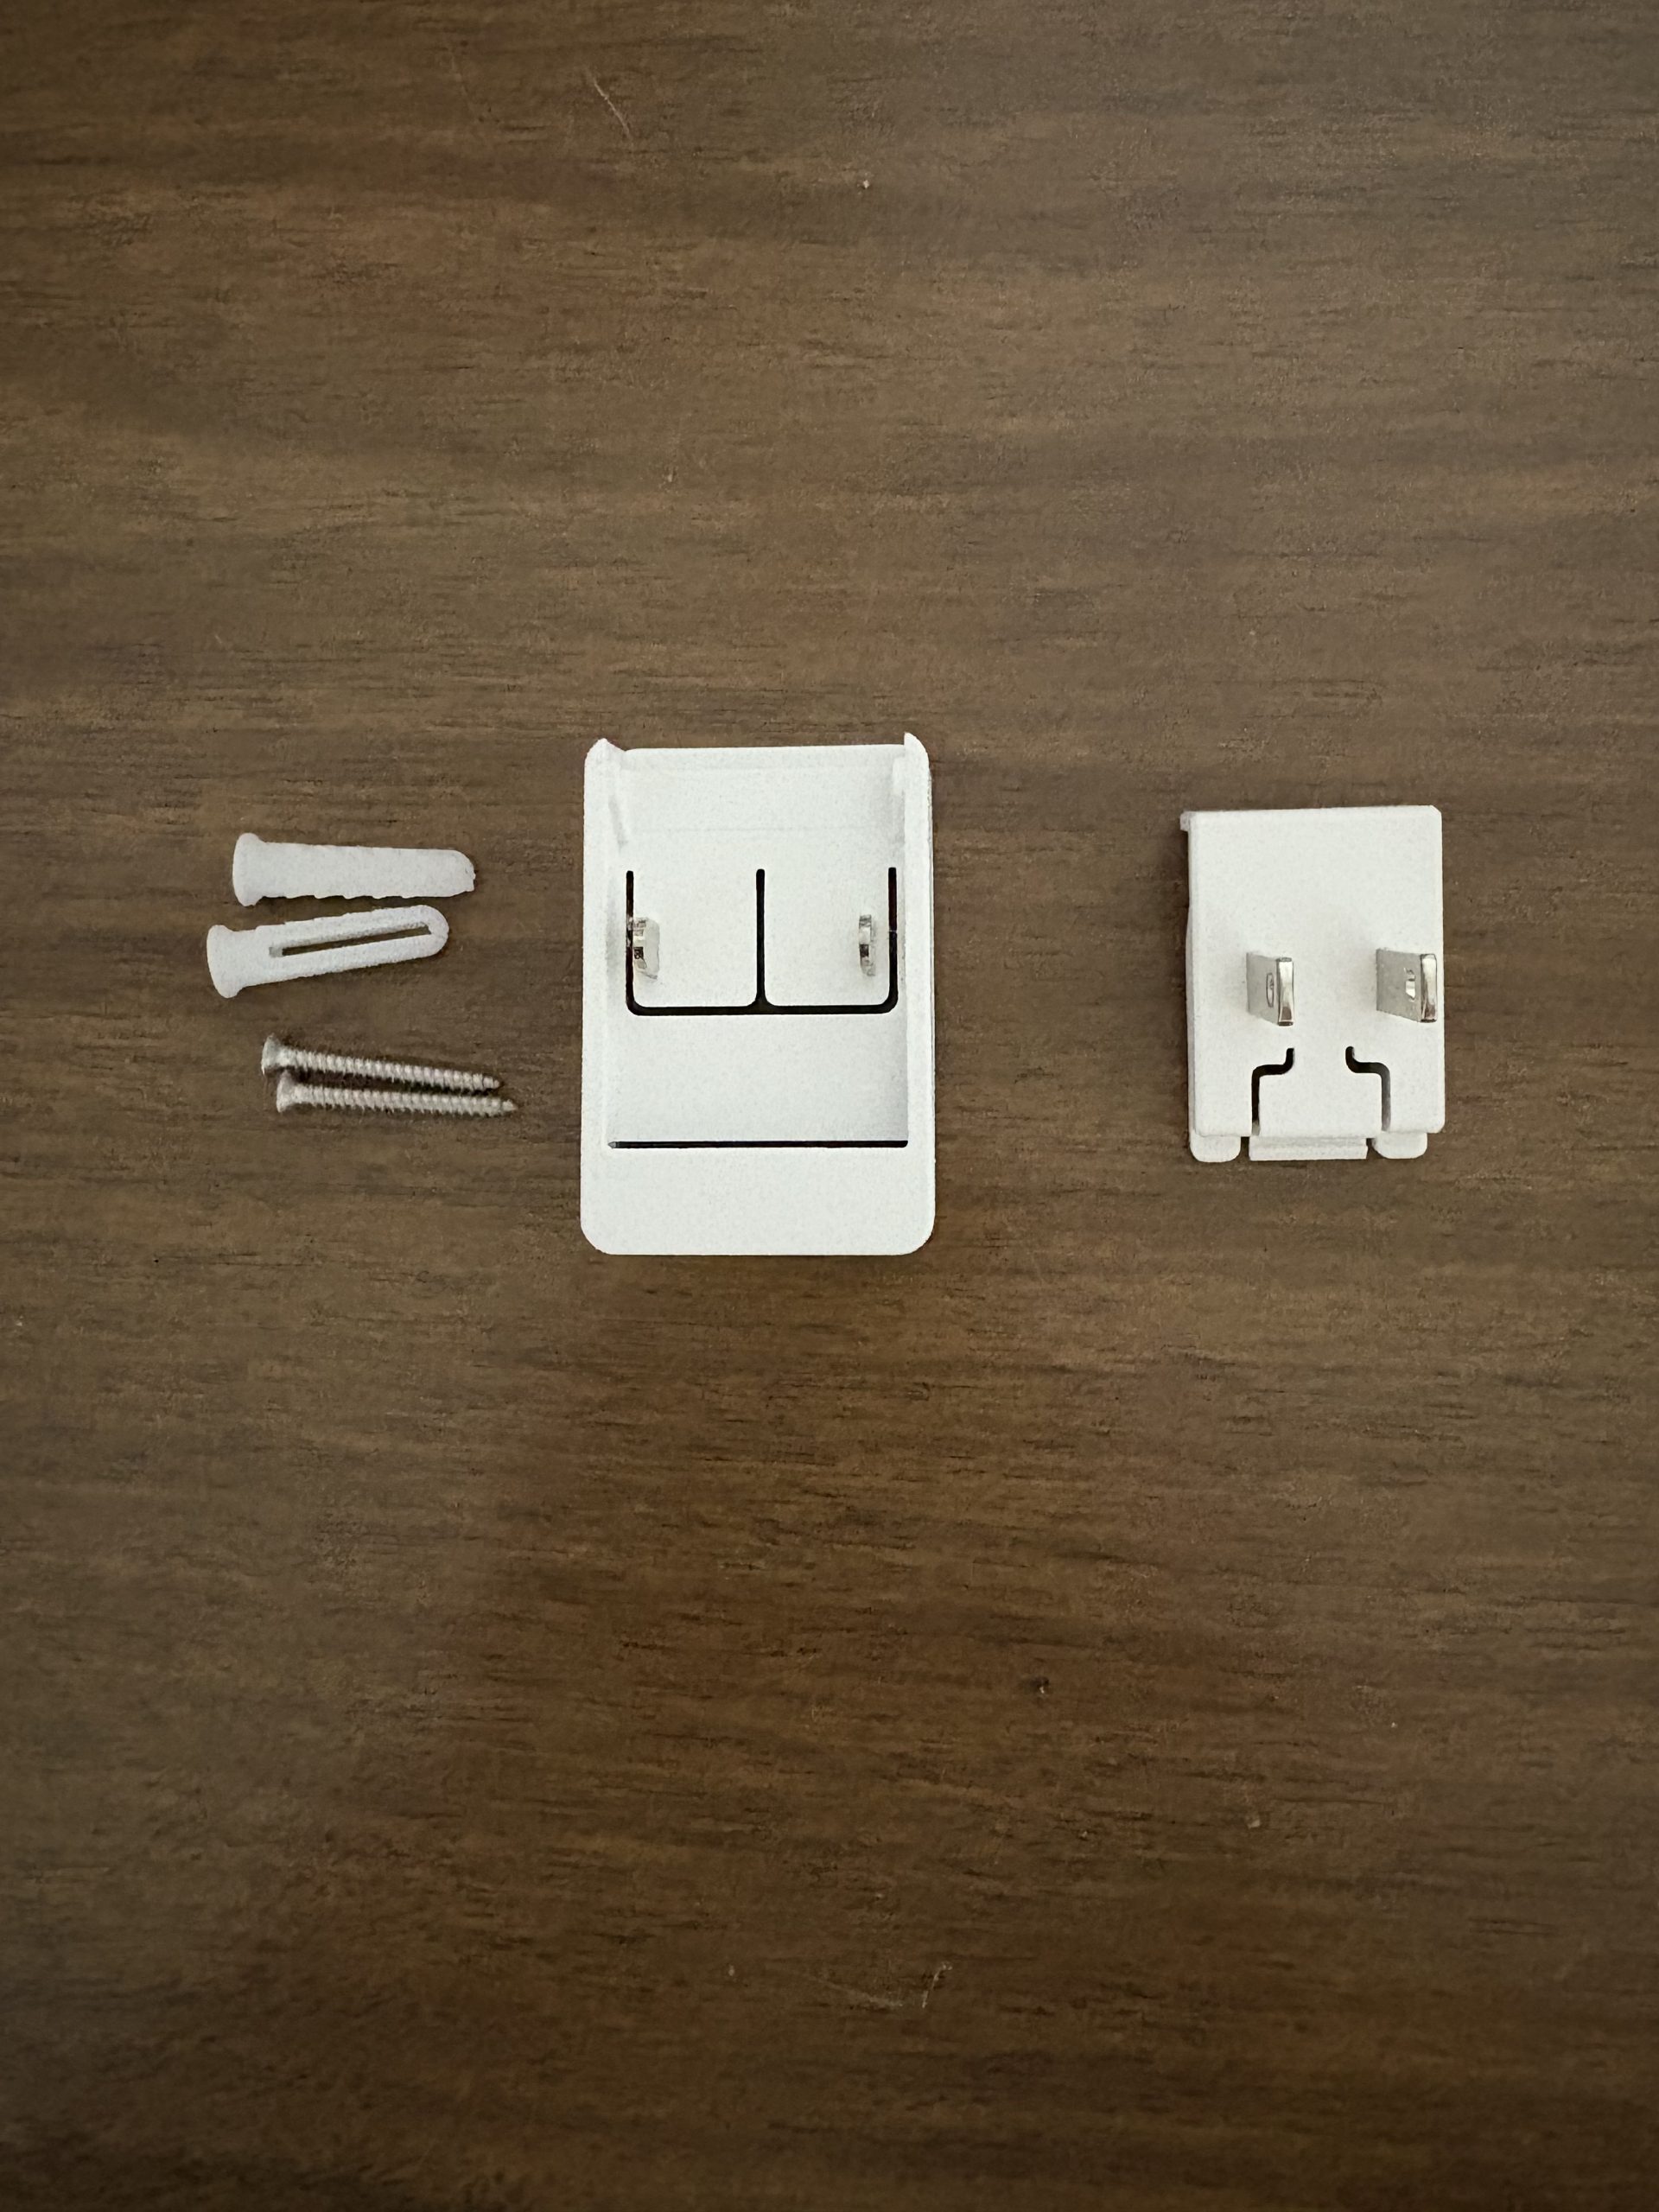
In the box is the CC400W Wireless Camera, a power supply with a detachable US plug, screws and hollow wall anchors for wall mounting (the camera also includes a magnetic base), a mounting guide for screw mounting and a Quick Installation Guide.
Synology CC400W Camera – Set-up
The Synology CC400W Camera is intended to be used with a Synology NAS which means there is actually two parts to the Synology CC400W Camera set-up, the camera and Surveillance Station software on both the NAS and your mobile device.
The Quick Installation Guide provides set-up instructions using the free DS Camera app which is available from the Apple App Store.
We have always been impressed with the easy of set-up of both the DSM software with a Synology NAS and the RSM software for Synology routers. Unfortunately, we found the Quick Installation Guide to be a little too quick. We think there could have been a little more guidance on what steps to take if things didn’t go as planned. Synology does provide a more comprehensive Product Manual on their support site (you can find the manual here), but we didn’t find that much more helpful.
As part of the installation process, you are asked to Initialize the camera by setting up an account with a password. It wasn’t clear if this is supposed to be a User Account on the NAS or if it’s a unique account for the camera itself and if so, where does that account live.
We decided to create a new account name and password different from any DSM user accounts, which seemed to work.
From there, we logged into DSM and installed the Surveillance Station package which was quick and easy.
Once in Surveillance Station we added the camera and was asked to Authenticate it. This gave us pause since we didn’t what that meant, or what credentials to use. We guessed that we should use the same information we used to initialize the camera, rather than an existing account set up in DSM.
We couldn’t find any documentation about what is required for Initialization and Authentication, or what the difference is between the two steps, but we must have done this correctly because the camera did work.
Our best guess is that the Initialization step identifies the camera and the Authentication step is a security feature to prevent people from adding a camera that is not intended to be on the system. If the Initialization and Authentication credentials don’t match, the camera cannot be used. This is also a way to assign a specific camera to a specific NAS when there may be multiple devices on a network with multiple NAS units.
While we think this is a great security feature, we think Synology would do well to better explain these two steps so users can better understand what they are supposed to do.
Other than that small bit of confusion, we found the set-up to be quick, and with the camera now set-up on our system, it was time to check it out.
Synology CC400W Camera – Camera Details
The Synology CC400W Camera provides crisp 4MP (2560 x 1440 @ 30 FPS) resolution with a wide 125-degree field of view. It includes night vision up to 10-meters.
The camera design allows for easy installation using the included magnetic base or a more standard screw attachment. Because the base offers easy adjustment, the camera can easily be used sitting on a flat surface, or mounted on a wall or ceiling.
The camera does require a standard 110V electrical source so depending on your usage, you may want to ensure the electrical outlet is close to the camera and secured so the camera cannot be easily unplugged.
The actual connection to the Synology NAS is wireless and the Synology CC400W Camera can connect using either a 2.4 GHz or 5 GHz connection. The camera also has an SD card slot built-in and provides automatic fail-over recording to the card in the event the Wi-Fi connection is interrupted.
The camera includes what Synology refers to as Event Analytics, and has the ability to do;
- People & Vehicle Counting
- People& Vehicle Detection
- Intrusion Detection
- Audio Detection
- Tampering Detection
- Motion Detection
Synology CC400W Camera – Test Results
Much like the DSM operating system, the Surveillance Station app is extremely powerful and in our testing of the Synology CC400W Camera, we only scratched the surface of all it can do. But in our brief time testing the camera and the application we were impressed.
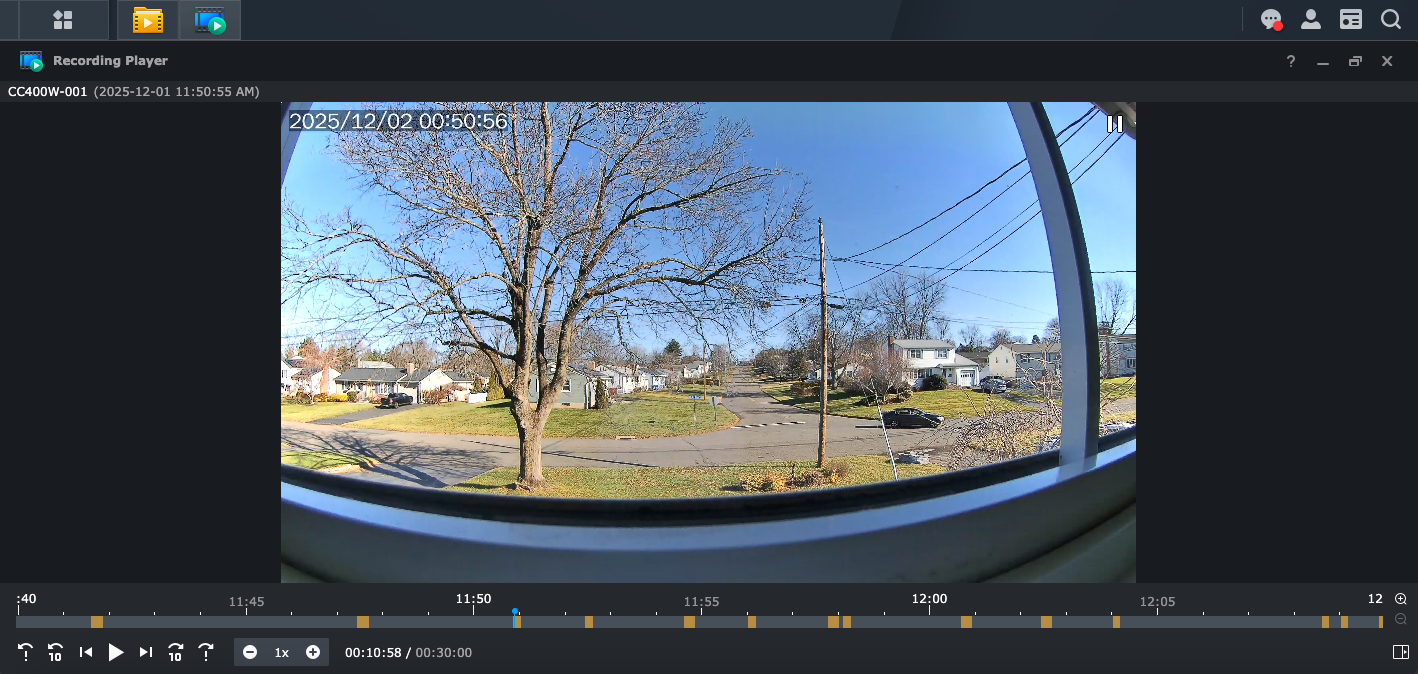
The image quality of the Synology CC400W Camera was excellent, even when looking through a window.
While we had the camera set up to detect motion, the camera is always active and we had the ability set start and end points of when that motion was recorded. This ensures you don’t miss any of the activity you may want to capture. Those activities are indicated by the yellow sections on the screen’s timeline and were easy to review with the click of a button.
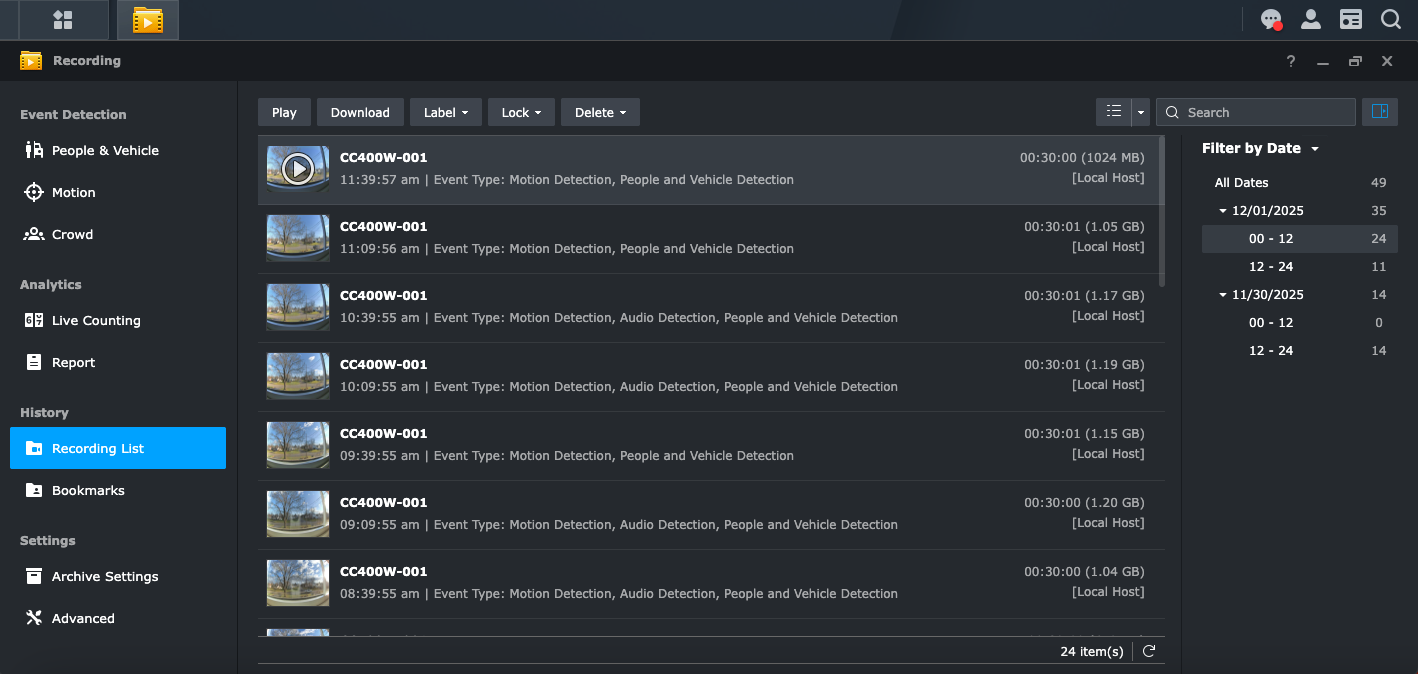
The recording list provides an excellent summary of all of the captured events, and also provides summary information for when the activity was captured by date and time of day.
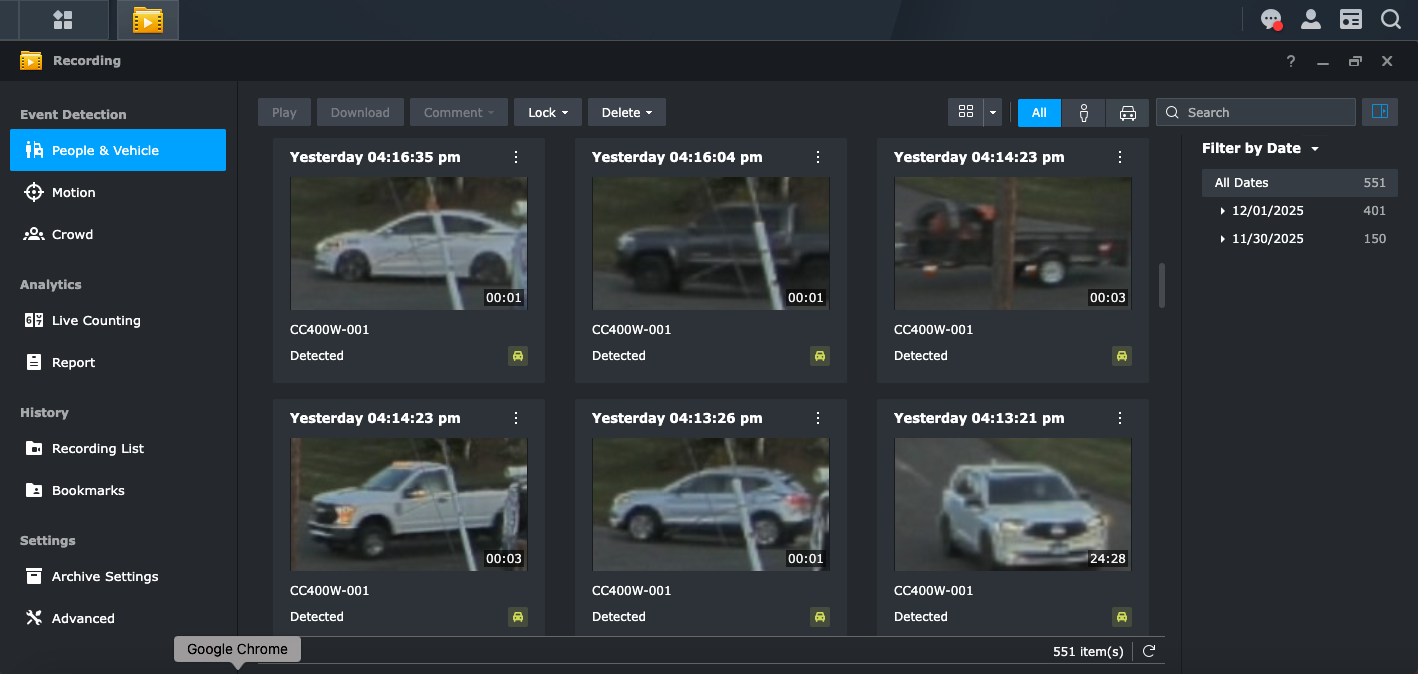
For a more detailed view, the Event Detection screen provides thumbnail views of each event, with timestamps and duration for each event. A simple click of the mouse plays the event in full screen.
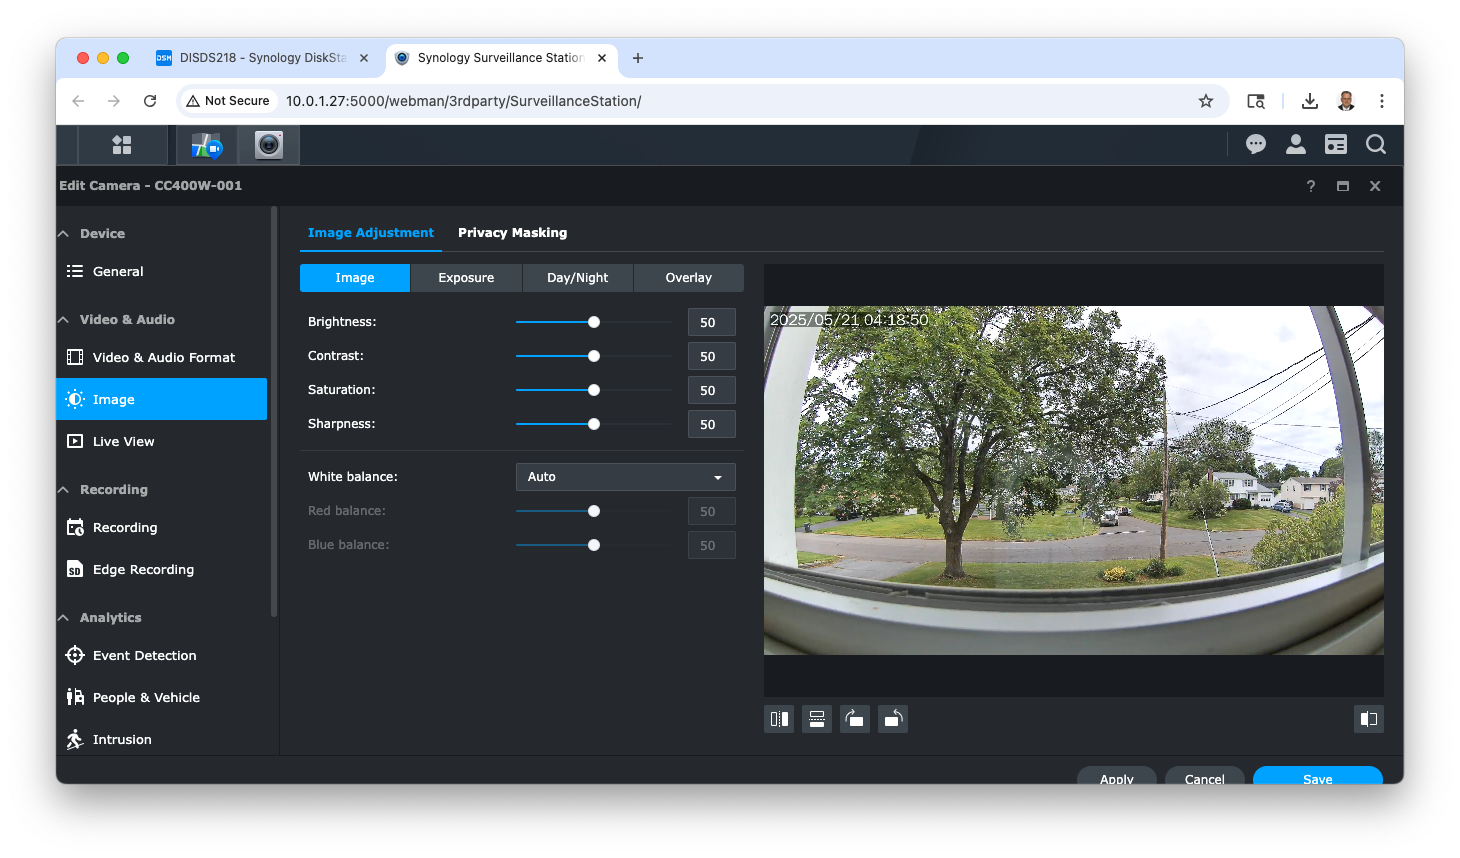
While we found the out-of-the-box settings to be more than acceptable, you have full control of the camera settings to ensure the video quality meets your specific needs.
If all of this isn’t enough, the Synology DS Cam mobile app allows you to monitor the camera and view the records from anywhere. And with the two-way audio and video, depending on how you are using the system, you can interact with people even if you are not on the premises.
The Bottom Line
Like many of the reviews we have done on Synology products, we have only scratched the surface of the Synology CC400W Camera and the Surveillance Station application.
Even so, it’s not hard to see that this is a powerful system that allows you to keep a watchful eye on your premises and activities. And because it connects to your Synology NAS, you have complete control of the recordings and storage with no additional cost or ongoing monthly fees.
The Synology CC400W Camera has an MSRP of $169.99, and comes with a 2-year manufacturer’s warranty.
You can learn more about the CC400W camera and purchase it directly from Synology here.
We would like to thank the folks at Synology for providing the CC400W camera for our testing and review.
If you liked this article, please consider sharing it with your friends and leaving a comment below. Also, don’t forget to “Like” us on Facebook and add the Apple Tech Talk channel to your Apple News app.
Apple Tech Talker

Leave a Comment
You must be logged in to post a comment.