
Last week, we introduced you to the ASUSTOR LOCKERSTOR 2 NAS (read our review here). With the unit unboxed and the Seagate IronWolf hard drives installed, it’s time to power it up for the first time, get it connected to our network and check out the ASUSTOR Data Master (“ADM”) operating system.
Disclosure: Apple Tech Talk participates in various affiliate marketing programs and may receive compensation if you purchase a product through one of our links, and/or in the form of product donations from the companies whose products we review . Unless otherwise specifically stated, Apple Tech Talk does not receive any other compensation for its reviews. The opinions expressed are based solely on our independent testing, are our own and are not shared with anyone prior to release on our site.
Apple Tech Talk Scorecard
| Pros | Cons |
| Easy Set-up | Documentation could be better |
| Clean UI design | Couldn’t complete set-up in Safari |
ASUSTOR LOCKERSTOR 2 NAS – Initial Set-up
Like some of the other NAS brands we have reviewed, initial set-up of the ASUSTOR LOCKERSTOR 2 NAS is accomplished using a web browser. In this case, we found the url, start.ausutor.com on the inner flap of the box.

On that site, you need to select the correct model/series. This created our first point of confusion.

The drop down list shows the LOCKERSTOR Series as AS 65, but the model number on the label of our box says AS6602T. That left us wondering if we should select the AS 65 (LOCKERSTOR Series) or AS 66 (Model number) option for the set-up. We ultimately selected the AS 66 Series option and suspect it didn’t really matter and that either one would have accomplished the same thing, but it was one of several issues we had with the instructions and documentation provided by ASUSTOR.
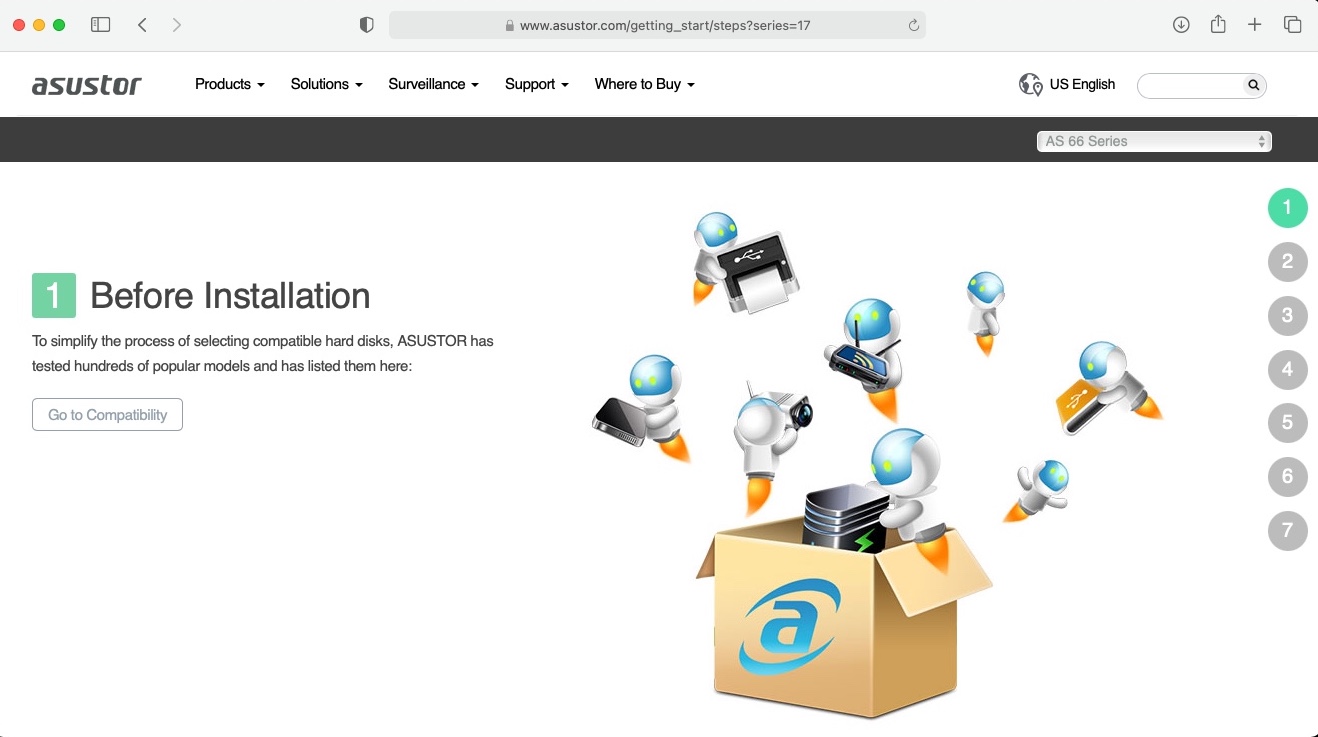
That selection brought us to the Before Installation screen which created our next bit of confusion.
We questioned why the first step in the set-up process would be to select compatible drives. While we understand the importance of picking the right drives for your NAS, we would expect this to be a decision to be made at the time of purchase. Maybe it’s just us but we wouldn’t expect too many people to purchase a NAS unit, get it unboxed and try to set it up and then decide what drives to purchase.
Then we thought, perhaps the selection of a compatible drives was associated with how the unit is configured so we clicked on the “Go to Compatibility” button. Alas, it only provided an extremely long list of compatible drives. There was also no button to go back to the previous screen so we had to back out of it using the back arrows of our browser.
We were also a little confused on where to go next. It took us a couple of minutes to realize the numbers on the right side of the screen where the steps to complete the set-up. A “Next” button would have been helpful.
The actual set-up begins in Step 4 which instructs you to download and install the free ASUSTOR Control Center app from the Mac App store.
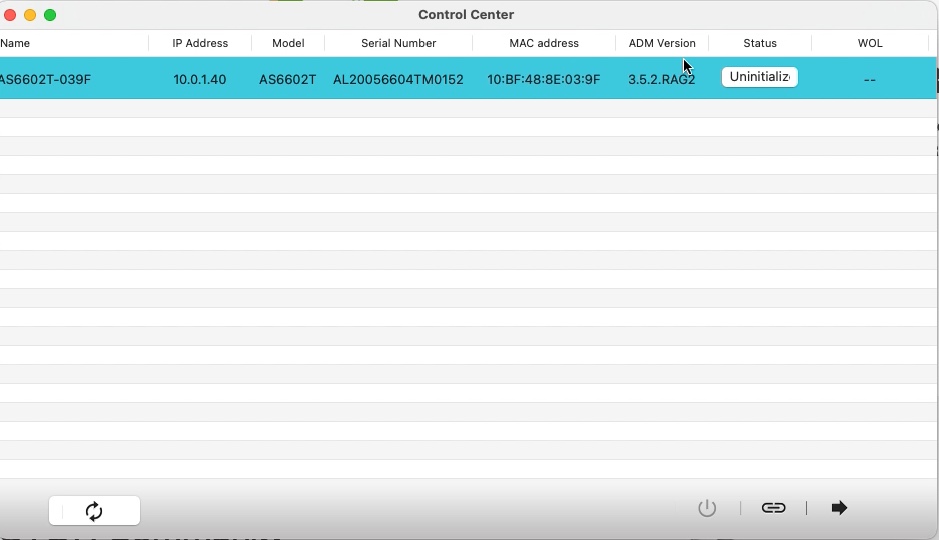
The app immediately found the ASUSTOR LOCKERSTOR 2 NAS on our network and confirmed it was Uninitialized. It took us a minute to realize that the Uninitialized label was actually a button which would start the set-up process. Unfortunately, when we clicked the button our Safari browser gave us this message.

We’re not sure if this is an ASUSTOR issue or an Apple issue but the details indicate there is a certificate problem with the web site trying to be reached. Unfortunately, there is no way to continue from here. Closing the page just takes you back to the previous page. Luckily, the error message provided us with the IP address our router assigned to the ASUSTOR LOCKERSTOR 2 NAS so we closed Safari and restarted the process using Google Chrome which let us get past this point.
Using Google Chrome, the process was much easier and we stepped through the remaining set-up screens with no issues. The process had us make the necessary selection to set up our volume and create a user ID for the administrator account to the latest version. In fact, we were surprised at how quickly the set-up process completed.
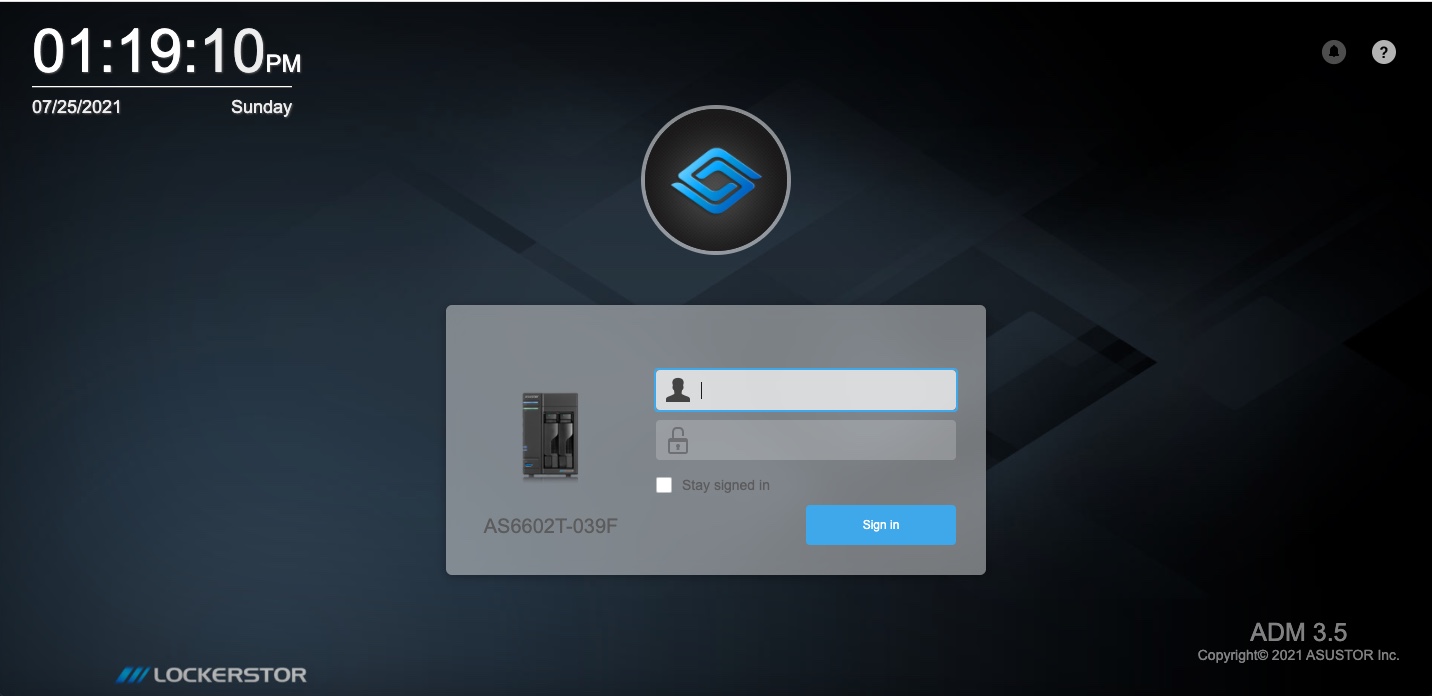
In just a few minutes we were presented with the main ADM log-in screen.
Checking Out ASUSTOR Data Manager (ADM)
We should note that our ASUSTOR LOCKERSTOR 2 NAS is using ADM version 3.5 which is the current release. ASUSTOR has announced ADM 4.0, which is currently in beta. Although a trial beta is available, we elected not to test it as this is our first introduction to the ASUSTOR NAS line and we wanted to be sure we were on a stable platform. All of our comments refer to this version and may, or may not reflect the newer ADM 4.0.
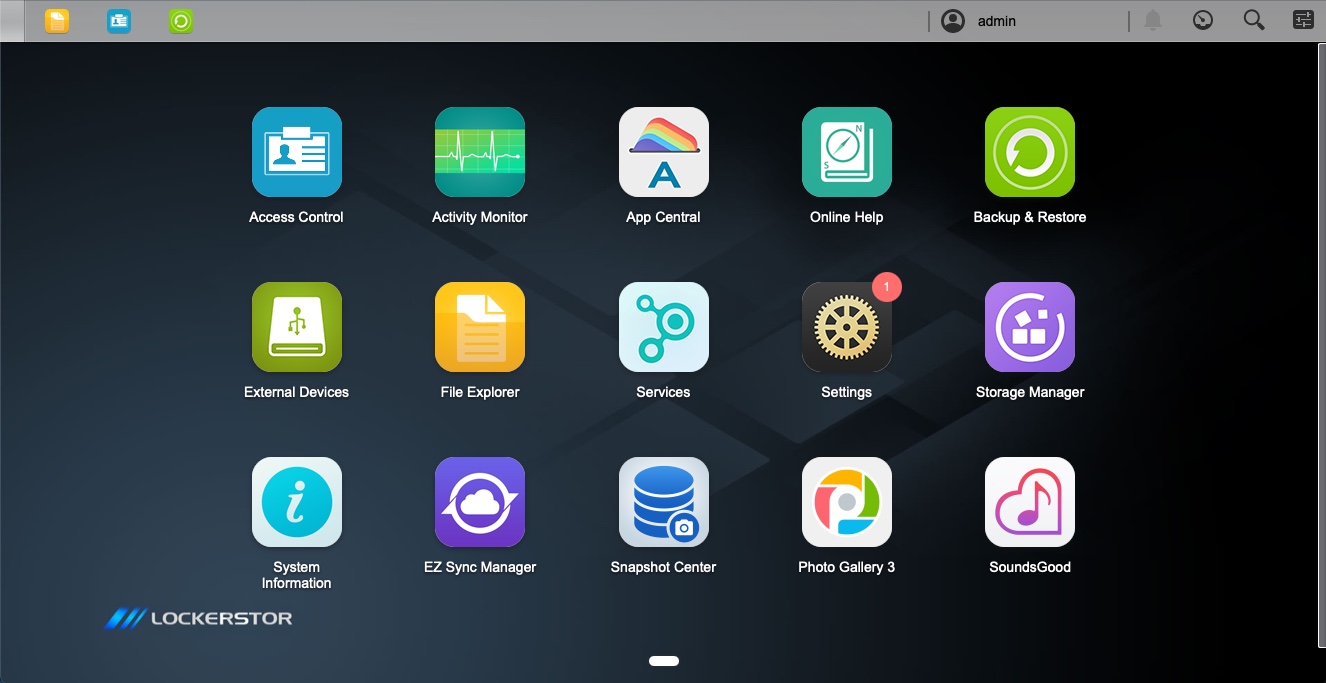
Using the credentials we created during the set-up process, we logged in to the ASUSTOR LOCKERSTOR 2 NAS, and was presented with the Home screen of the ADM operating system.
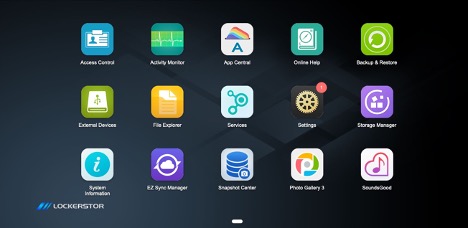
ADM 3.5 starts with a group of applications pre-installed, as seen in the screen shot above. They include mostly applications an administrator would want to use to manage shared folders, users, backup and restore jobs, etc. Included in the pre-installed apps is one called App Central.
This is ASUSTORS app store and may be one of the most comprehensive app selections we have seen to date. We counted a total of 313 apps that can be added to meet just about any need. Of course, about 49 of those apps were beta, and some were near duplicates for certain functions, like the 10 Amazon apps for various country stores or the variety of media servers to choose from. Even so, we think ASUSTOR’s App Central has you covered for whatever you want your NAS to do.
It would be easy to get lost in all of the apps you might install on the Home screen. Fortunately, ADM gives you the ability to “pin” apps to the taskbar at the top of the browser window. While those icons do not have a label, they are a easily identifiable compared to the full size ones so you should not have any trouble identifying them.
If that doesn’t provide enough organization, or the taskbar becomes too cluttered, you can easily rearrange the icons into whatever order you want by simply clicking on the icon and dragging it to the location on the Home screen.

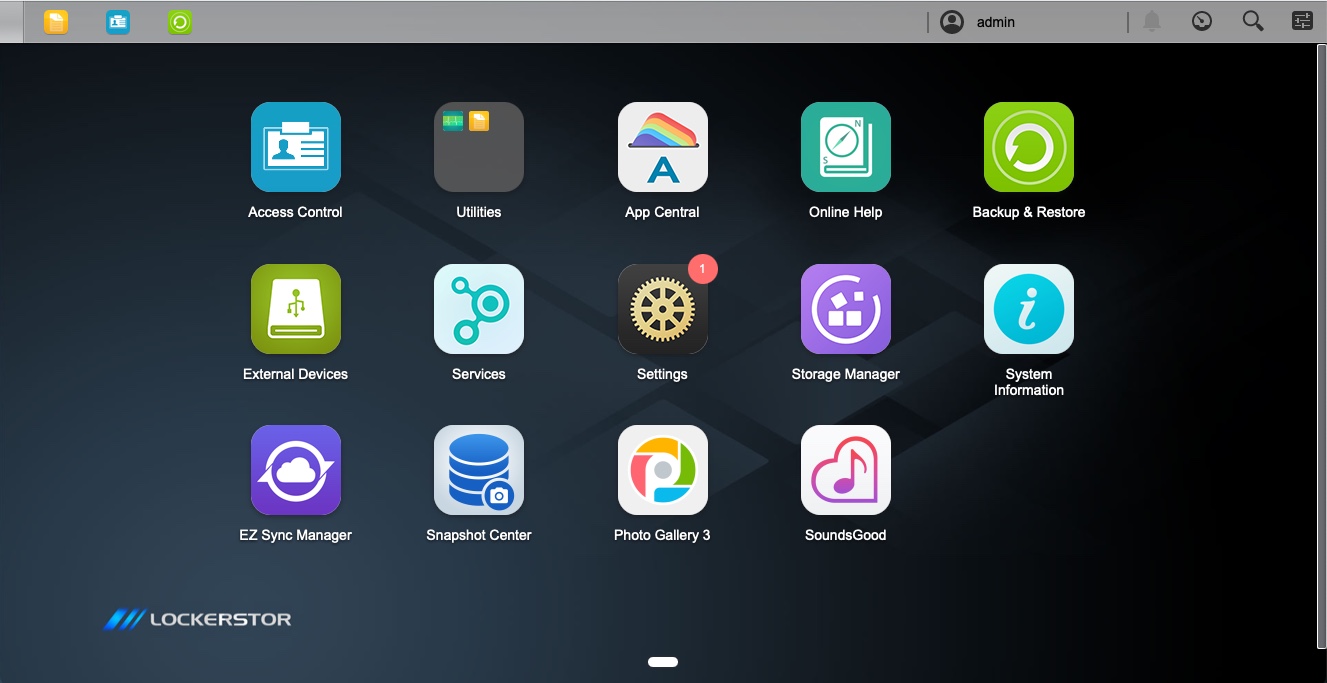
You also have the option to drag one icon on top of another to create a folder. If you have ever organized icons in iOS or iPadOS, you already know how to do this.
In addition to having a NAS to act as a central storage device for a home or office, many people quickly learn that they can also access their data even when not on their local network (think a personal Drobox or Google Drive.)
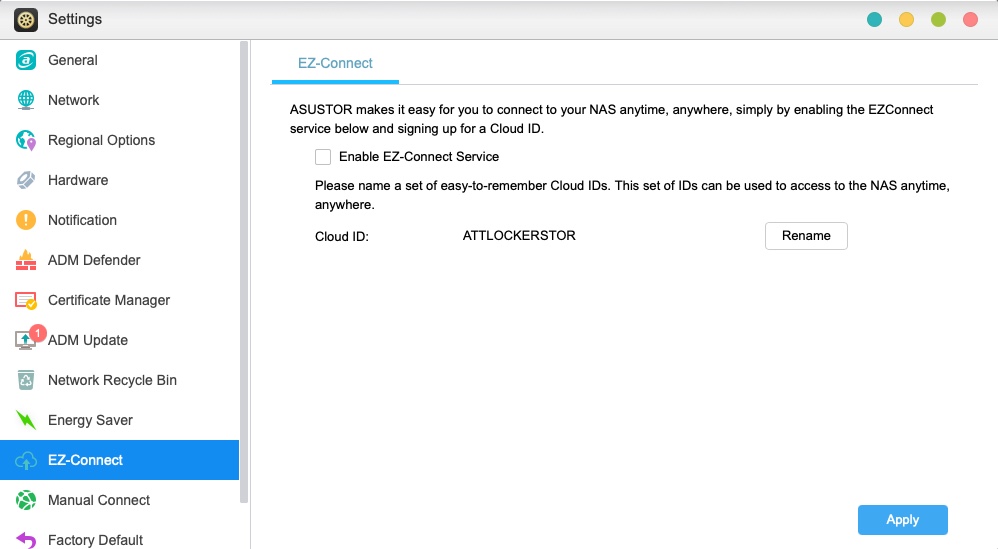
ASUSTOR accomplishes this in what they call E-Z Connect, which is an option within the Setting pane of ADM.
E-Z Connect is more of a service offered by ASUSTOR. To set this up, you create a unique identification which is used on the http://myasustor.com site. This makes a connection back to your NAS and gives you access to all of your data. There is no cost for the E-Z Connect service so replacing your cloud service like Dropbox and any fees associated with it, could pay for the entire LOCKERSTOR 2 NAS. In addition, since your NAS is holding the data, your only storage limitation is the total capacity of your NAS.
Another function that you may want to immediately set up is Snapshots. If you aren’t familiar with the term, think Apple Time Machine for your NAS. It is a great way to protect your data from accidently deletion. Snapshots are available in the Btrfs file system, which is supported by ADM 3.5.
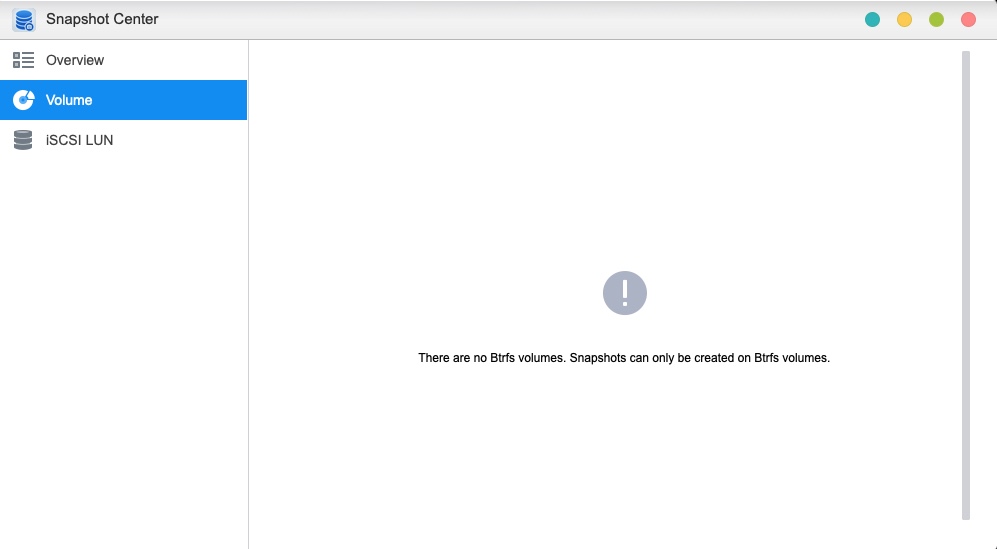
When we went into the Snapshot Center application, to configure our snapshots, we were disappointed to see that we had not set up our NAS Volume in the Btrfs format. As such, we couldn’t configure any snapshots for our device.
We’re not sure where we went wrong or how we missed this option.
There is no way to change the format of a Volume so it would require us to reformat the entire NAS to factory settings and start again. If you have to do this, now is the time, before you start adding data to the system, since everything on the drives gets destroyed.
We would suggest that ASUSTOR take a look at the set-up screens and try to make this decision to set up Btrfs more noticeable.
While we did spend a fair amount of time using the ASUSTOR NAS and ADM, our article space does not allow us to do a comprehensive review of all (or even most) of the ADM feature and functions. What we can say is that we found the ADM operating system to be well designed and easy to use. Whether you have experience with NAS operating systems, or even if you never used a NAS before, it should take very little time to get comfortable with ADM.
Of course, if you do need help, the Online Help icon connects you directly to the ASUSTOR web site which has a comprehensive library of information and downloads available.
Overall, we were impressed with ADM 3.5. It’s colorful desktop and easy to understand applications got us up and running in no time and the large variety of applications will allow you to do whatever you need to.
While we did not look at the upcoming ADM 4.0, we would think it will only improve what is already a great operating system.
The Bottom Line
So far, we have unboxed the ASUSTOR LOCKERSTOR 2 NAS, installed the disks, connected it to our network and set it up running on ADM 3.5, and we gave you a tour of the highlights of ADM 3.5.
The ASUSTOR LOCKERSTOR 2 NAS exceeded our initial expectations. The hardware is well made and has the power that a SOHO user would want and need. The ADM operating system is easy to understand for even the newest of NAS users.
The variety of available applications is impressive and may be the largest collection of available apps in the industry.
You can find the ASUSTOR LOCKERSTOR 2 NAS and IronWolf Drives on Amazon.
If we stopped here, we would say that the ASUSTOR LOCKERSTOR 2 NAS deserves serious consideration for anyone looking to add a NAS device to their home or office. But we’re not quite done with our review.
We know that many people want a NAS that can be used as a media server for music and videos and as a single location for their digital photos. And don’t forget about wanting to store your data and access it remotely.
Come back next week, when we check out a few of the ASUSTOR apps for music, videos and remote data access. Do you use a NAS for your home or office? What is your favorite brand and why do you like it? Why not join the conversation and leave a comment below.
If you liked this article, please consider sharing it with your friends and leaving a comment below. Also, don’t forget to “Like” us on Facebook and add the Apple Tech Talk channel to your Apple News app.
Apple Tech Talker

Leave a Comment
You must be logged in to post a comment.