
Over the years we have reviewed many Network Attached Storage (NAS) devices from a variety of manufacturers. While each brand has their unique features, it is only the right choice if those features meet your individual needs.
Today, we look at a the ASUSTOR LOCKERSTOR 2 NAS, offering a feature rich platform that is bound to meet the needs of home and small business user alike.
Disclosure: Apple Tech Talk participates in various affiliate marketing programs and may receive compensation if you purchase a product through one of our links, and/or in the form of product donations from the companies whose products we review . Unless otherwise specifically stated, Apple Tech Talk does not receive any other compensation for its reviews. The opinions expressed are based solely on our independent testing, are our own and are not shared with anyone prior to release on our site.
Apple Tech Talk Scorecard
| Pros | Cons |
| Easy to use | Search results can be confusing |
| Deep scan finds extensive list of files | No way to delete the scanned files |
| Works with Apple T1 Security Chip |
ASUSTOR LOCKERSTOR 2 NAS – Unboxing
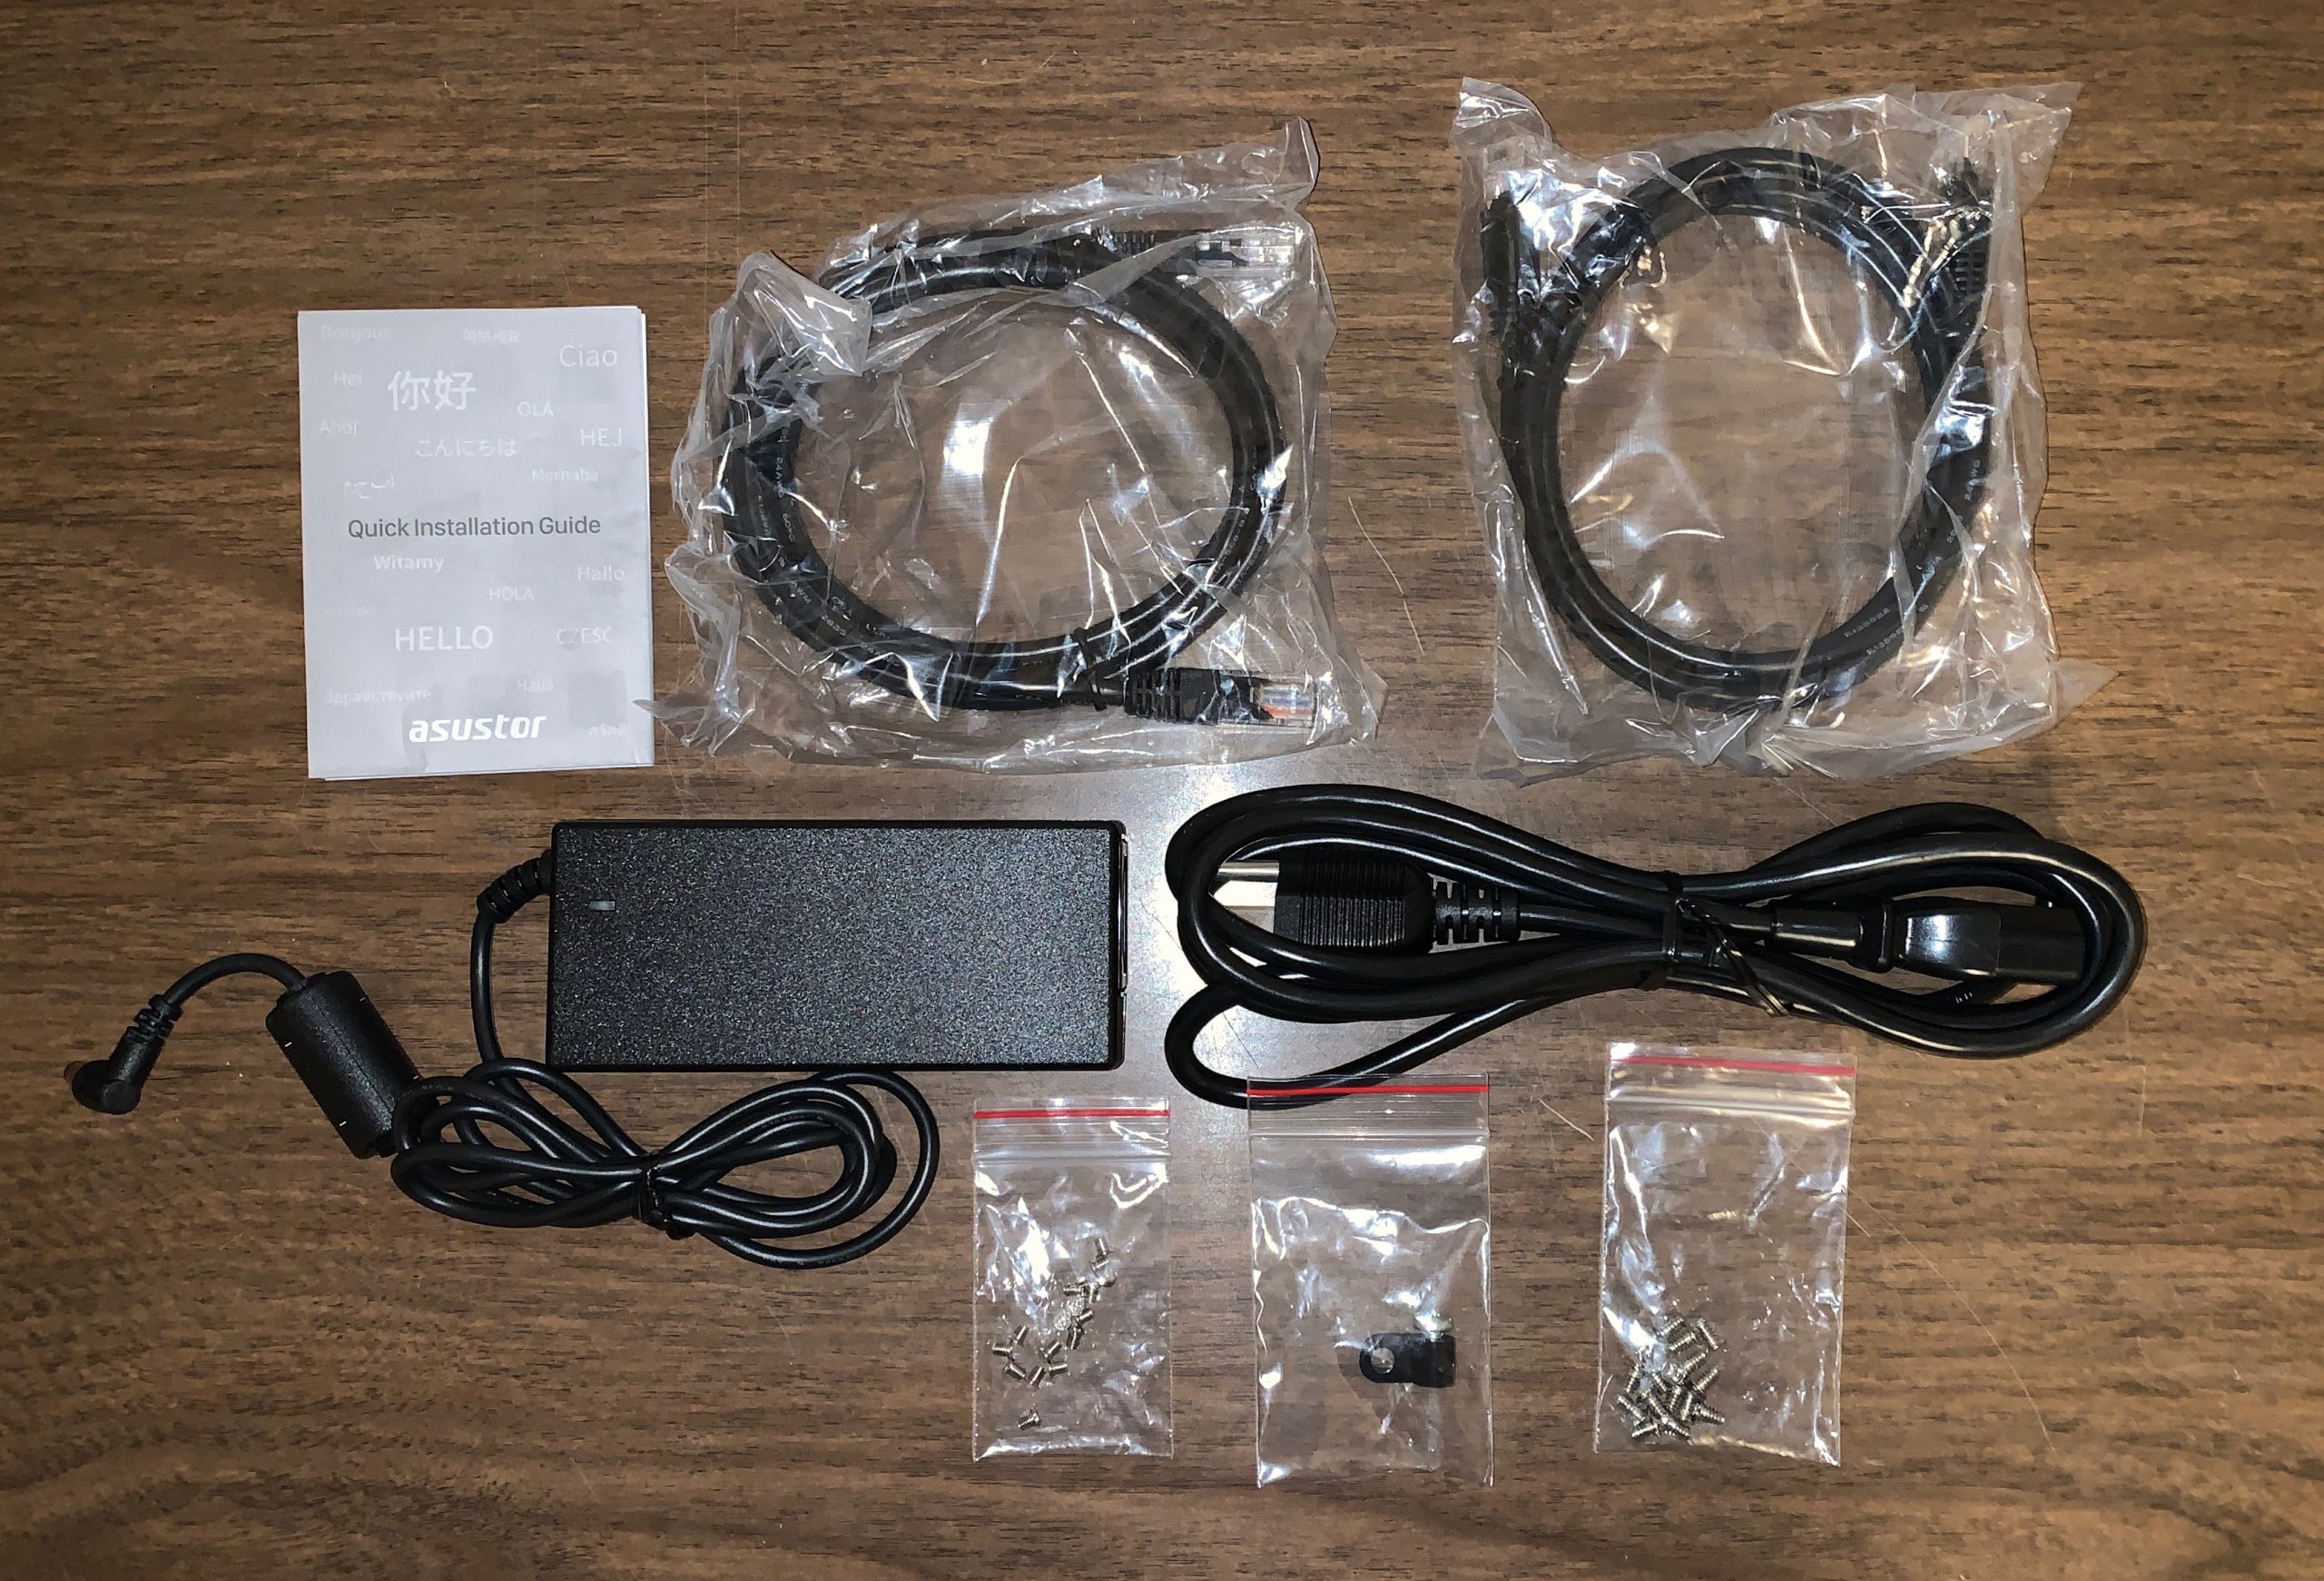
The accessory box contains the power supply, made by Delta Electronics Inc. It is a self-switching power supply rated for input of 100 – 240V at 50 – 60Hz and output of 12V at 5.417 A Max and 65W. Attached to one end of the power supply is the cord that connects to the ASUSTOR LOCKERSTOR 2 NAS. From the edge of the power supply to the tip of the connector, the cord measures five (5) feet and uses a barrel style connector. The other end of the power supple has a typical three prong receptacle in the style used by most computer power supplies. Our cord had a standard U.S. three -prong plug and end to end, that cord measures a full six (6) feet. As this is a self-switching power supply, we suspect that it ships with the appropriate cord for the region it is being used in. In any case, it would be very easy to get the proper cord to meet your specific electrical needs.
Also in the accessory box are two (2) packages of screws used to mount the hard drives or SSDs to the drive carriers, two Ethernet cables, a cable clamp to prevent the connector from being accidently unplugged from the NAS itself, and a Quick Start Guide.
ASUSTOR LOCKERSTOR 2 NAS – Specifications
On the ASUSTOR web site (www.asustor.com), their products offerings are listed in four different categories, Personal to Home, Home to Power User, Power User to Business and Small & Medium Business. The ASUSTOR LOCKERSTOR 2 NAS (Model # AS6602T) is listed under the Power User to Business category.
The NAS measures 6.43” high x 4.25” wide x 9” deep, (163.5mm x 108mm x 230mm) and weighs, 4.4 lbs. (2kg).
The ASUSTOR LOCKERSTOR 2 NAS is powered by an Intel Celeron J4125, quad core CPU and comes with a single 4GB SO-DIMM DDR4 memory module. A second memory slot is available to install a second memory module, up to an additional 4GB, for a total of 8GB of RAM. The ASUSTOR LOCKERSTOR 2 NAS does support mixed capacity RAM and ASUSTOR provides an extensive list of compatible memory for their products.
The ASUSTOR LOCKERSTOR 2 NAS is a two (2) bay NAS that can hold both 3.5: HDDs or 2.5” SSDs. The maximum internal raw capacity is 36TB based on two (2) 18TB drives.
We were also surprised to see that the ASUSTOR LOCKERSTOR 2 NAS can use an expansion cabinet which would add up to an additional twelve(12) bays, for a total of 14. Depending on the RAID type used, the ASUSTOR LOCKERSTOR 2 NAS can accommodate up to 252TB of storage.
The ASUSTOR LOCKERSTOR 2 NAS also has two (2) M.2 e SSD slots. Those slots are on a double sided carrier card. Unlike some NAS units we have seen, with easily accessible slots on the bottom of the NAS, installation of the M.2 memory requires that you remove the case, unscrew the carrier card and remove the card from the chassis. After attaching the memory chips to the card, you reverse the process to reinstall the carrier card.
ASUSTOR provides a well-illustrated installation guide to install the M.2 memory. While our test unit did not come with M.2 cards, we went through the steps to install them. The guide made the process very easy and even a beginner shouldn’t need more than 15 minutes to complete the task.
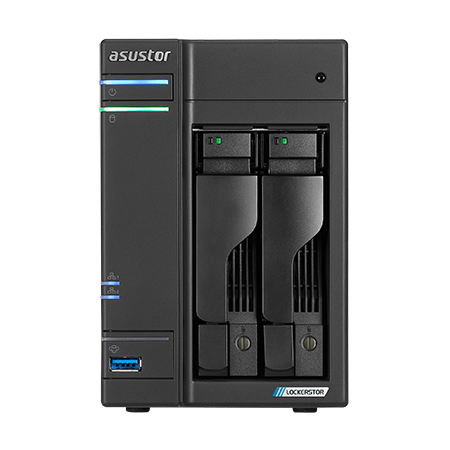
On the front of the unit, along the left side is the power button and power indicator LED as well as a System Status light. Further down the panel are two (2) LEDs to show activity of the two 2.5 Gigabit Ethernet ports. Finally, there is a One Touch backup button with an integrated LED and a USB 3.2 slot. Also on the front, are the two drive carriers, each with an integrated LED to show activity.
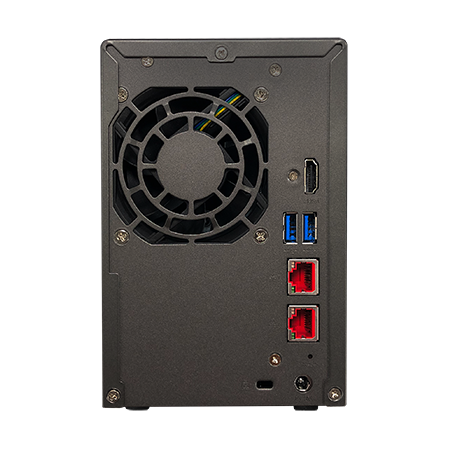
On the rear of the ASUSTOR LOCKERSTOR 2 NAS is an HDMI 2.0 port, two more USB 3.2 ports, the two 2.5 Gigabit RJ45 ports that correspond to the LEDs on the front panel, a reset button, the DC input port for the power supply and a Kensington Lock slot.
ASUSTOR LOCKERSTOR 2 NAS – Drive Installation
In addition to the ASUSTOR LOCKERSTOR 2 NAS, ASUSTOR provided us with two Seagate 2TB Iron Wolf hard drives. We are very familiar with the Iron Wolf line of hard drives and actually use them in our own NAS. They come in a variety of capacities and we think they are the perfect companion to any NAS. Of course, there are many other drives that are compatible with the ASUSTOR LOCKERSTOR 2 NAS, and ASUSTOR provides a full list on their web site.
To install the drive, you press the button on the bottom of the carrier. That releases the lever that you lift slightly to disengage the carrier from the unit. You can then slide the carrier out to install the drive. To insert the carrier back into the NAS, you slide it into the slot, press it all the way in and push the level forward to lock it in place. There is also the ability to lock the drive trays in place by using a slotted screwdriver to turn a small screw next to the right drive tray.
We’re not really sure the lock does much since anyone could use a plain screwdriver to unlock it. We would have preferred a more substantial lock, with some sort of key, if this unit was going to be used in a commercial setting
It is clear from the Quick Installation Guide that some ASUSTOR models have tool-less drive carriers for 3.5” HDDs, so we were surprises, and a little disappointed to see that the LOCKERSTOR 2 used screws to hold the drives in place. That said, we really don’t consider that a negative. The required screws are included in the package and drive installation is pretty straight forward. Barring an unexpected drive problem, it could be years before you need to change the drive in a carrier. In addition, this only applies to 3.5” drives since a 2.5” SSD always requires screws to mount the drive to a carrier.
The ASUSTOR LOCKERSTOR 2 NAS and Iron Wolf Drives are available on Amazon.
With the drives installed, it’s time to power up the ASUSTOR LOCKERSTOR 2 NAS for the first time and get it up and running on our network. We’ll explore that and more next week.
If you liked this article, please consider sharing it with your friends and leaving a comment below. Also, don’t forget to “Like” us on Facebook and add the Apple Tech Talk channel to your Apple News app.
Apple Tech Talker

[…] week, we introduced you to the ASUSTOR LOCKERSTOR 2 NAS (read our review here). With the unit unboxed and the Seagate IronWolf hard drives installed, it’s time to power it up […]
[…] have been looking at the unboxing and specifications of the ASUSTOR LOCKERSTOR 2 NAS (read Part 1 here), and the set-up of the device and overview of the ADM operating system (read Part 2 […]