
If you are a regular reader of Apple Tech Talk, you already know that we are big fans of Synology products. Their DiskStation Manager (DSM) operating system is one of the easiest NAS operating systems we have seen. Whether you are using their smallest single drive units or their industrial rack mounted units, you will quickly recognize the same DSM operating system. It’s no wonder Synology continues to be a market leader in network attached storage devices.
But for many home users, the idea of a full NAS is intimidating, and the power and full functionality offered in DSM is more than they want to deal with. Many home and SOHO users want a simple unit that doesn’t have a steep learning curve and will just let them back up their files and photos, while still offering them the ability to access them remotely.
Last year, Synology answered that call with the introduction of BeeStation, a 4TB unit that provides, remote files access, photo storage and backup capabilities. Recently, Synology introduced BeeStation Plus, an 8TB model that offers all of the same functionality with some extras.
Today, in Part 1 of our review, we’ll unbox and show you how to set up the Synology BeeStation Plus, and get it ready to be a cloud all your own.
Synology BeeStation Plus – Unboxing
Synology has never been one to do fancy packaging and the BeeStation Plus is no exception.

The Synology BeeStation Plus comes neatly packed in a simple brown box.
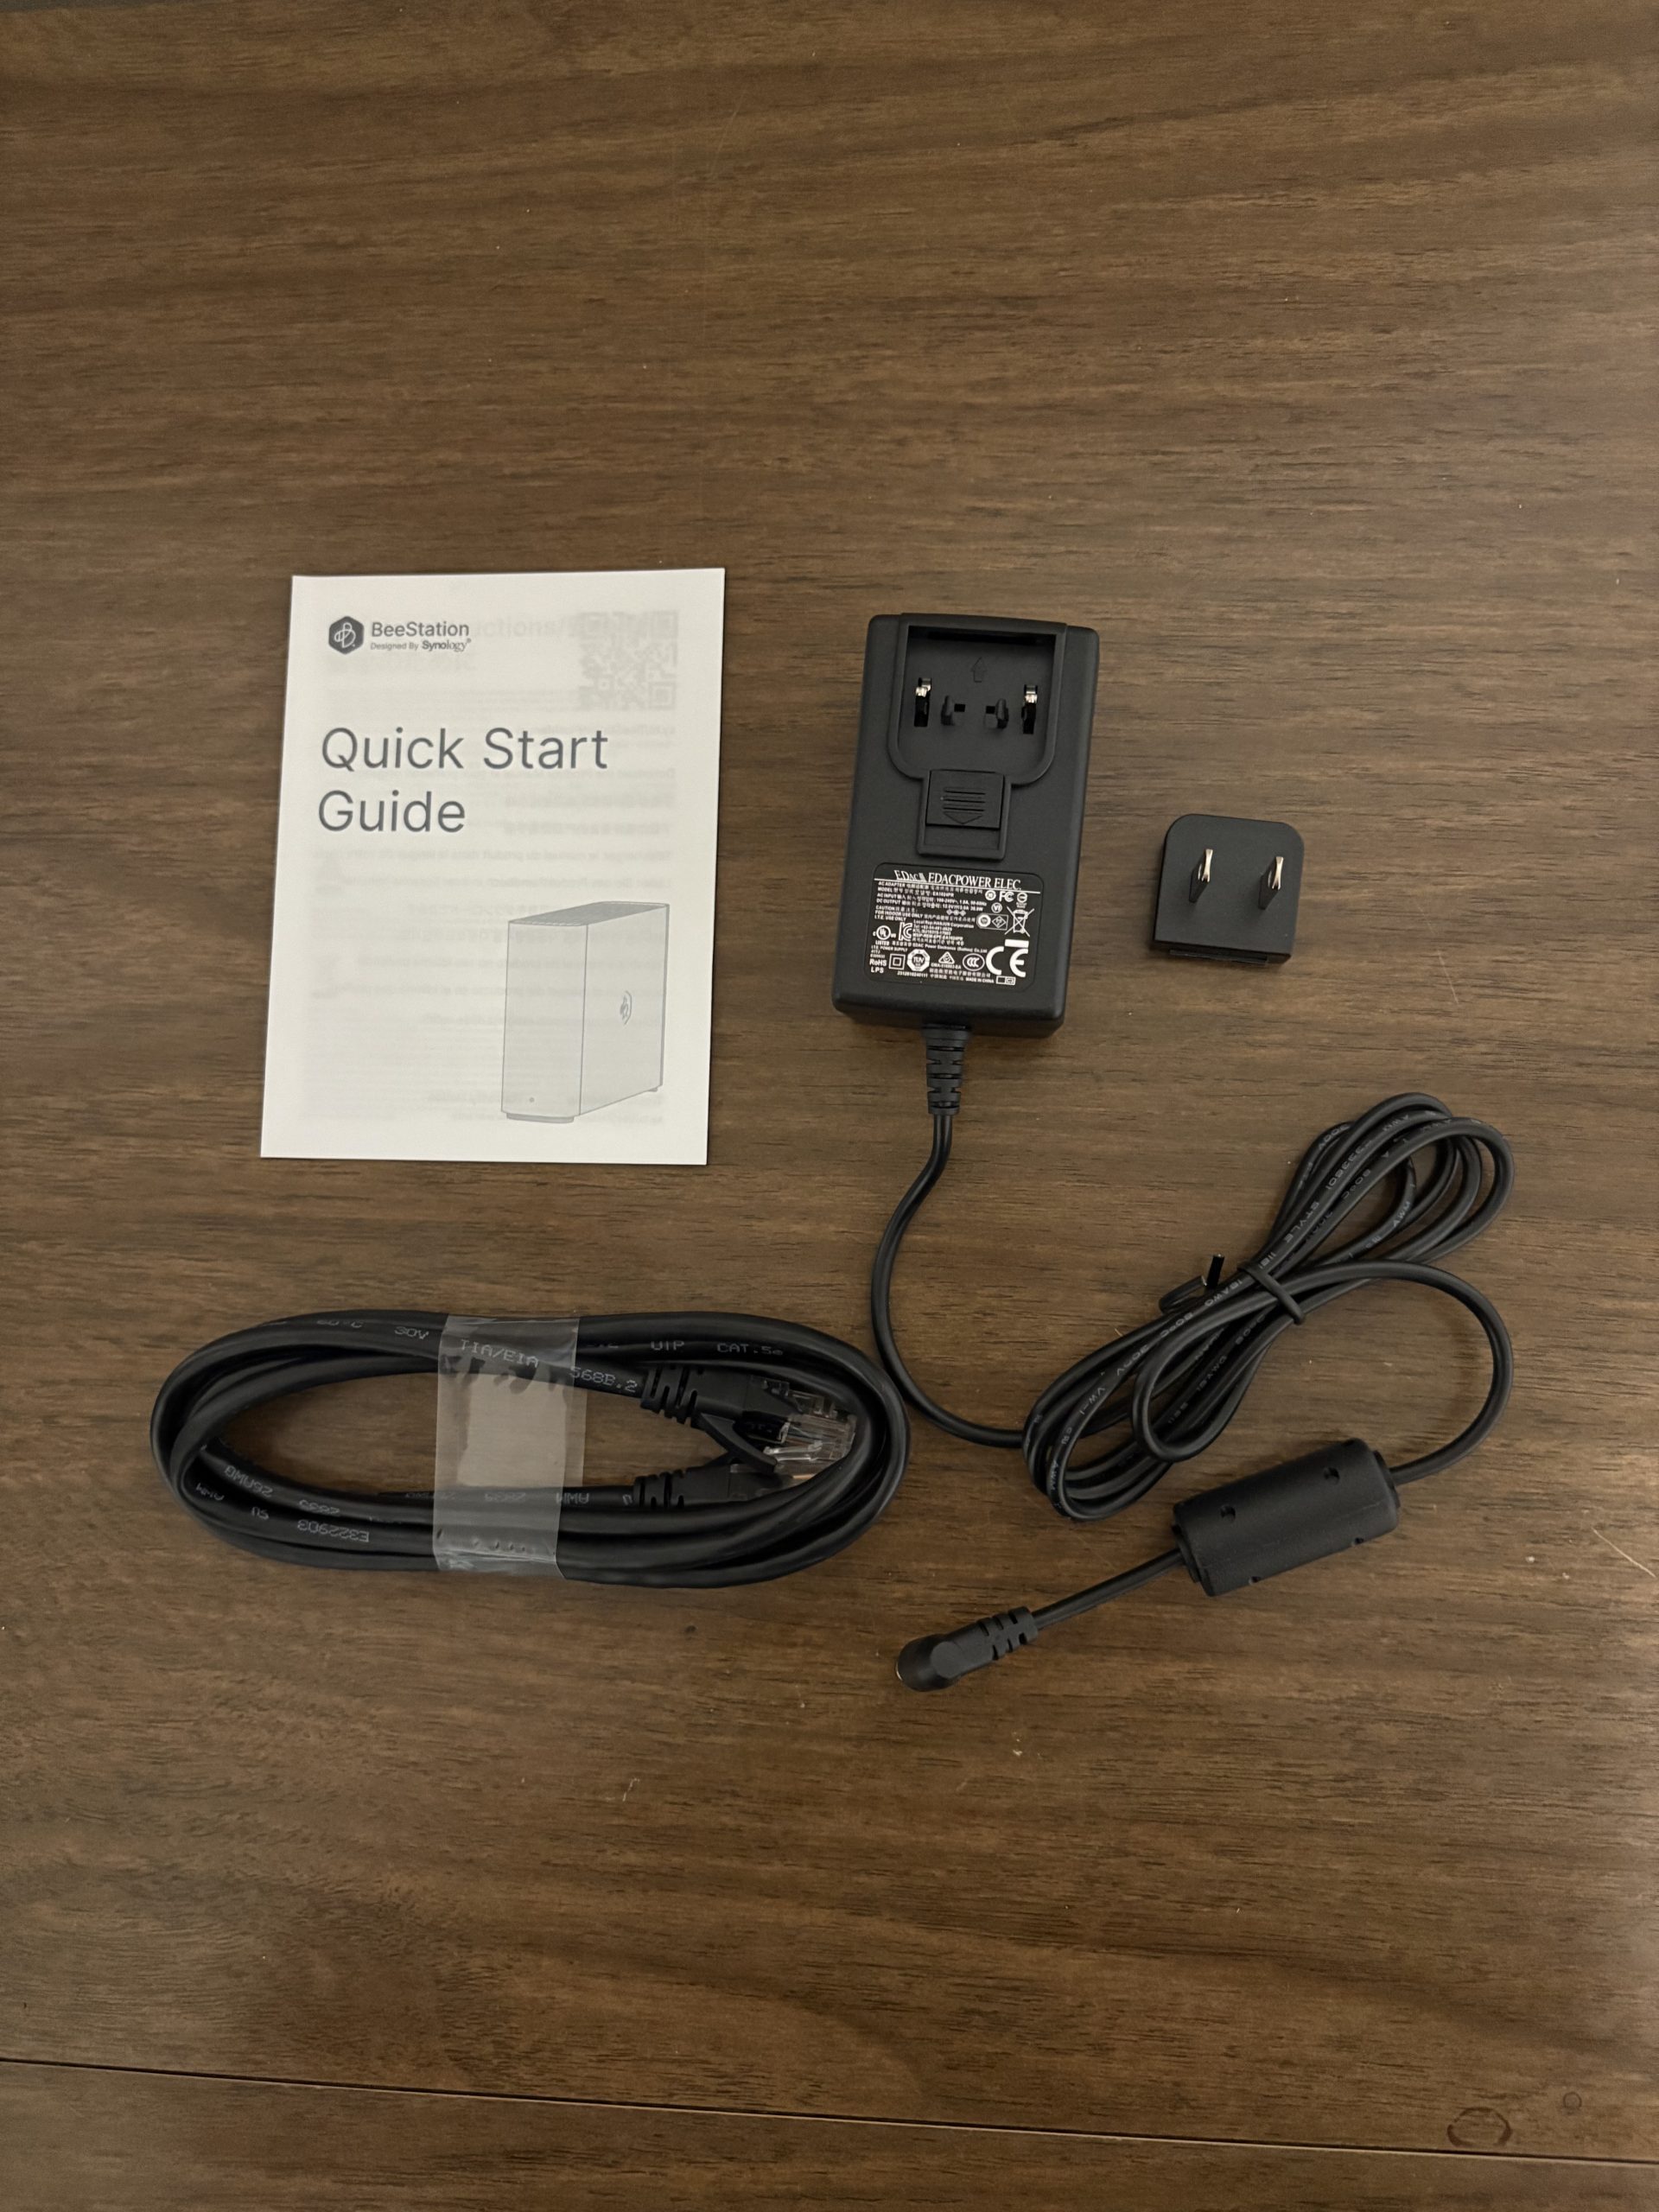
In the box is the Synology BeeStation Plus device and an accessory pack which includes a power supply, a US style 110V plug which snaps onto the power supply, an Ethernet cable and a Quick Start Guide.
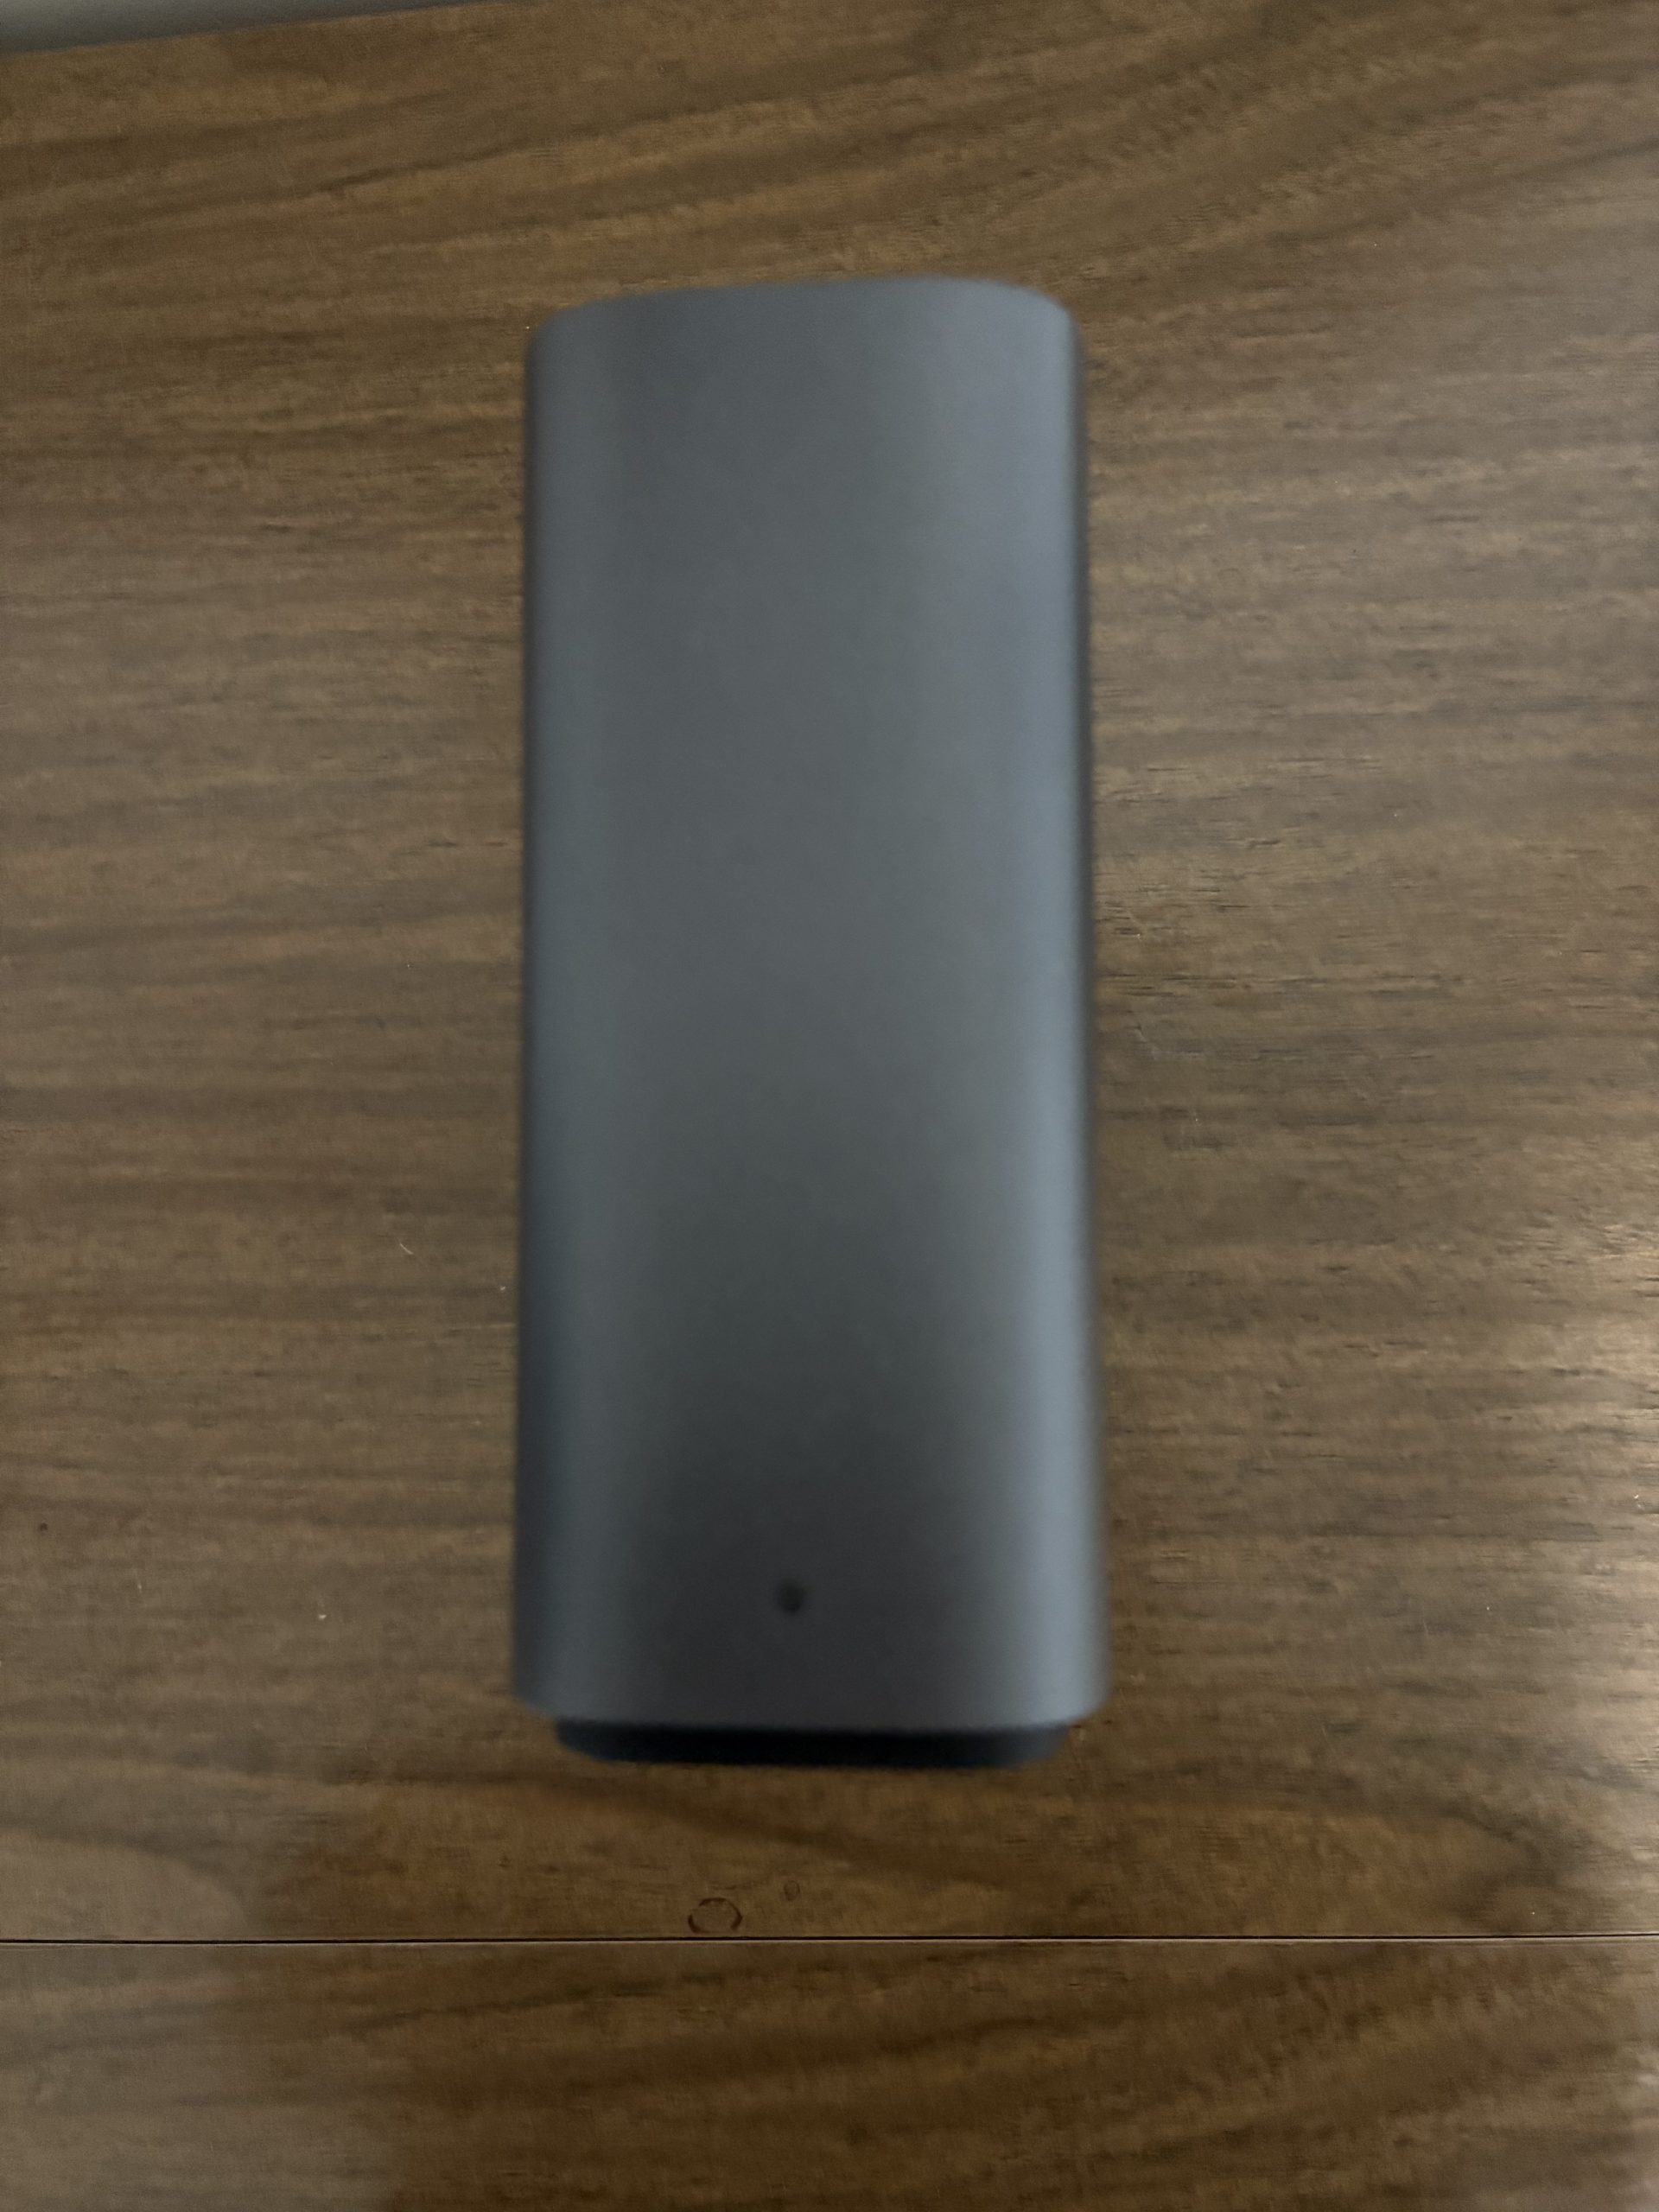
The Synology BeeStation Plus follows the same clean design standards that is typical for many of the Synology NAS products.
The unit measure 5.83 x 2.46 x 7.73 inches (H x W x D) (148.0 x 62.6 x 196.3mm). The front panel has a small LED on the bottom to indicate the status of the unit.
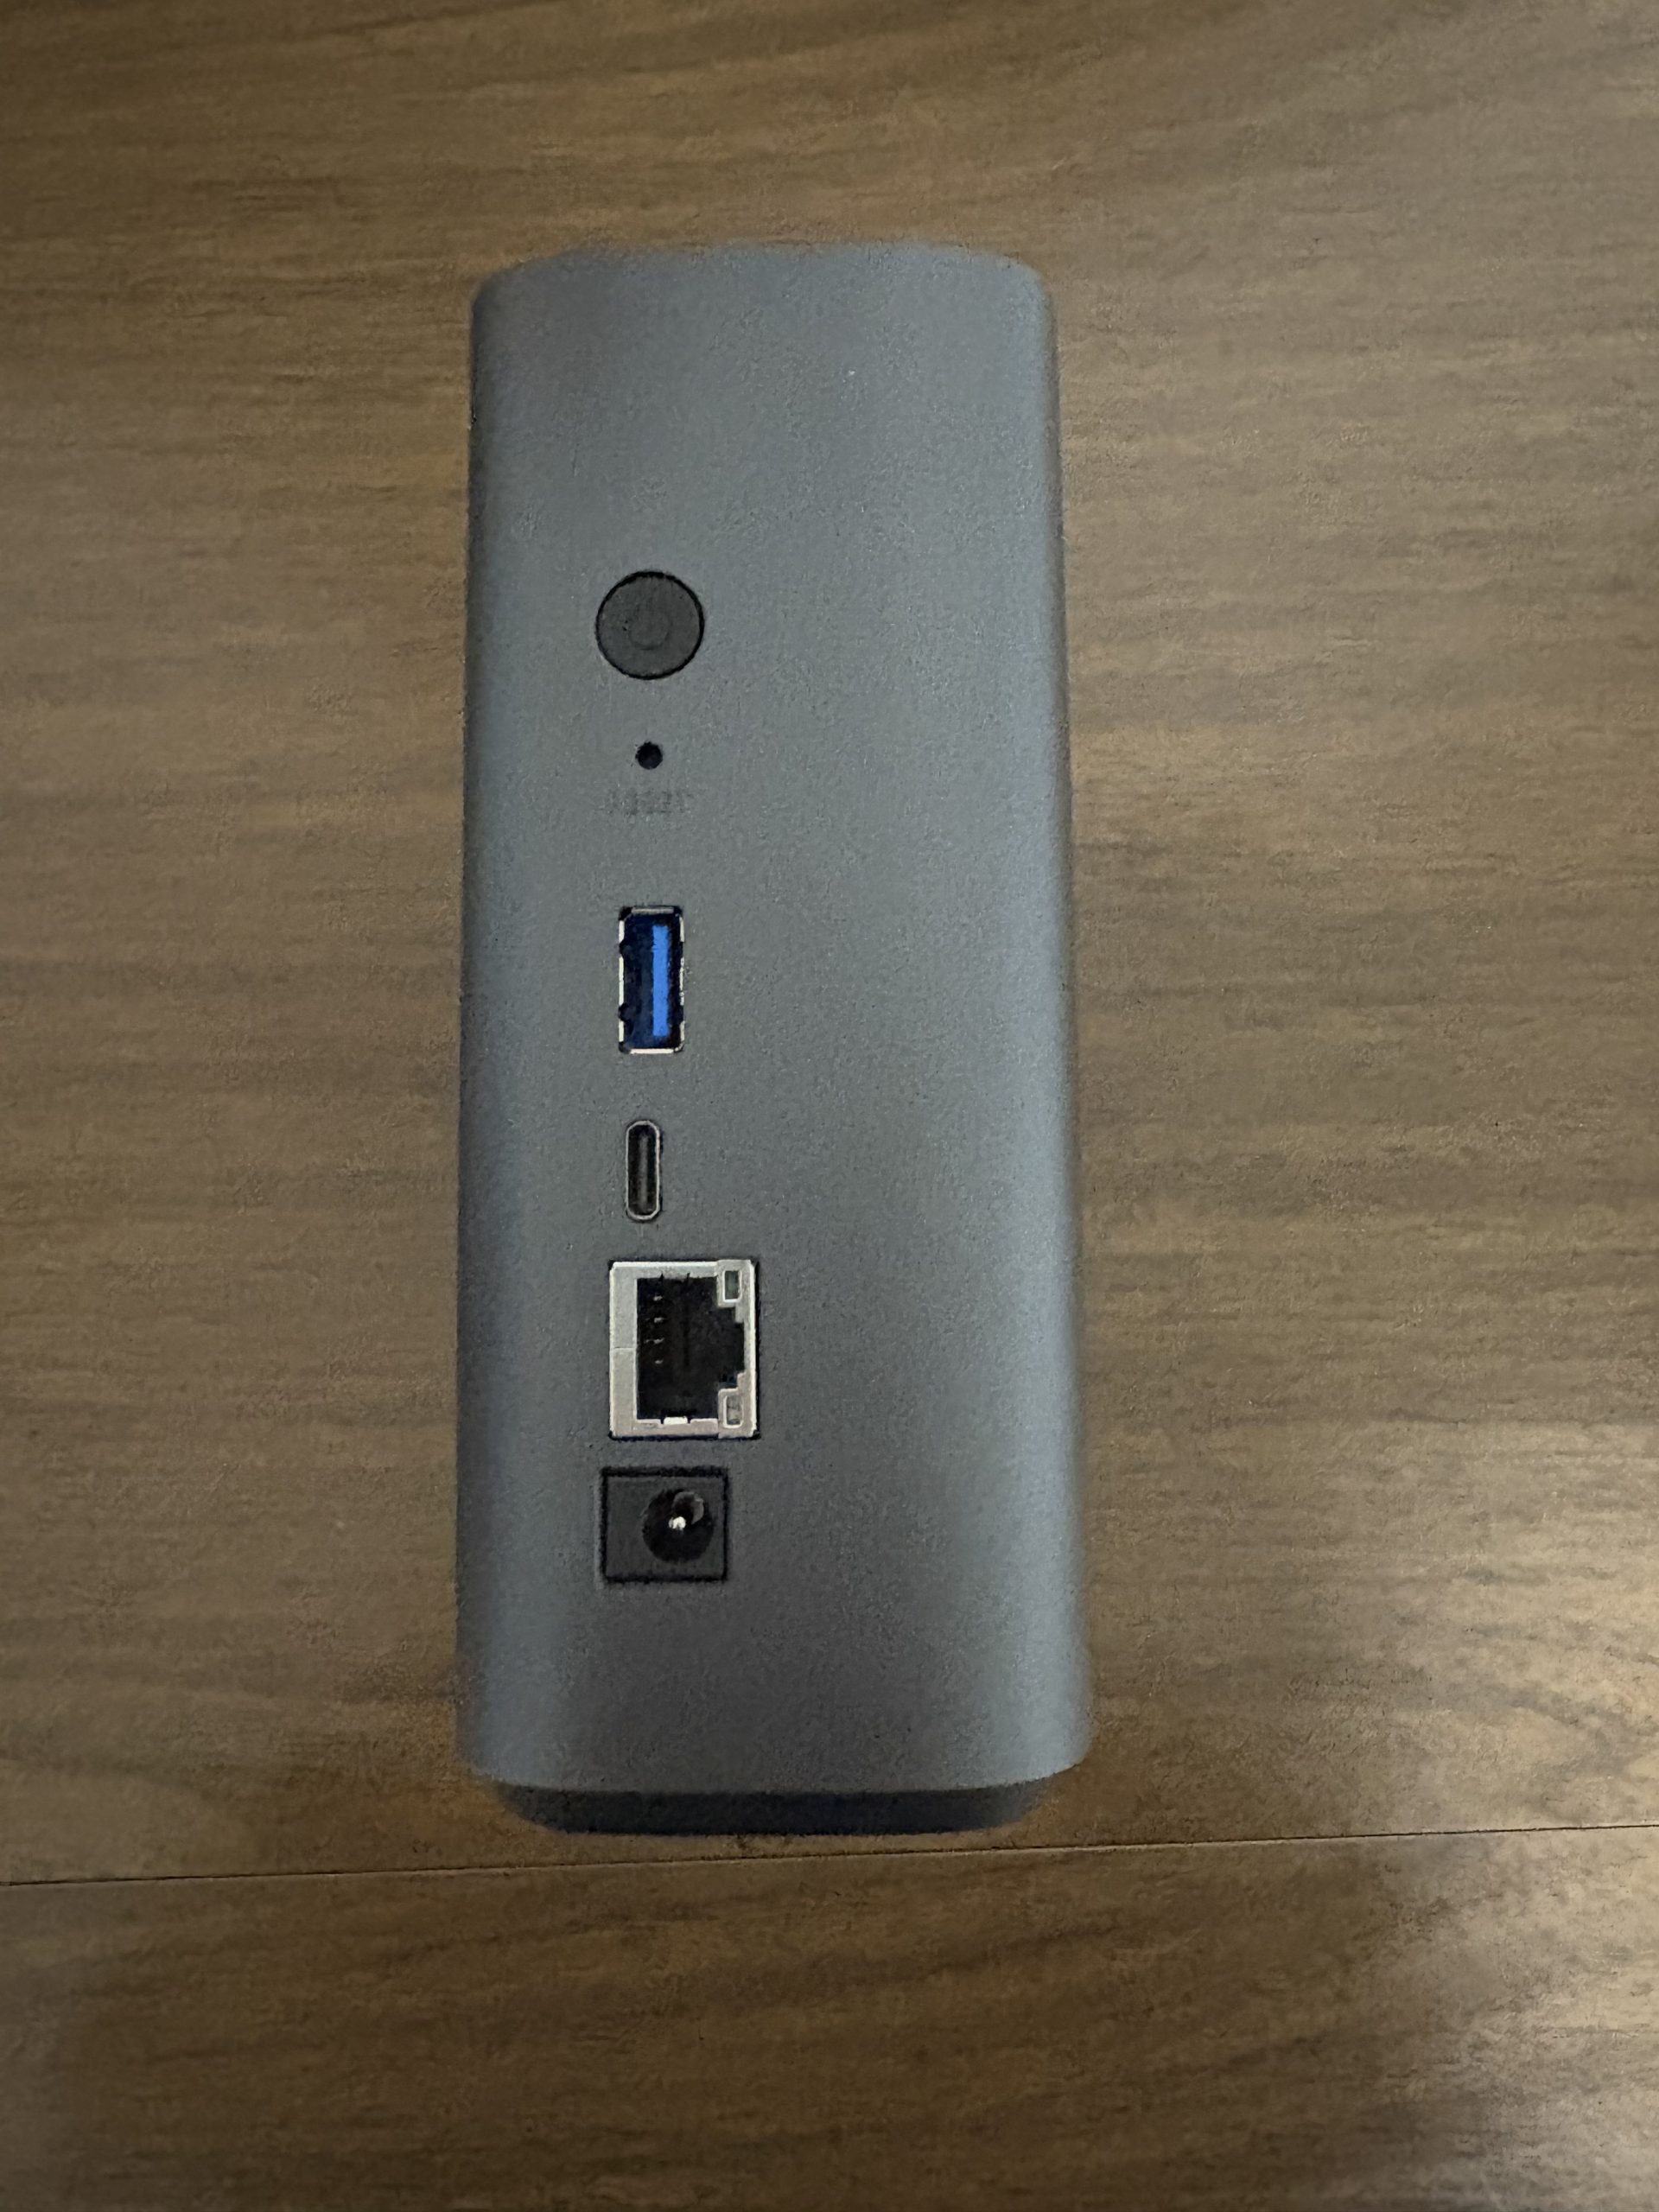
On the back of the Synology BeeStation Plus is a power button, a system reset button, a USB-A and USB-C port, a standard Ethernet port and a jack to connect the included power supply.
This clean design makes it easy to place the Synology BeeStation Plus on a desk, tabletop or shelf in any room in your home or office, as long as you have power and a wired Ethernet connection to your router.
Synology BeeStation Plus – Setup
Over the years, we have tested several Synology NAS products and have been impressed with how easy the DSM setup is. Because the Synology BeeStation Plus is intended for the non-technical user, it stands to reason that users would want the simplest setup process possible and the folks at Synology did not disappoint.

The Quick Start Guide could not really be any quicker.
There are two ways to set up the Synology BeeStation Plus, using your phone or your computer. For our testing, we decided to use our Mac to set up the device. Like everything else we have seen so far about the Synology BeeStation Plus, things could not have been easier.
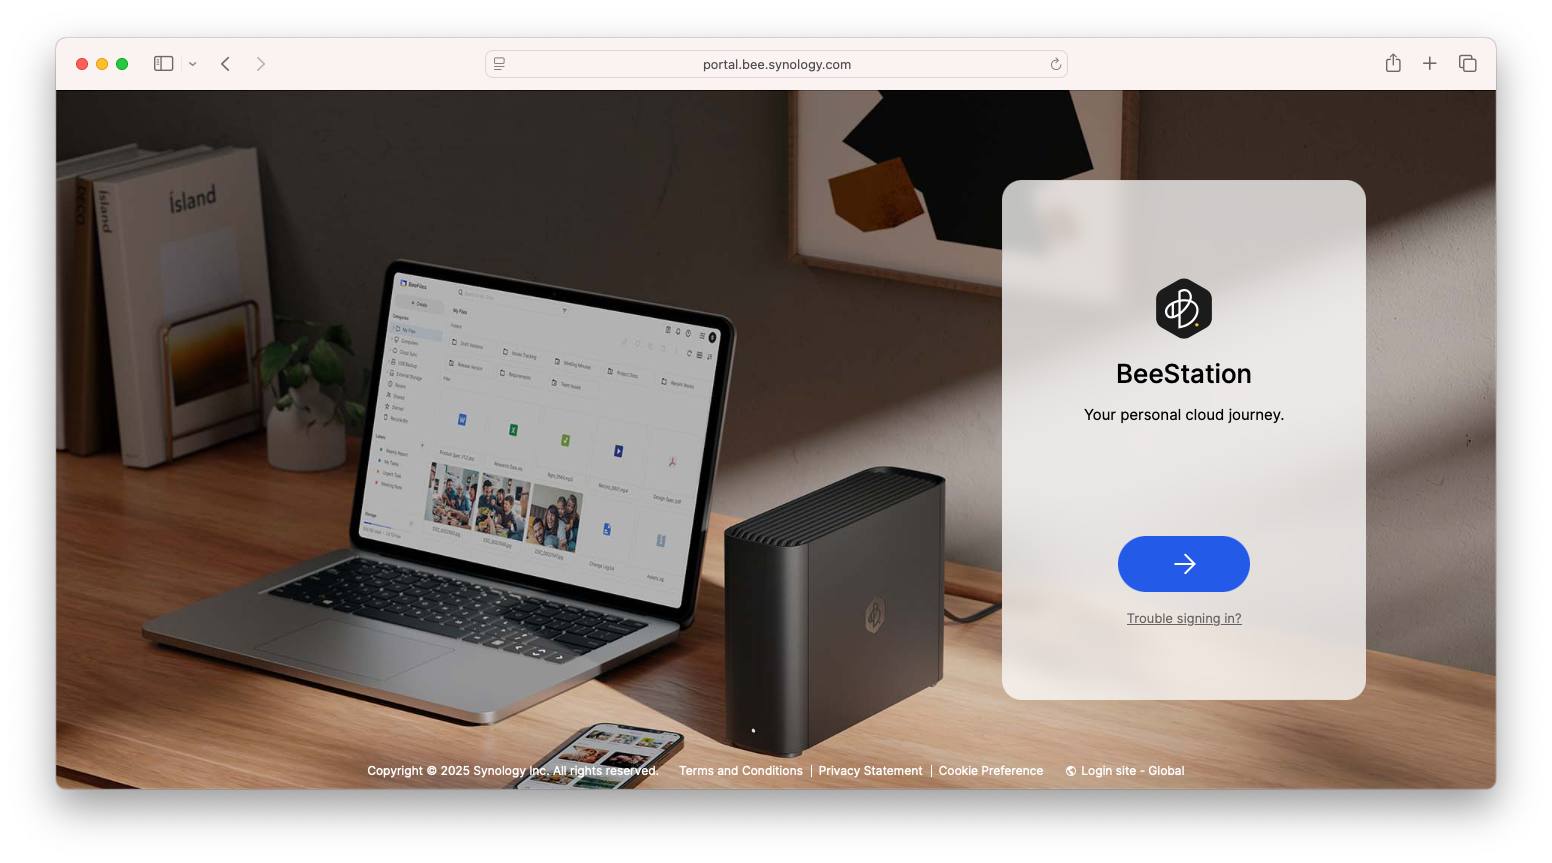
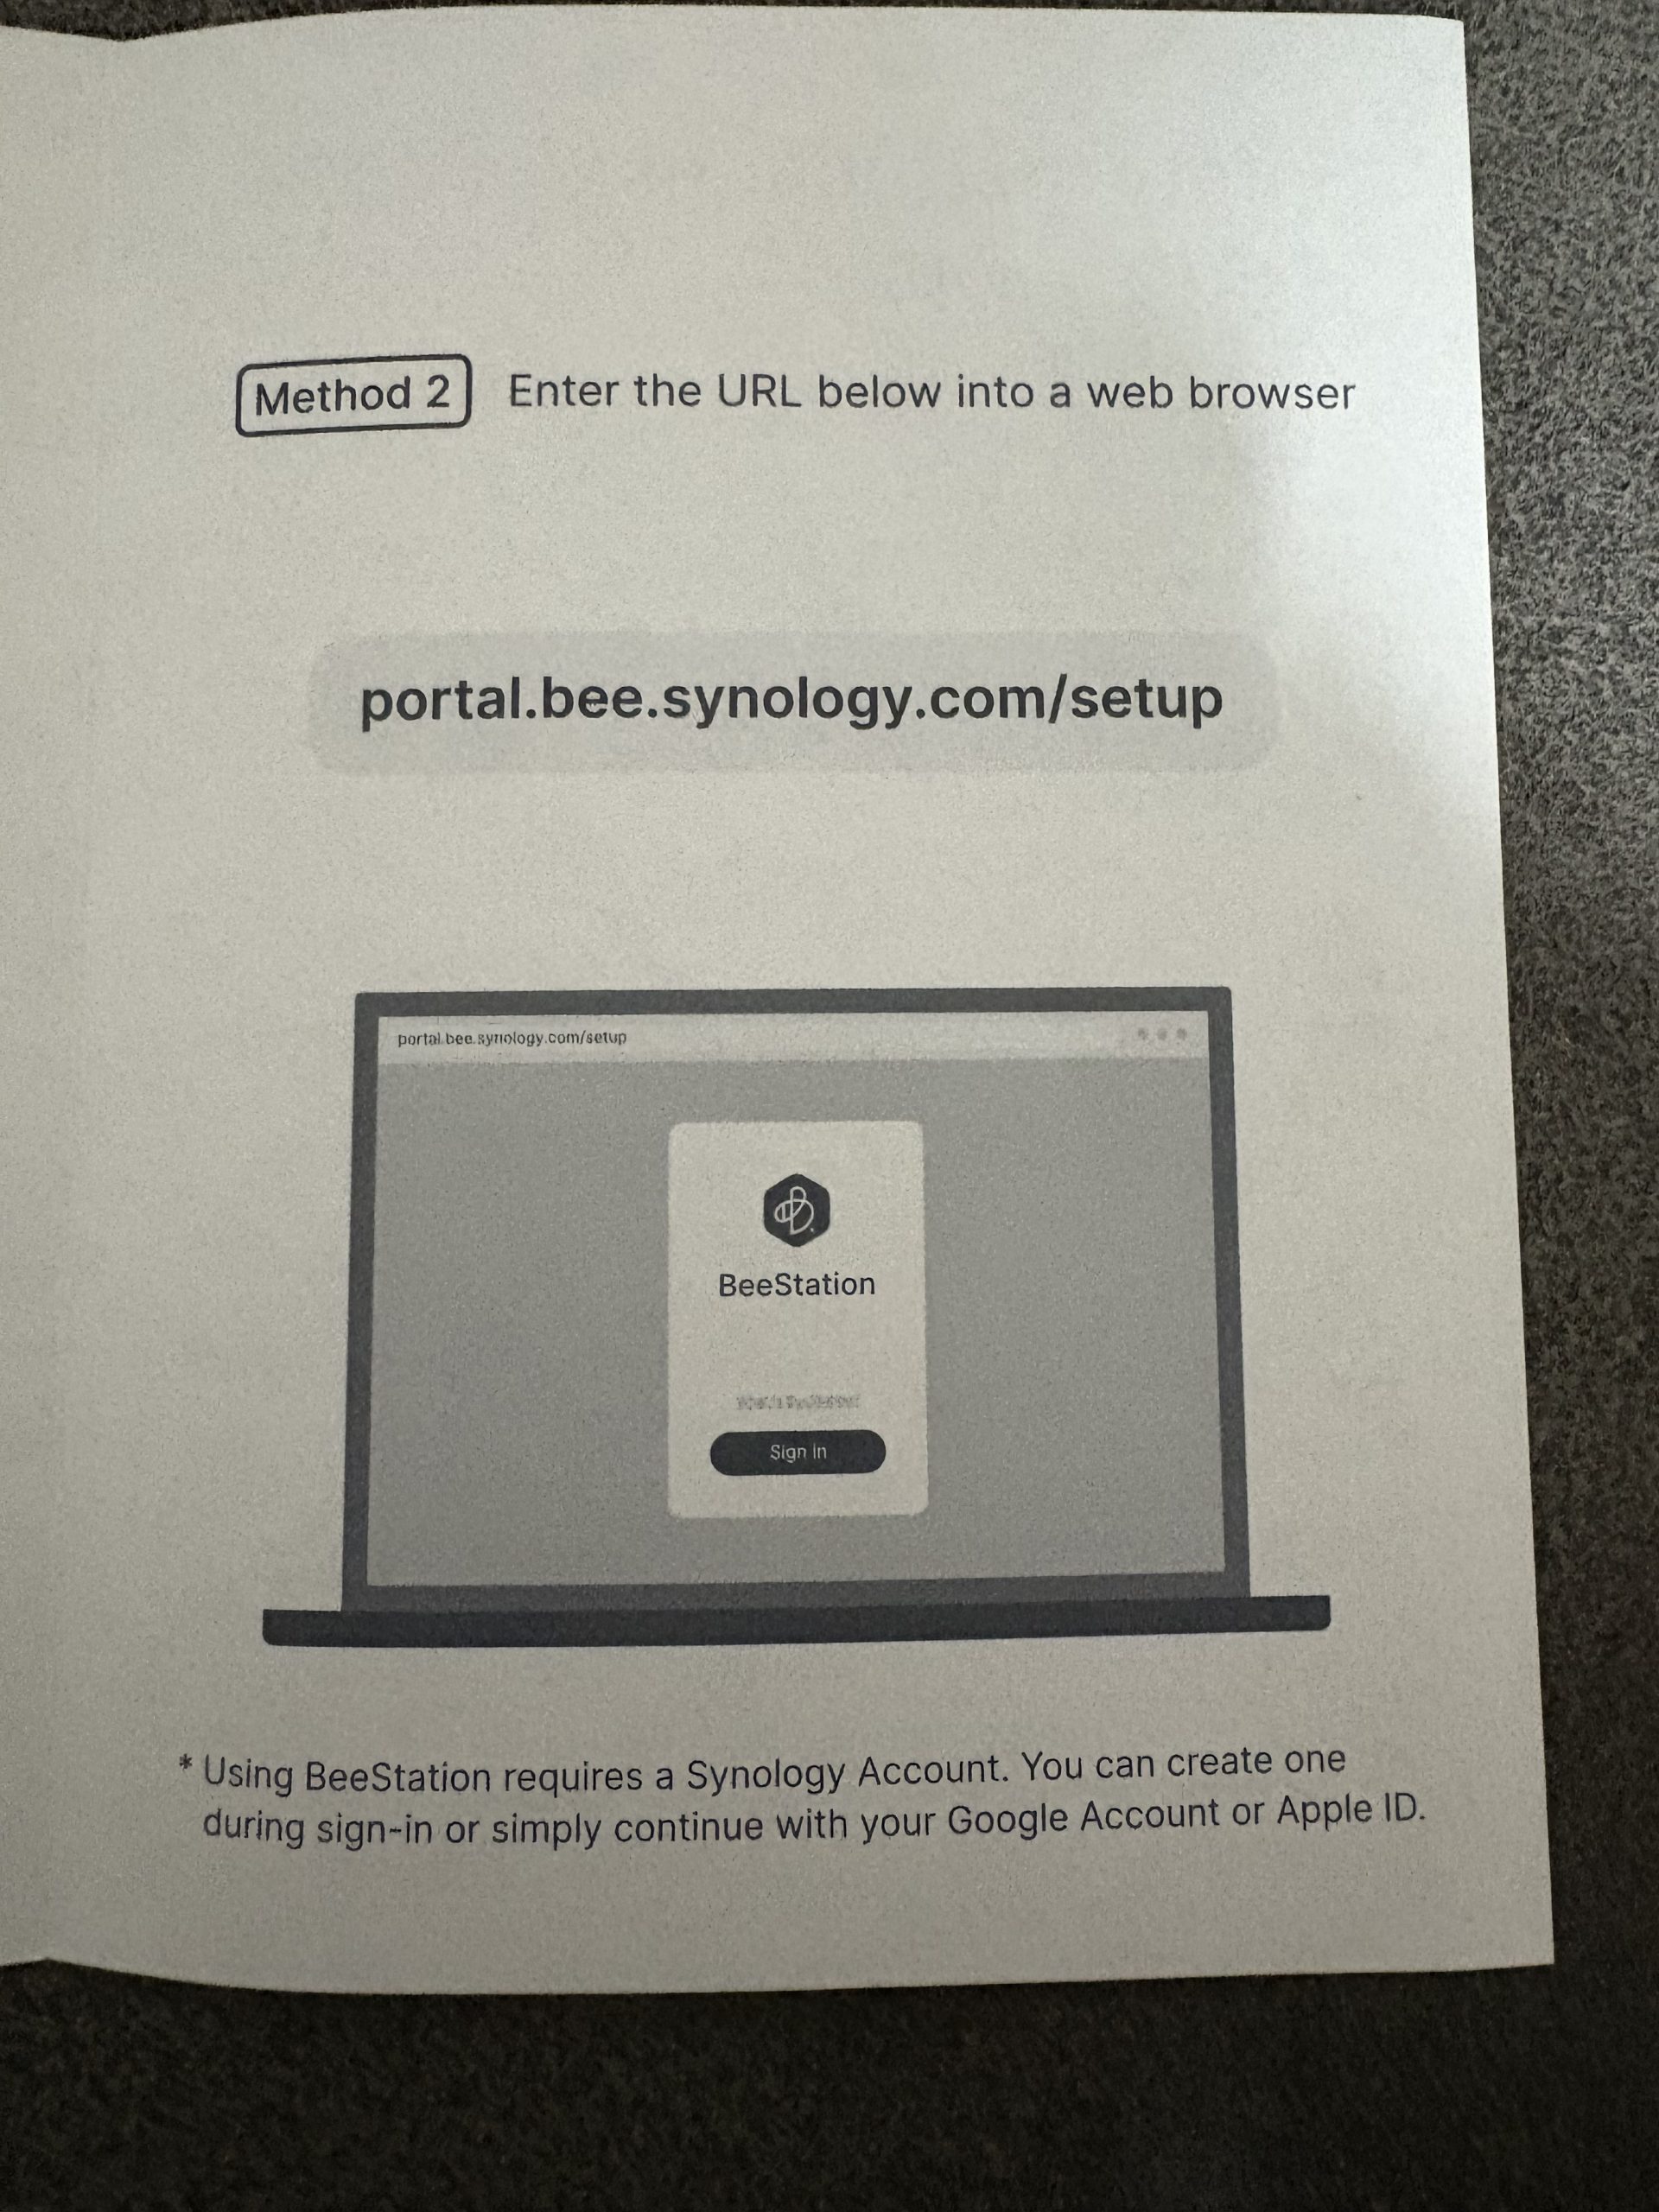
Going to the web site listed in the Quick Start Guide brings you to a web page. There is really no question on what to do next since the only thing on the page is a button that starts the process.

The first step is to create an account with Synology. Since this is a cloud device that gives you remote access to your files, internet access is required.
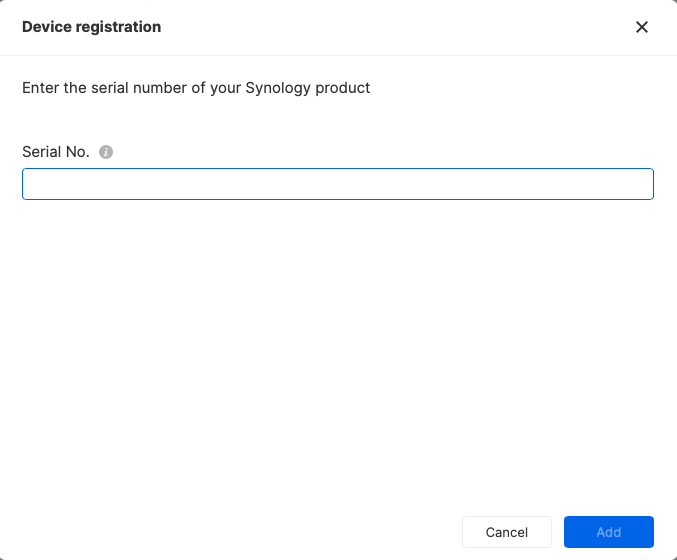
With your account created, you are asked to enter the serial number for your Synology BeeStation Plus. Of course, Synology made that easy to do since you can find it in the Quick Start Quick, as well as on the box and the device.
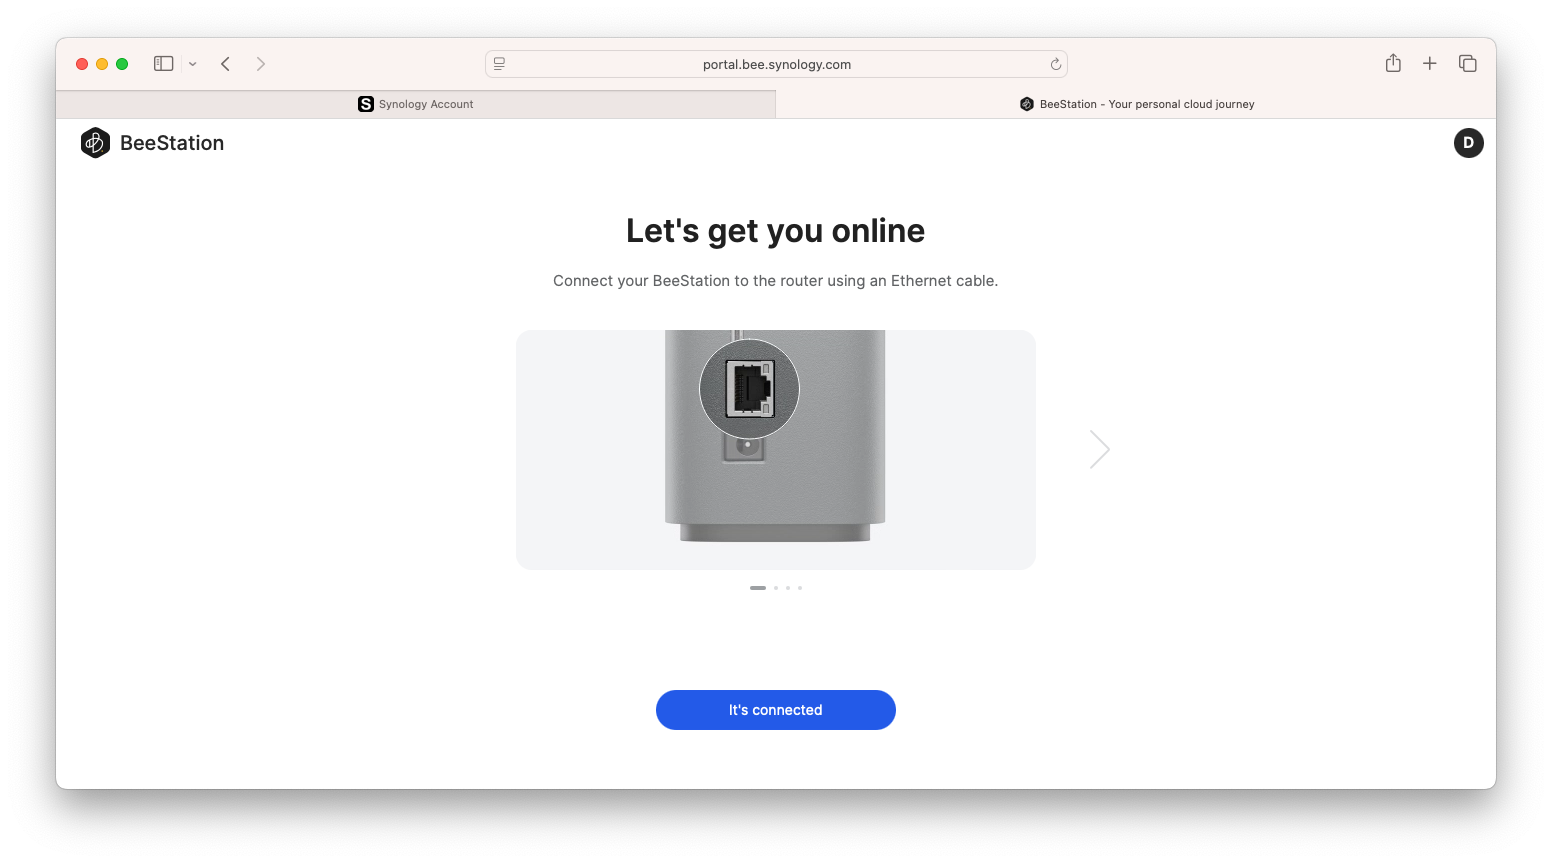
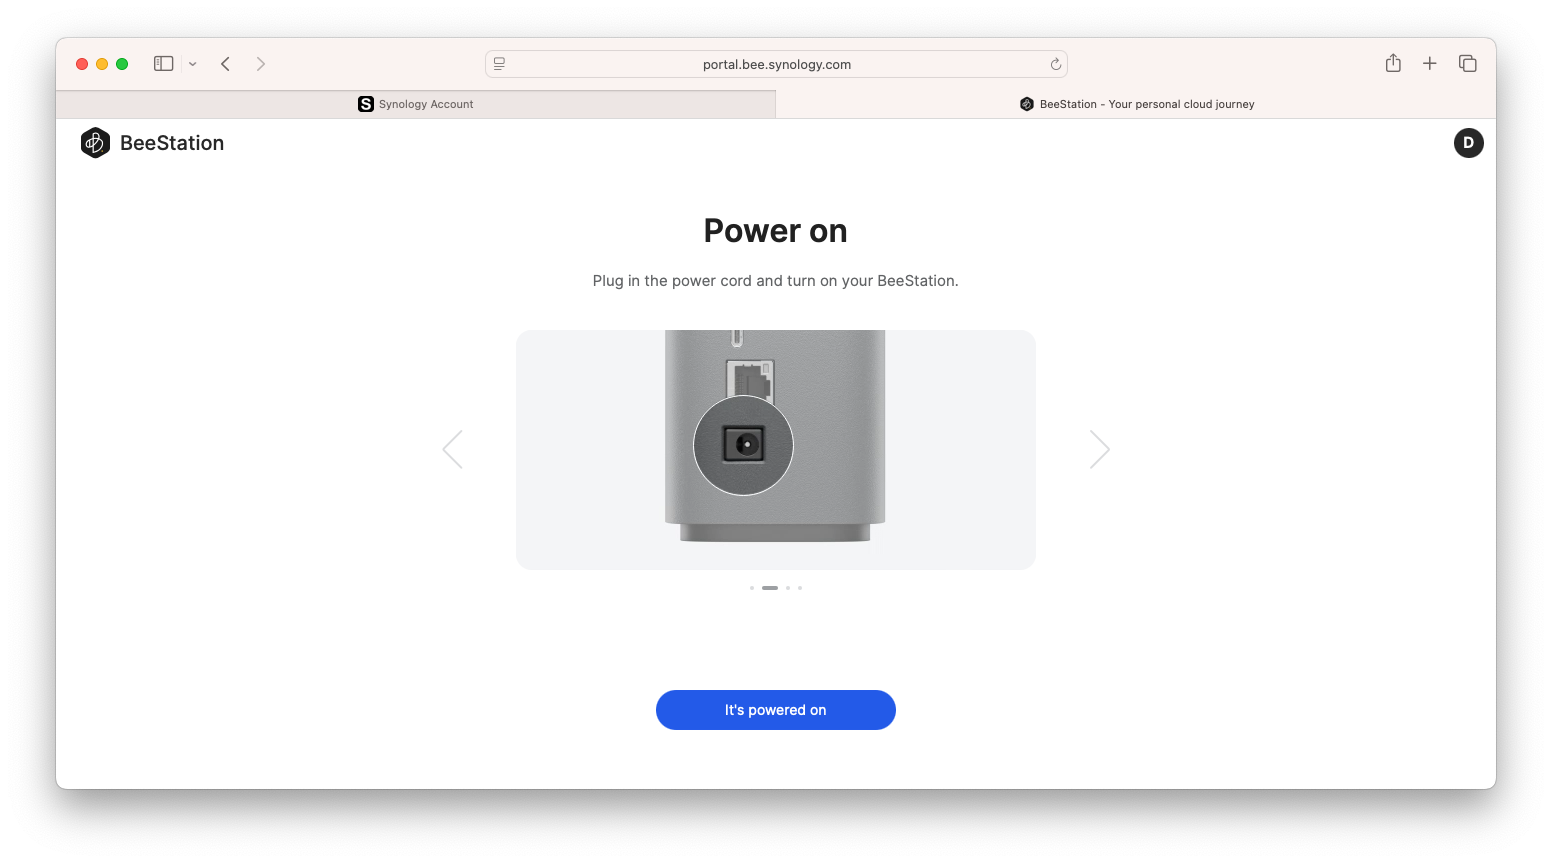
Once you enter the serial number, the setup process takes you step-by-step, leaving nothing to chance. With easy-to-understand illustrations, it asks you to connect the Synology BeeStation Plus to your router, and then connect the power supply. In the unlikely event you’re not sure what connections to make, Synology leaves nothing to chance, with each connection clearly highlighted in each step.
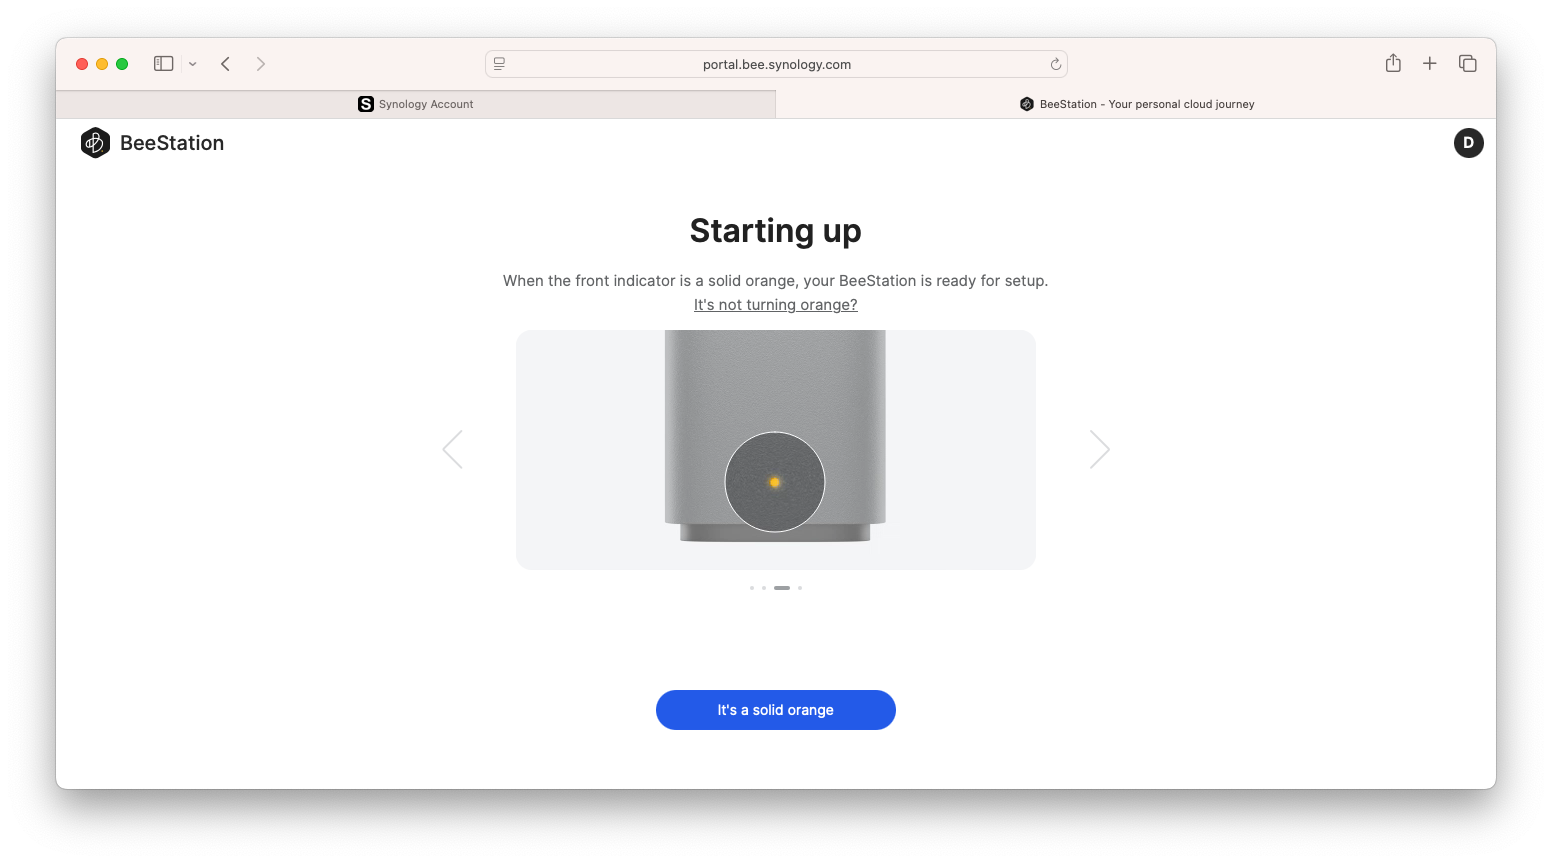
Once connected and powered up, the front LED will blink white for a few seconds and then turn orange. You will then be instructed to press and hold the power button for about 4-seconds until you hear a beep.
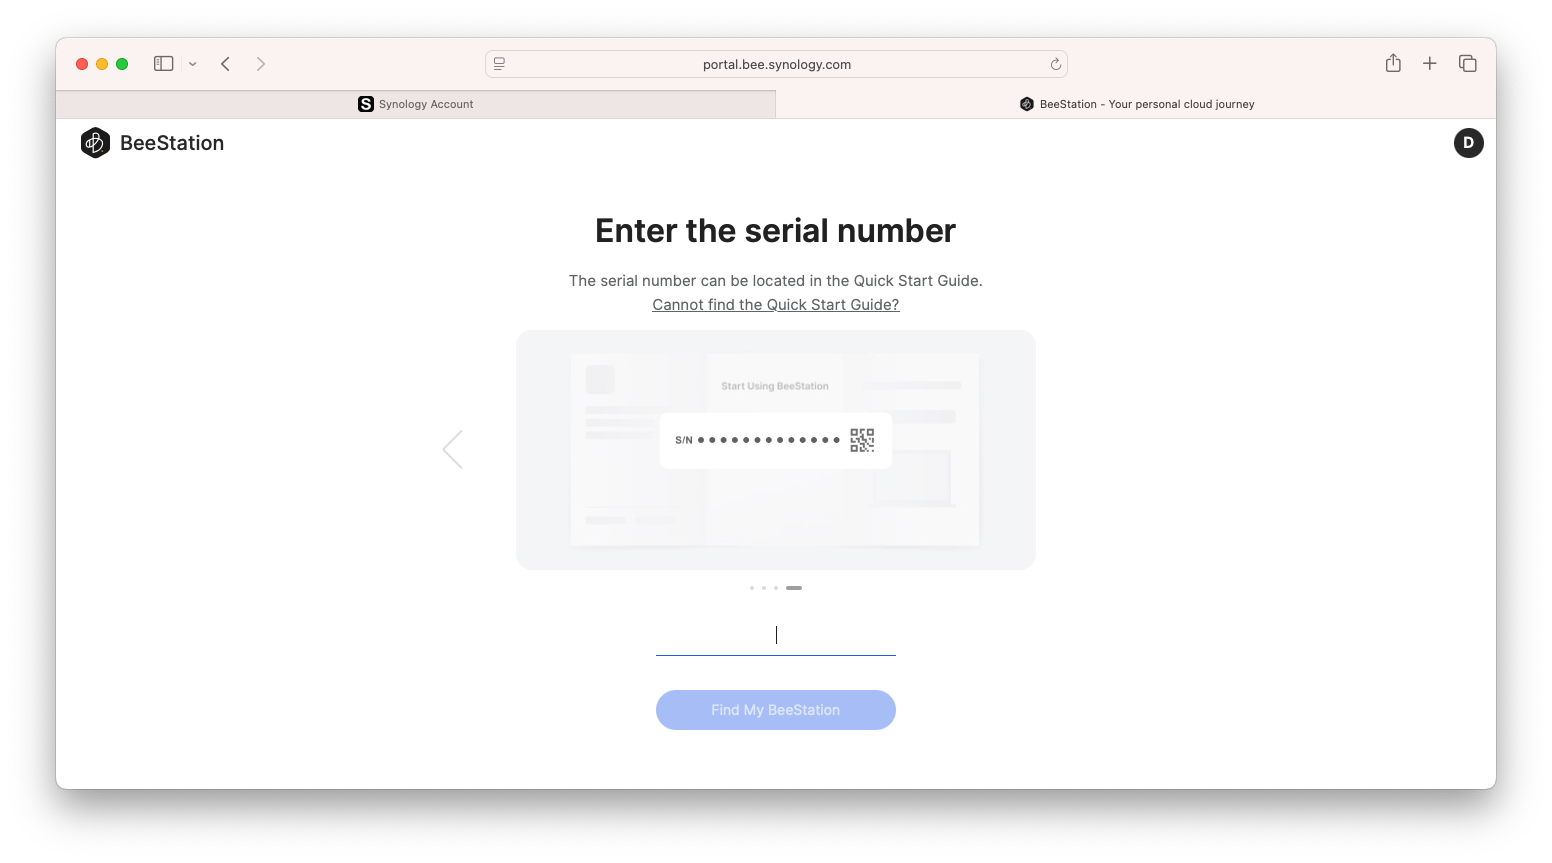
You will be asked to enter the serial number one more time. At this point, the Synology BeeStation Plus takes over and completes the setup process, pretty much on its own.
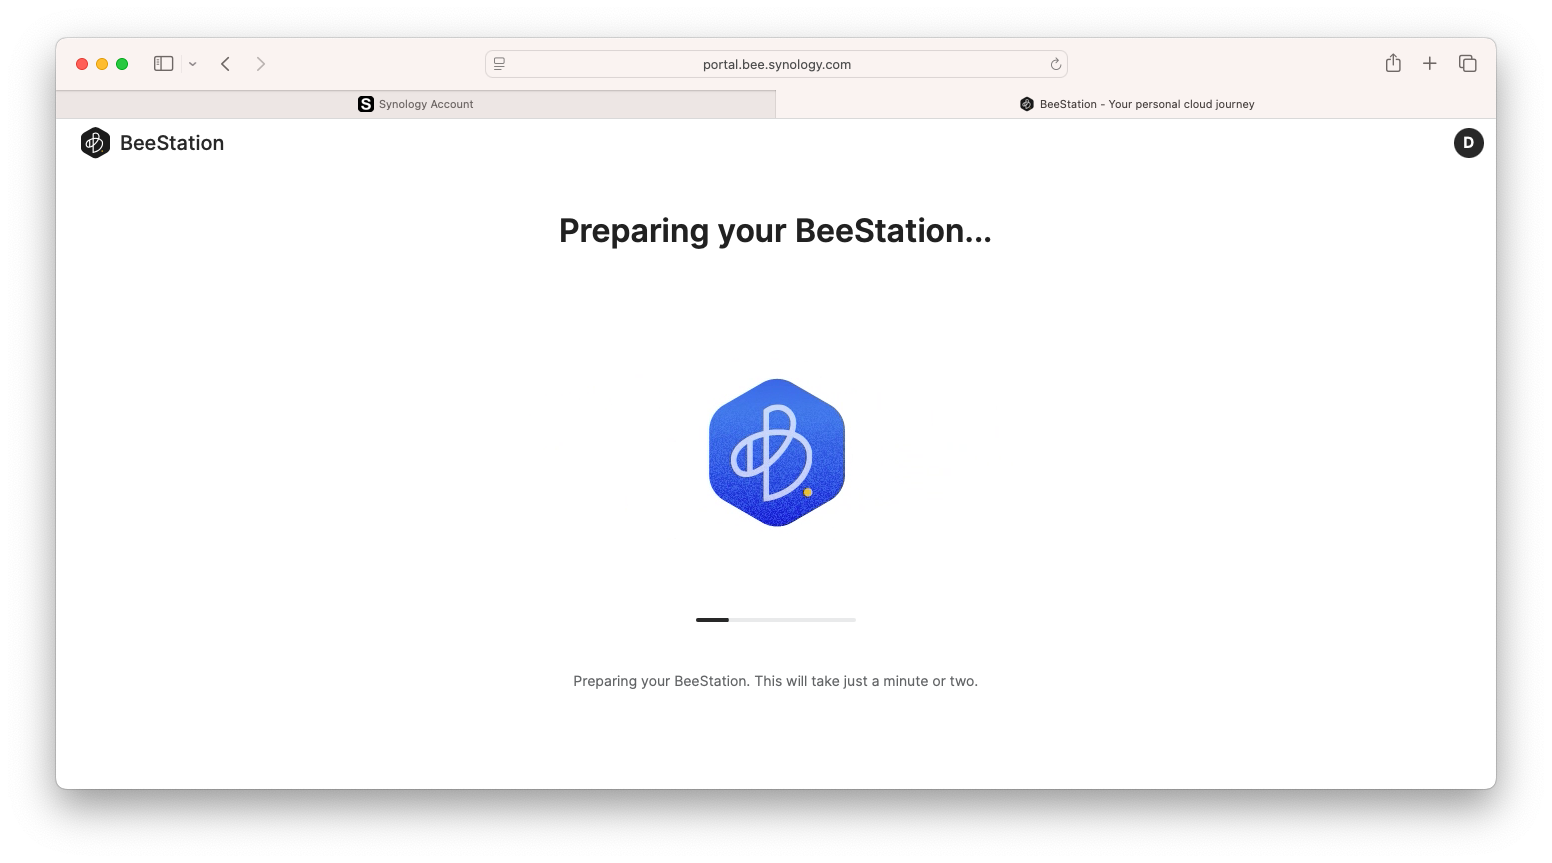
The Synology BeeStation Plus will go through a series of steps to prepare itself, register the devices with the Synology servers and confirm that everything is working correctly.
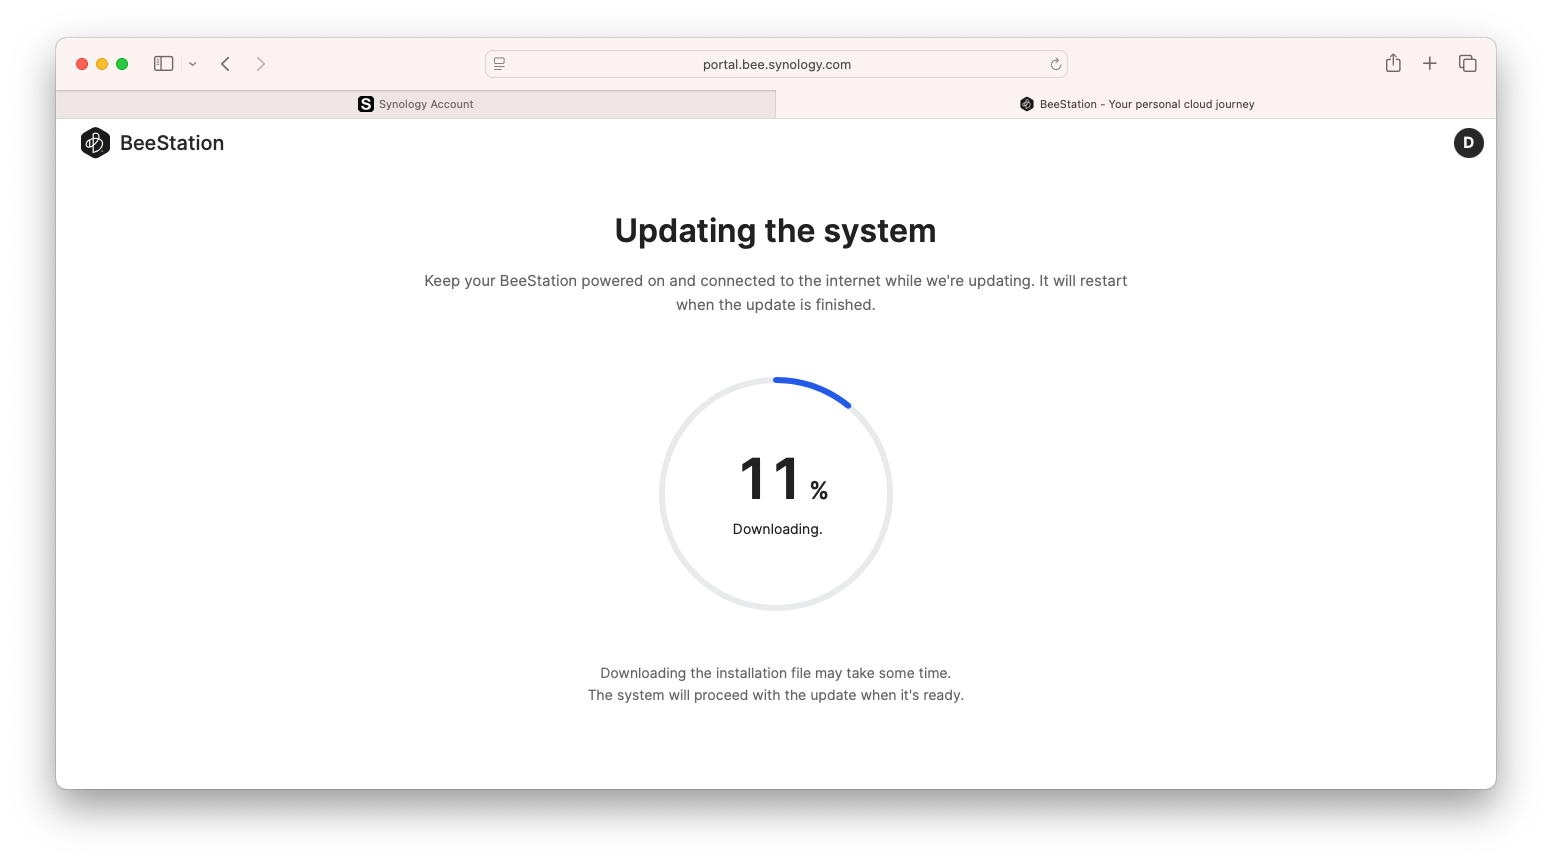
Between the time a product is announced, and the time it enters wide distribution, you can expect there has been one or more firmware updates released. Synology products are no different. So, as a final step, Synology BeeStation Plus automatically checks for any available updates and installs them to your device.
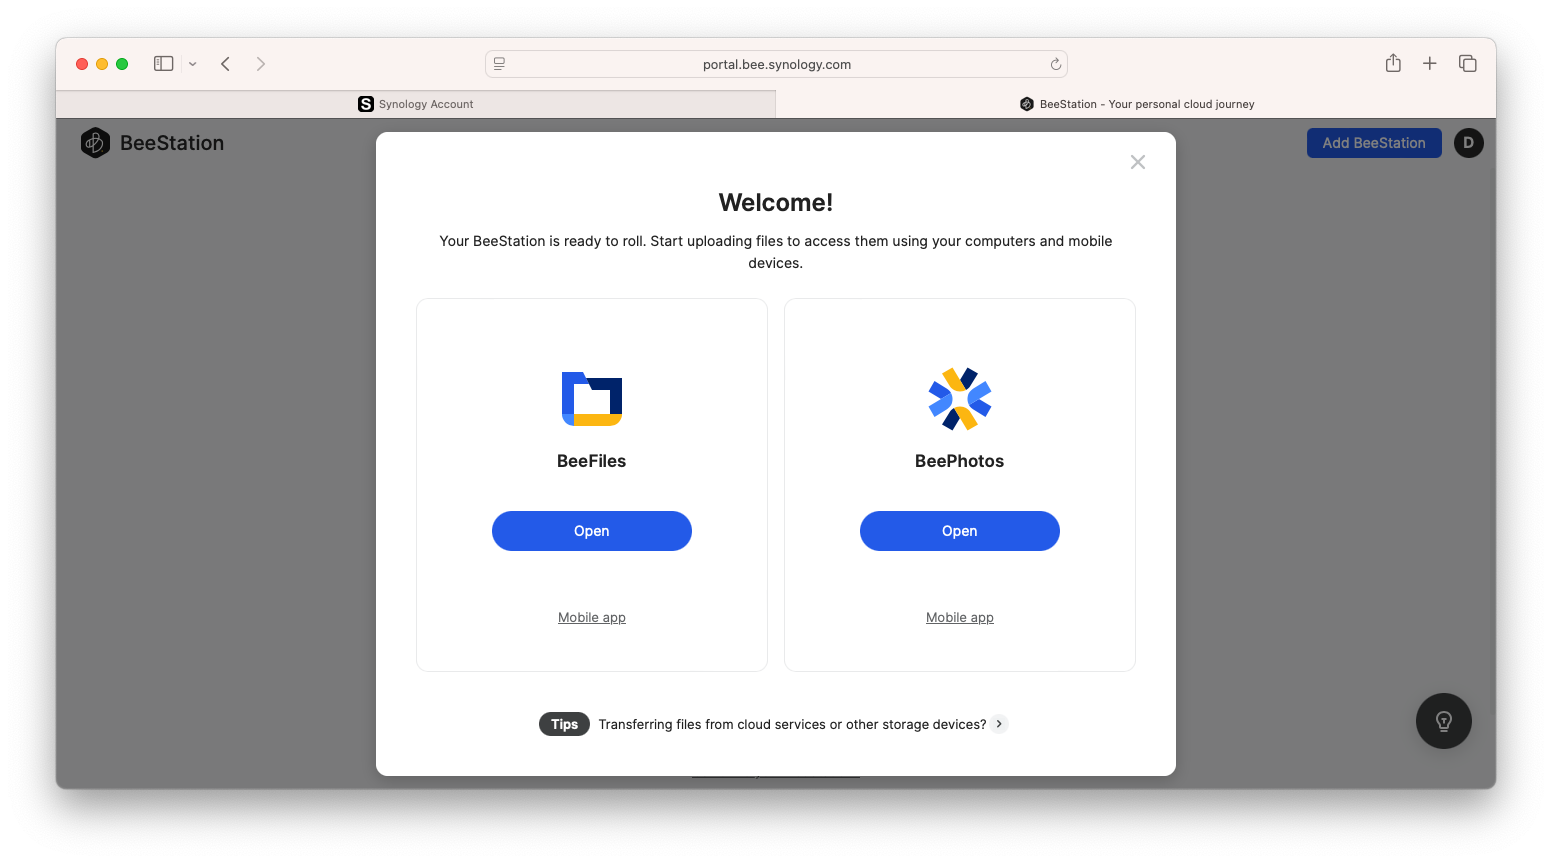
After the update is complete, the Synology BeeStation Plus will restart itself, and present you with a Welcome screen and options for the two main applications, BeeFiles and BeePhotos.
At this point, the setup process is complete and you are ready to begin using the Synology BeeStation Plus to store files for remote access, back-up your Mac and your Photos library from your iPhone and more.
That means we have a lot more to talk about so check back next week, when we dive into all of that and more, in Part 2 of our review of the Synology BeeStation Plus.
If you liked this article, please consider sharing it with your friends and leaving a comment below. Also, don’t forget to “Like” us on Facebook and add the Apple Tech Talk channel to your Apple News app.
Apple Tech Talker

[…] we unboxed and set up our Synology BeeStation Plus. If you missed that article, you can read it here. With our device up and running, it’s time to take a look at what it can do, and why it’s a […]