
Last week, we unboxed and set up our Synology BeeStation Plus. If you missed that article, you can read it here. With our device up and running, it’s time to take a look at what it can do, and why it’s a great option for those that want a cloud of their own.
Disclosure: Apple Tech Talk participates in various affiliate marketing programs and may receive compensation if you purchase a product through one of our links, and/or in the form of product donations from the companies whose products we review . Unless otherwise specifically stated, Apple Tech Talk does not receive any other compensation for its reviews. The opinions expressed are based solely on our independent testing, are our own and are not shared with anyone prior to release on our site.
A Little About BeeStation
For those that don’t want, or need a NAS but still wants the ability to access their own data remotely, backup important files, manage their photo library, all without the need to deal with minimal storage limits, or pay monthly fees for additional capacity, Synology BeeStation Plus is for you.
Few Apple enthusiasts will forget January 2007, when Steve Jobs took the stage to introduce three new devices, an iPod, and Internet communicator and a mobile phone. It took a minute for people to “get it.” This wasn’t really three new devices, but one integrated device called iPhone.
One of the most interesting aspects of the announcement was that this new iPhone ran on something called iPhone OS. Jobs went on to explain that this new operating system was built on the same Unix-based core as mac OS X, but was optimized with a different user interface.
Basically, Apple took the basic foundation of mac OS X and simplified it to meet the needs of their new device. In BeeStation, Synology has basically done the same.
We have long praised the design and functionality of Synology’s Disk Station Manager operating system, known as DSM. The clean interface and ability to add applications and handle even the largest hardware devices, has made DSM one of the most popular NAS operating systems available today. But for many people, setting up and operating a NAS is intimidating, and having to manage a complicated operating system, even one as well designed as DSM, is something they are just not interested in.
Following in the footsteps of Apple and iPhone OS, Synology took the basic functionality of DSM, created a simple to understand and even simpler to use interface, and created a device and OS that anyone can use.
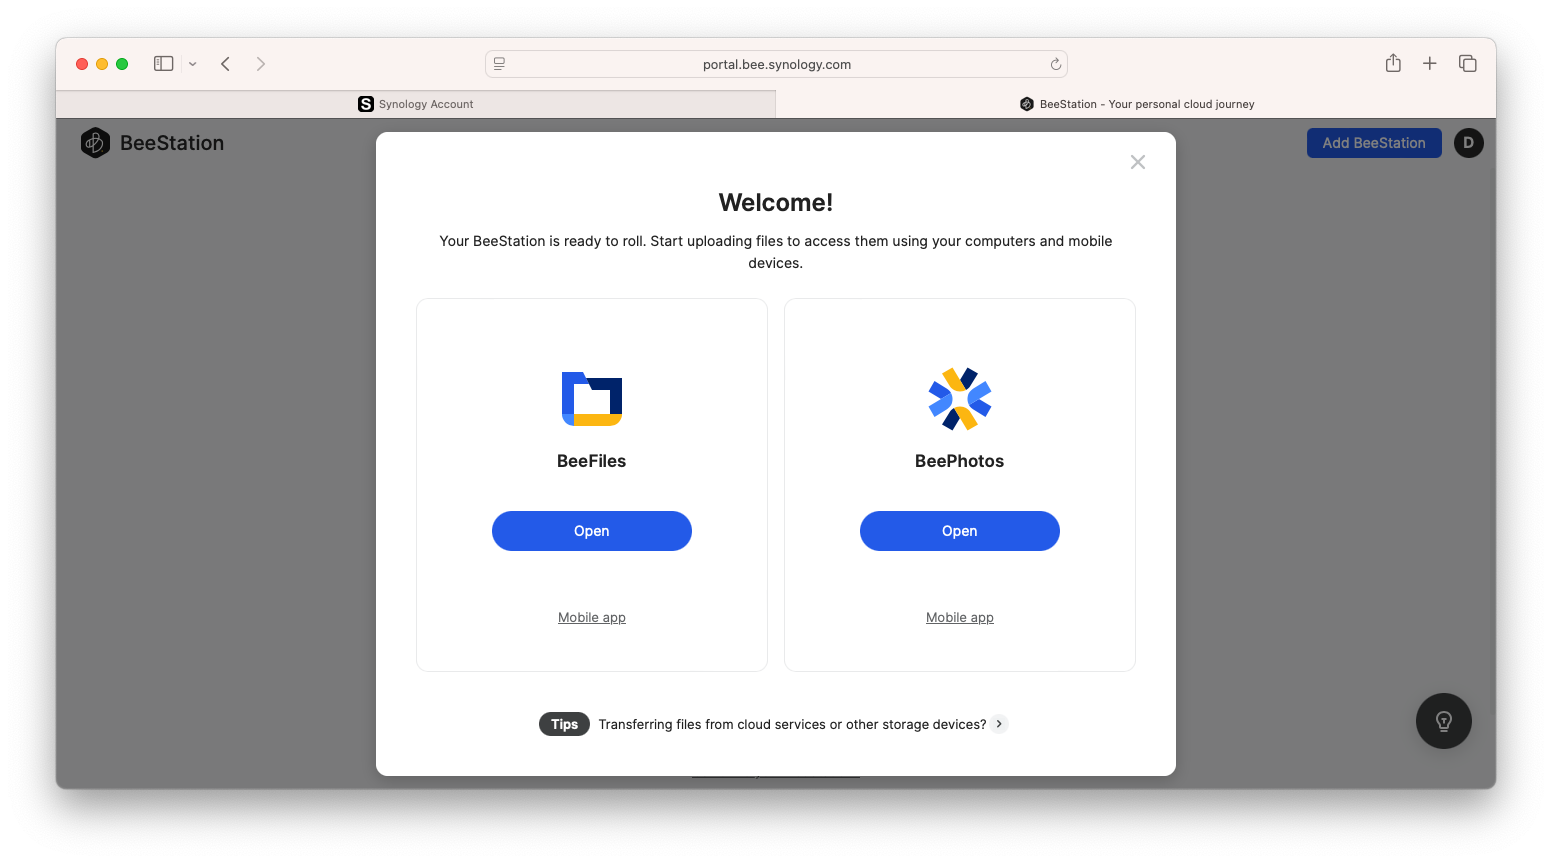
As we discussed in part 1 of our review, the last screen you get upon completion of the set-up shows you two choices, BeeFiles and BeePhotos. Undoubtedly, you will want to jump right in and explore your Synology BeeStation Plus. After that, you can easily get to your BeeStion through any web browser via the URL; https://portal.bee.synology.com.
If you haven’t yet logged into your device, or you are using a browser at a remote location, you will need to log into your Synology account, using the credentials you used to set up your account.
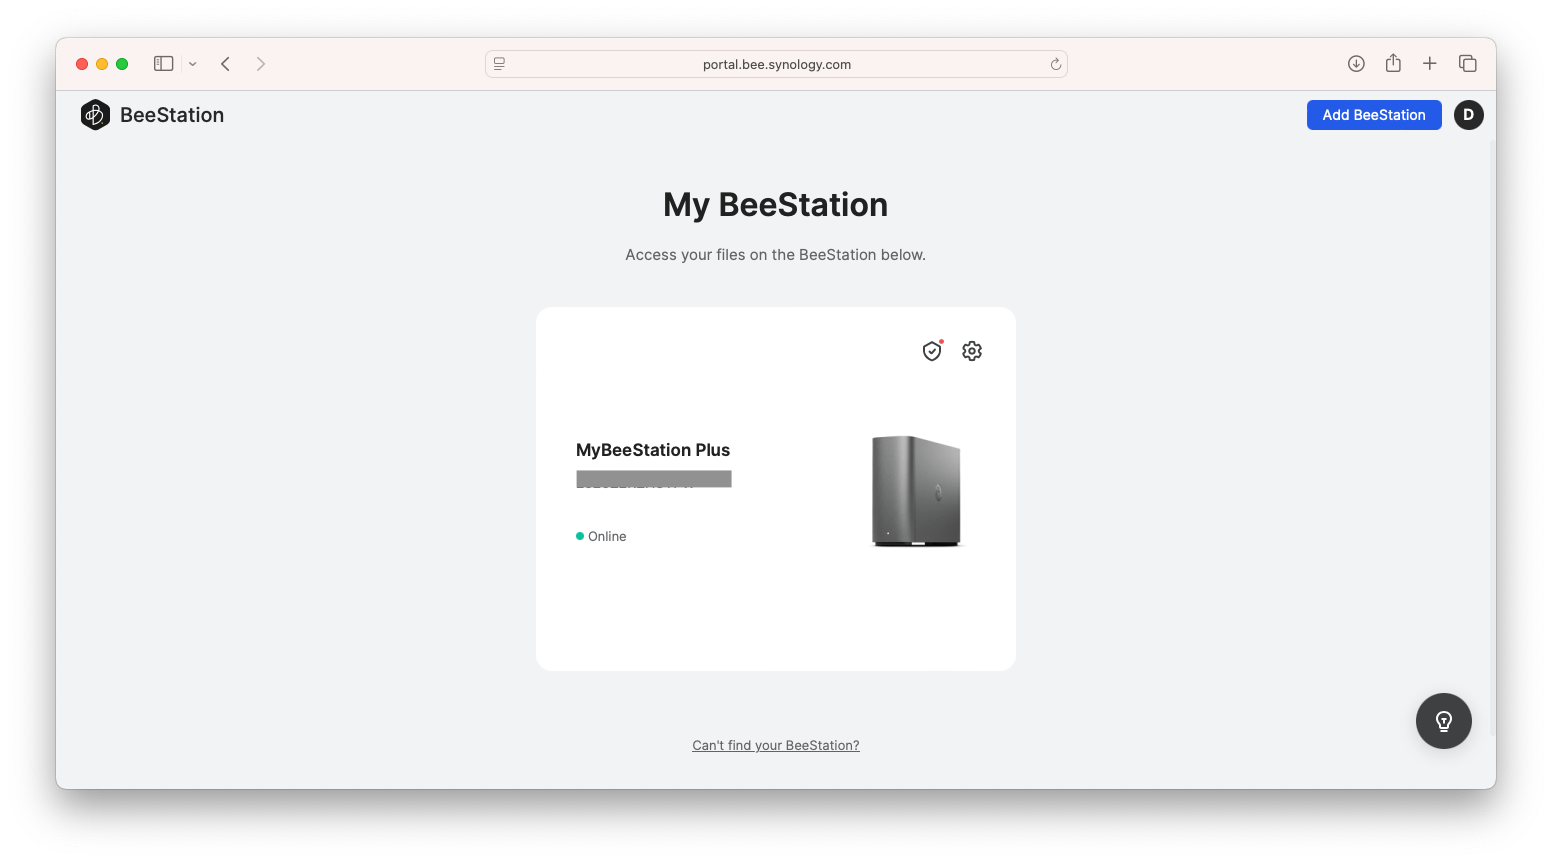
Once logged in, you will see the main screen with your Synology BeeStation Plus, identified by its serial number and your unique name if you assigned one.
On this screen you have the same two application choices, BeeFiles and BeePhotos. You also have the ability to edit the device name, go into the settings or unlink the device from your account.
BeeFiles
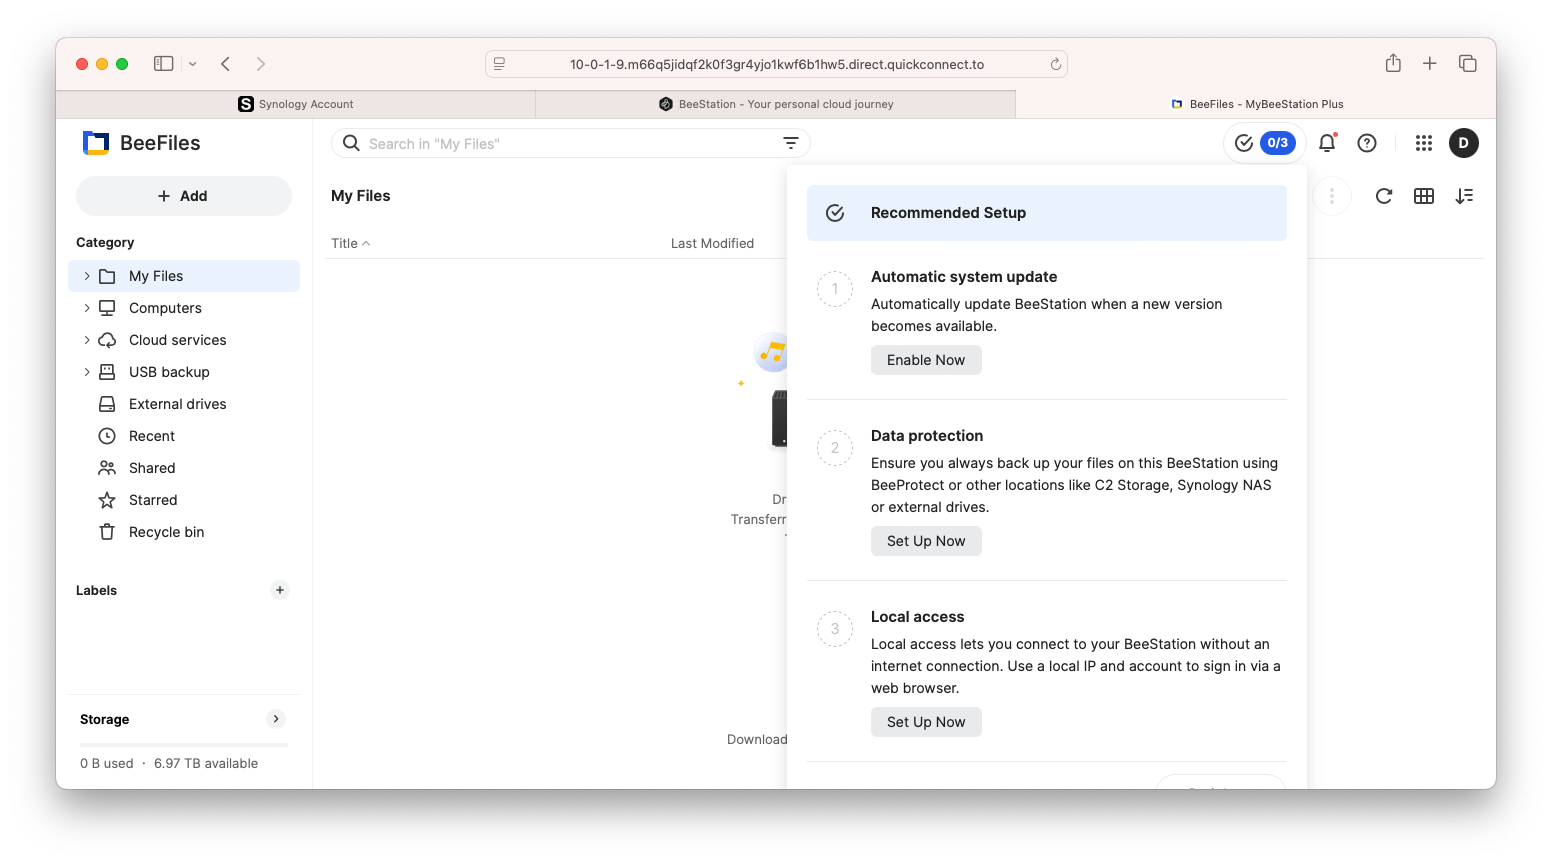
The first time you open the BeeFiles application, you may see some final choices for how you want your Synology BeeStation Plus to operate.
The first is to enable automatic updates, so that you can be sure you always have the most up to date firmware. The next option is to enable automatic backups. Like any important data, having a backup is vital and the Synology BeeStation Plus make it very easy to do. We’ll talk more about this in a moment. Finally, you can set up your Synology BeeStation Plus to connect locally without the need for an Internet connection.
All of these are important features which we think you should enable immediately. However, if you are not sure which one(s) you want, you can always go back later and enable or disable them in the settings.
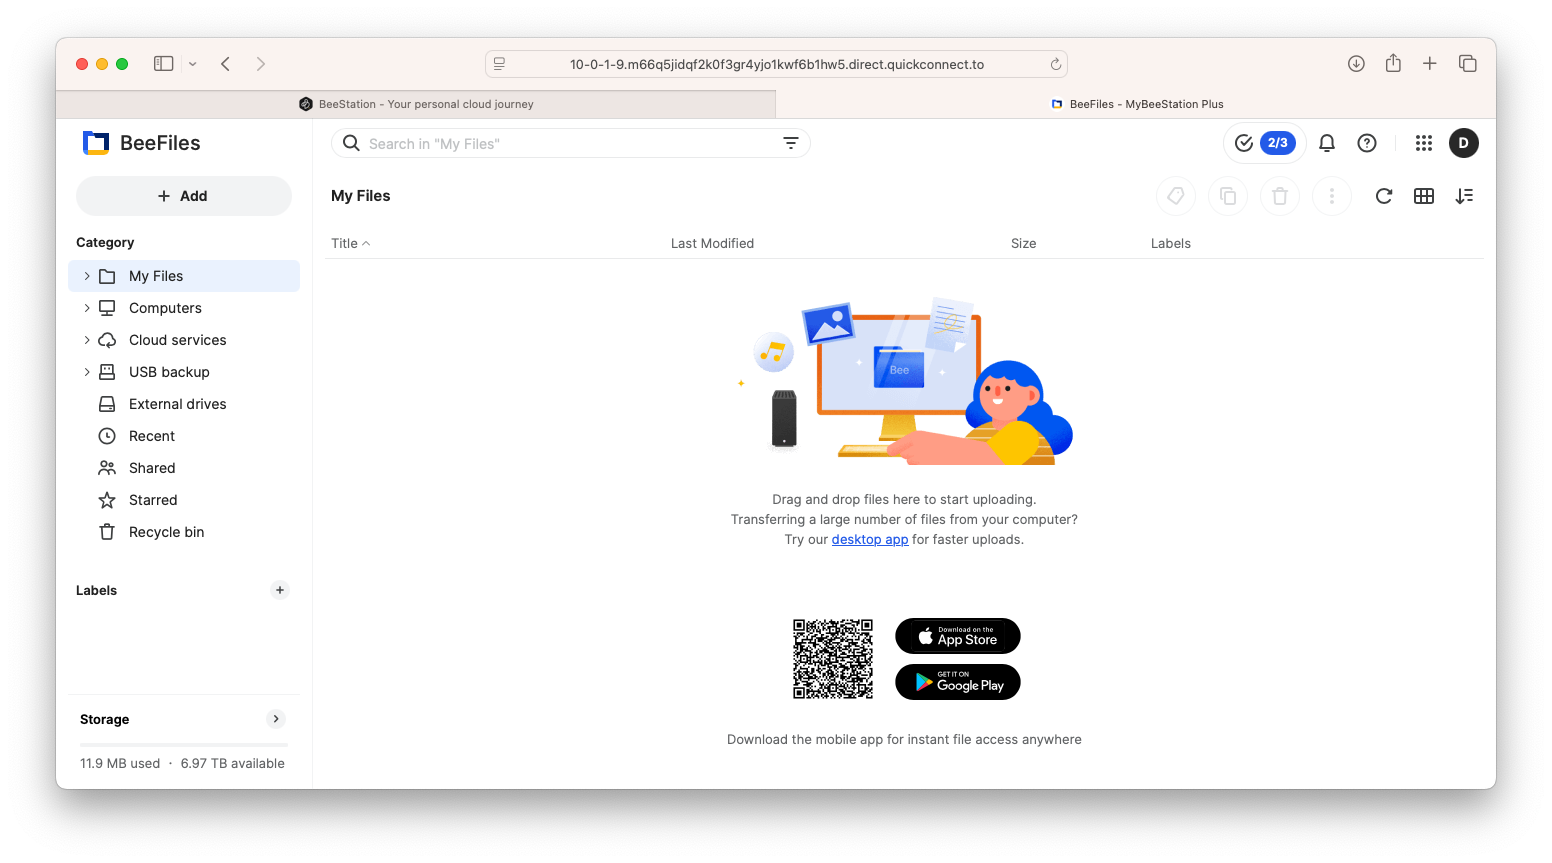
With those selections made, you are now presented with the main BeeFiles Screen.
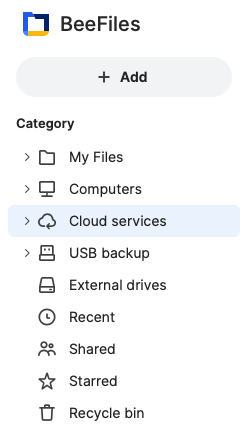
On the left side of the BeeFiles screen is the Categories section. Let’s take a brief look at each option.
My Files – Think of this as the BeeStation version of the Mac OS Finder. Here you can upload files and folders from your Mac or simply drag and drop them. You also have the ability to create folders within the BeeFiles window, so you can organize files and folder differently than you may have them on your Mac.
Computers – This section allows you to sync or backup your computer to your BeeStation. To do this, you need to install the free BeeStation Desktop app to your Mac.
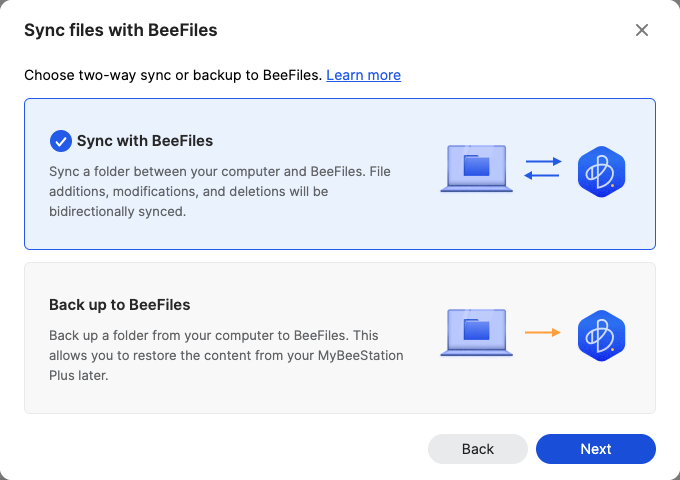
The app gives you two choices, a continuous sync between your desktop and the BeeStation, or a backup of the files and folders.
While you can do only some of the files, we see this as a great way to have a complete backup of your desktop. And since the sync is a two-way process, you have the ability to update your files remotely, and have the latest version waiting for you on your computer, when you are back at your desk.
For those of you that are familiar with DSM, this functionality should seem very familiar to you since it is basically the Synology Drive application.
Cloud Services – As the name implies, this allows you to sync your cloud services to your BeeStation.
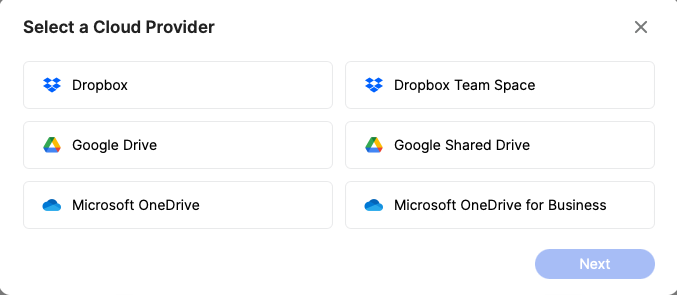
You have the ability to connect to the most popular cloud services and, like the Computers section, can create either a two-way sync or just a download from your cloud service to your BeeStation.
For people that use multiple cloud services to avoid paying for increased storage, or those that do pay for extra storage, converting all of that to a BeeStation and cancelling those monthly fees could pay for the BeeStation in short order.
It should be noted that Apple’s iCloud is not included as a cloud service choice. This is an Apple issue and not a Synology issue.
USB Backup – If you are a longtime reader of Apple Tech Talk, you know we are big on backups. Backing up your computer and other devices is important, and backing up a BeeStation is no different.
Synology has made this easy by including both a USB-A and a USB-C port on the back of the unit. Whether you use a regular hard drive or a thumb drive, all you need to do is connect the drive to the back of the unit, and click Back Up Now on the USB backup screen.
You are given some options on how to handle file conflicts, and there is even an option for automatic backups, whenever you connect a dive.
By default, the system will back up the entire contents of the BeeStation. While you have the option to select specific folders, we recommend that you back up the entire BeeStation contents. You may even want to consider making multiple copies on a rotating basis and keep one off-site at all times, as part of a 3-2-1 back-up strategy.
External Drives – In the event you need more capacity, the BeeStation allows you to connect an external drive which can be used as additional capacity. Think of it as adding a second volume to a NAS or an external drive to your Mac.
Even without instructions it should be easy to understand what each section is for. But if you ever do need some help, Synology provides a comprehensive, and well-illustrated document on their web site, which is available here.
BeePhoto
If BeeFiles is like Finder, BeePhotos is like the Apple Photos app.
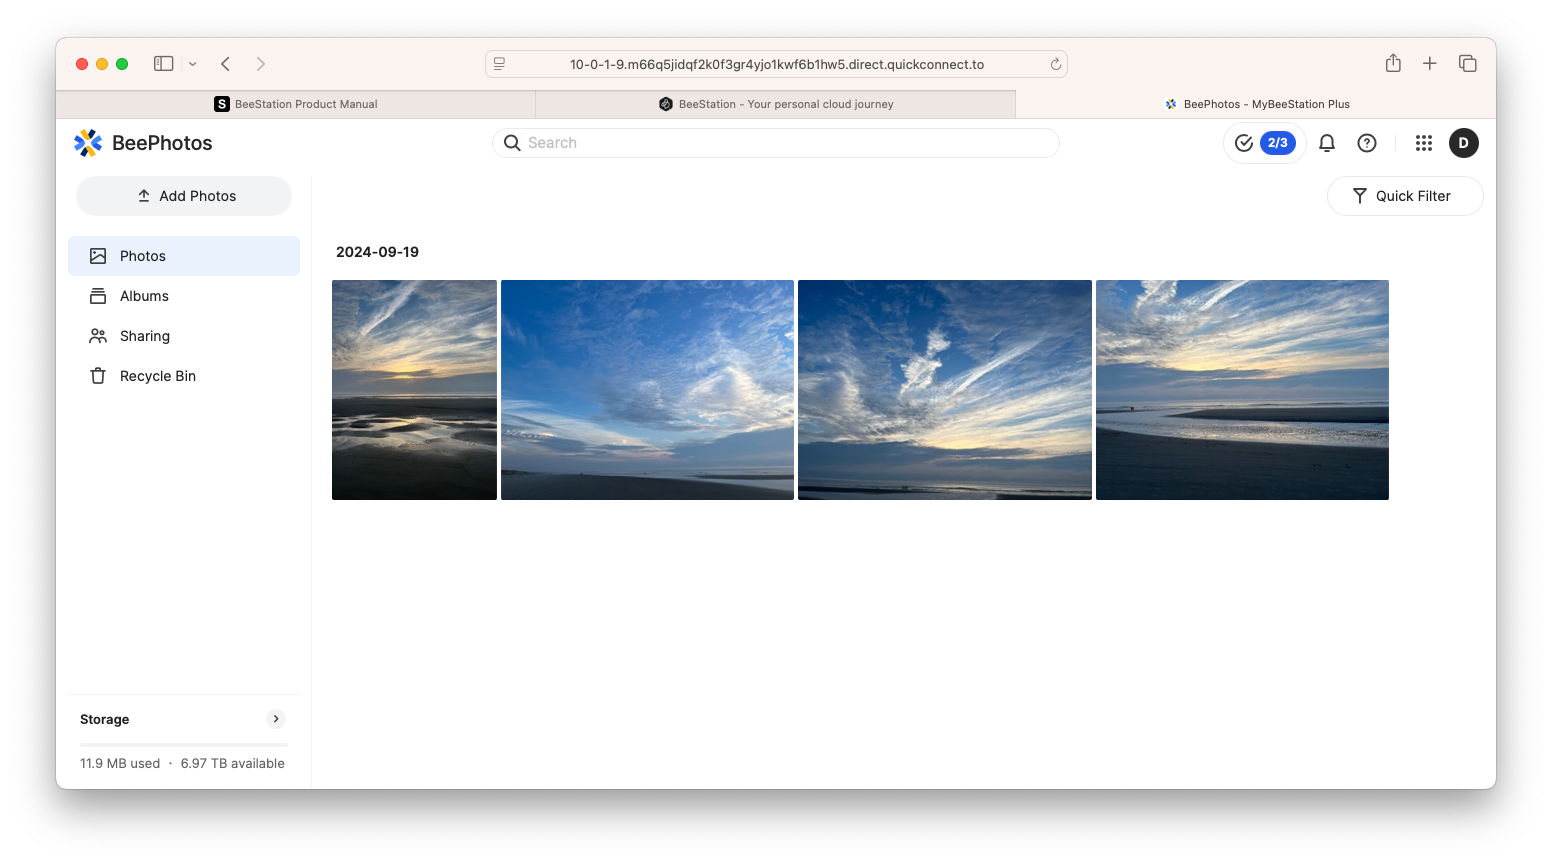
Like BeeFiles, the screen is very clean and easy to understand. You can just drag and drop files from your Mac onto the BeePhotos page and they will be copied onto the BeeStation. You also have the option to upload a large collection of files from your computer or copy files or complete folders from BeeFiles by clicking the Add Photos button.
Like the Apple Photos app, BeePhotos will automatically create Albums for Recently Added photos, People, Subjects, Places and Tags you may have applied to the photos.
Perhaps the best part of the BeePhotos application is the iPhone app, which automatically uploads your complete iPhone photo library to the BeeStation. This is the same functionality for people that use a Synology NAS and we can tell you that it works great.
With 8TB of storage on the Synology BeeStation Plus, you have the ability to hold over 3 million photos or 500 hours of 4K video. Like BeeFiles for cloud services, using BeePhotos for your photo library, instead of paying for increased storage, could pay for the BeeStation.
Finally, one BeeStation is able to accommodate your entire family. You can have up to eight (8) users on a single BeeStation so everyone can have their own private cloud for their file and photo storage.
The BeeStation Plus is available from Amazom here.
The Bottom Line
It seems like each year we have more and more data to store. File, emails, photos, music and more. And our ability to store it becomes more and more difficult as the amount increases.
For some, having your own NAS is an answer, but for many, the work involved in setting up and managing a NAS is more than they want.
The Synology BeeStation Plus provides an easy to set up, and even easier to use solution for the home or small office.
Having the ability to store your files and access them from anywhere, along with the ease of backing up the data, automatic photo backup and multi-user access, makes this an easy choice.
Now everyone can have a cloud of their own without the monthly fees and the worry of who else may be seeing your data.
We would like to thank the folks at Synology for providing a Synology BeeStation Plus for our testing and review.
What do you think of the idea of having a cloud of your own? Is the BeeStation Plus something you would be interested in? Why not join the conversation and leave a comment below.
If you liked this article, please consider sharing it with your friends and leaving a comment below. Also, don’t forget to “Like” us on Facebook and add the Apple Tech Talk channel to your Apple News app.
Apple Tech Talker

Leave a Comment
You must be logged in to post a comment.