
With data security being top of mind for most individuals and businesses, there’s no such thing as too many encrypted data storage options. Today, we’re taking a look at the DATALOCKER SENTRY K350.
Disclosure: Apple Tech Talk participates in various affiliate marketing programs and may receive compensation if you purchase a product through one of our links, and/or in the form of product donations from the companies whose products we review . Unless otherwise specifically stated, Apple Tech Talk does not receive any other compensation for its reviews. The opinions expressed are based solely on our independent testing, are our own and are not shared with anyone prior to release on our site.
Apple Tech Talk Scorecard
| Pros | Cons |
| Internal battery allows for ease of use | No included USB-C connectivity |
| Large capacity for all your storage needs. |
DATALOCKER SENTRY K350 – Unboxing
This may be one of the easiest unboxing we have ever done.
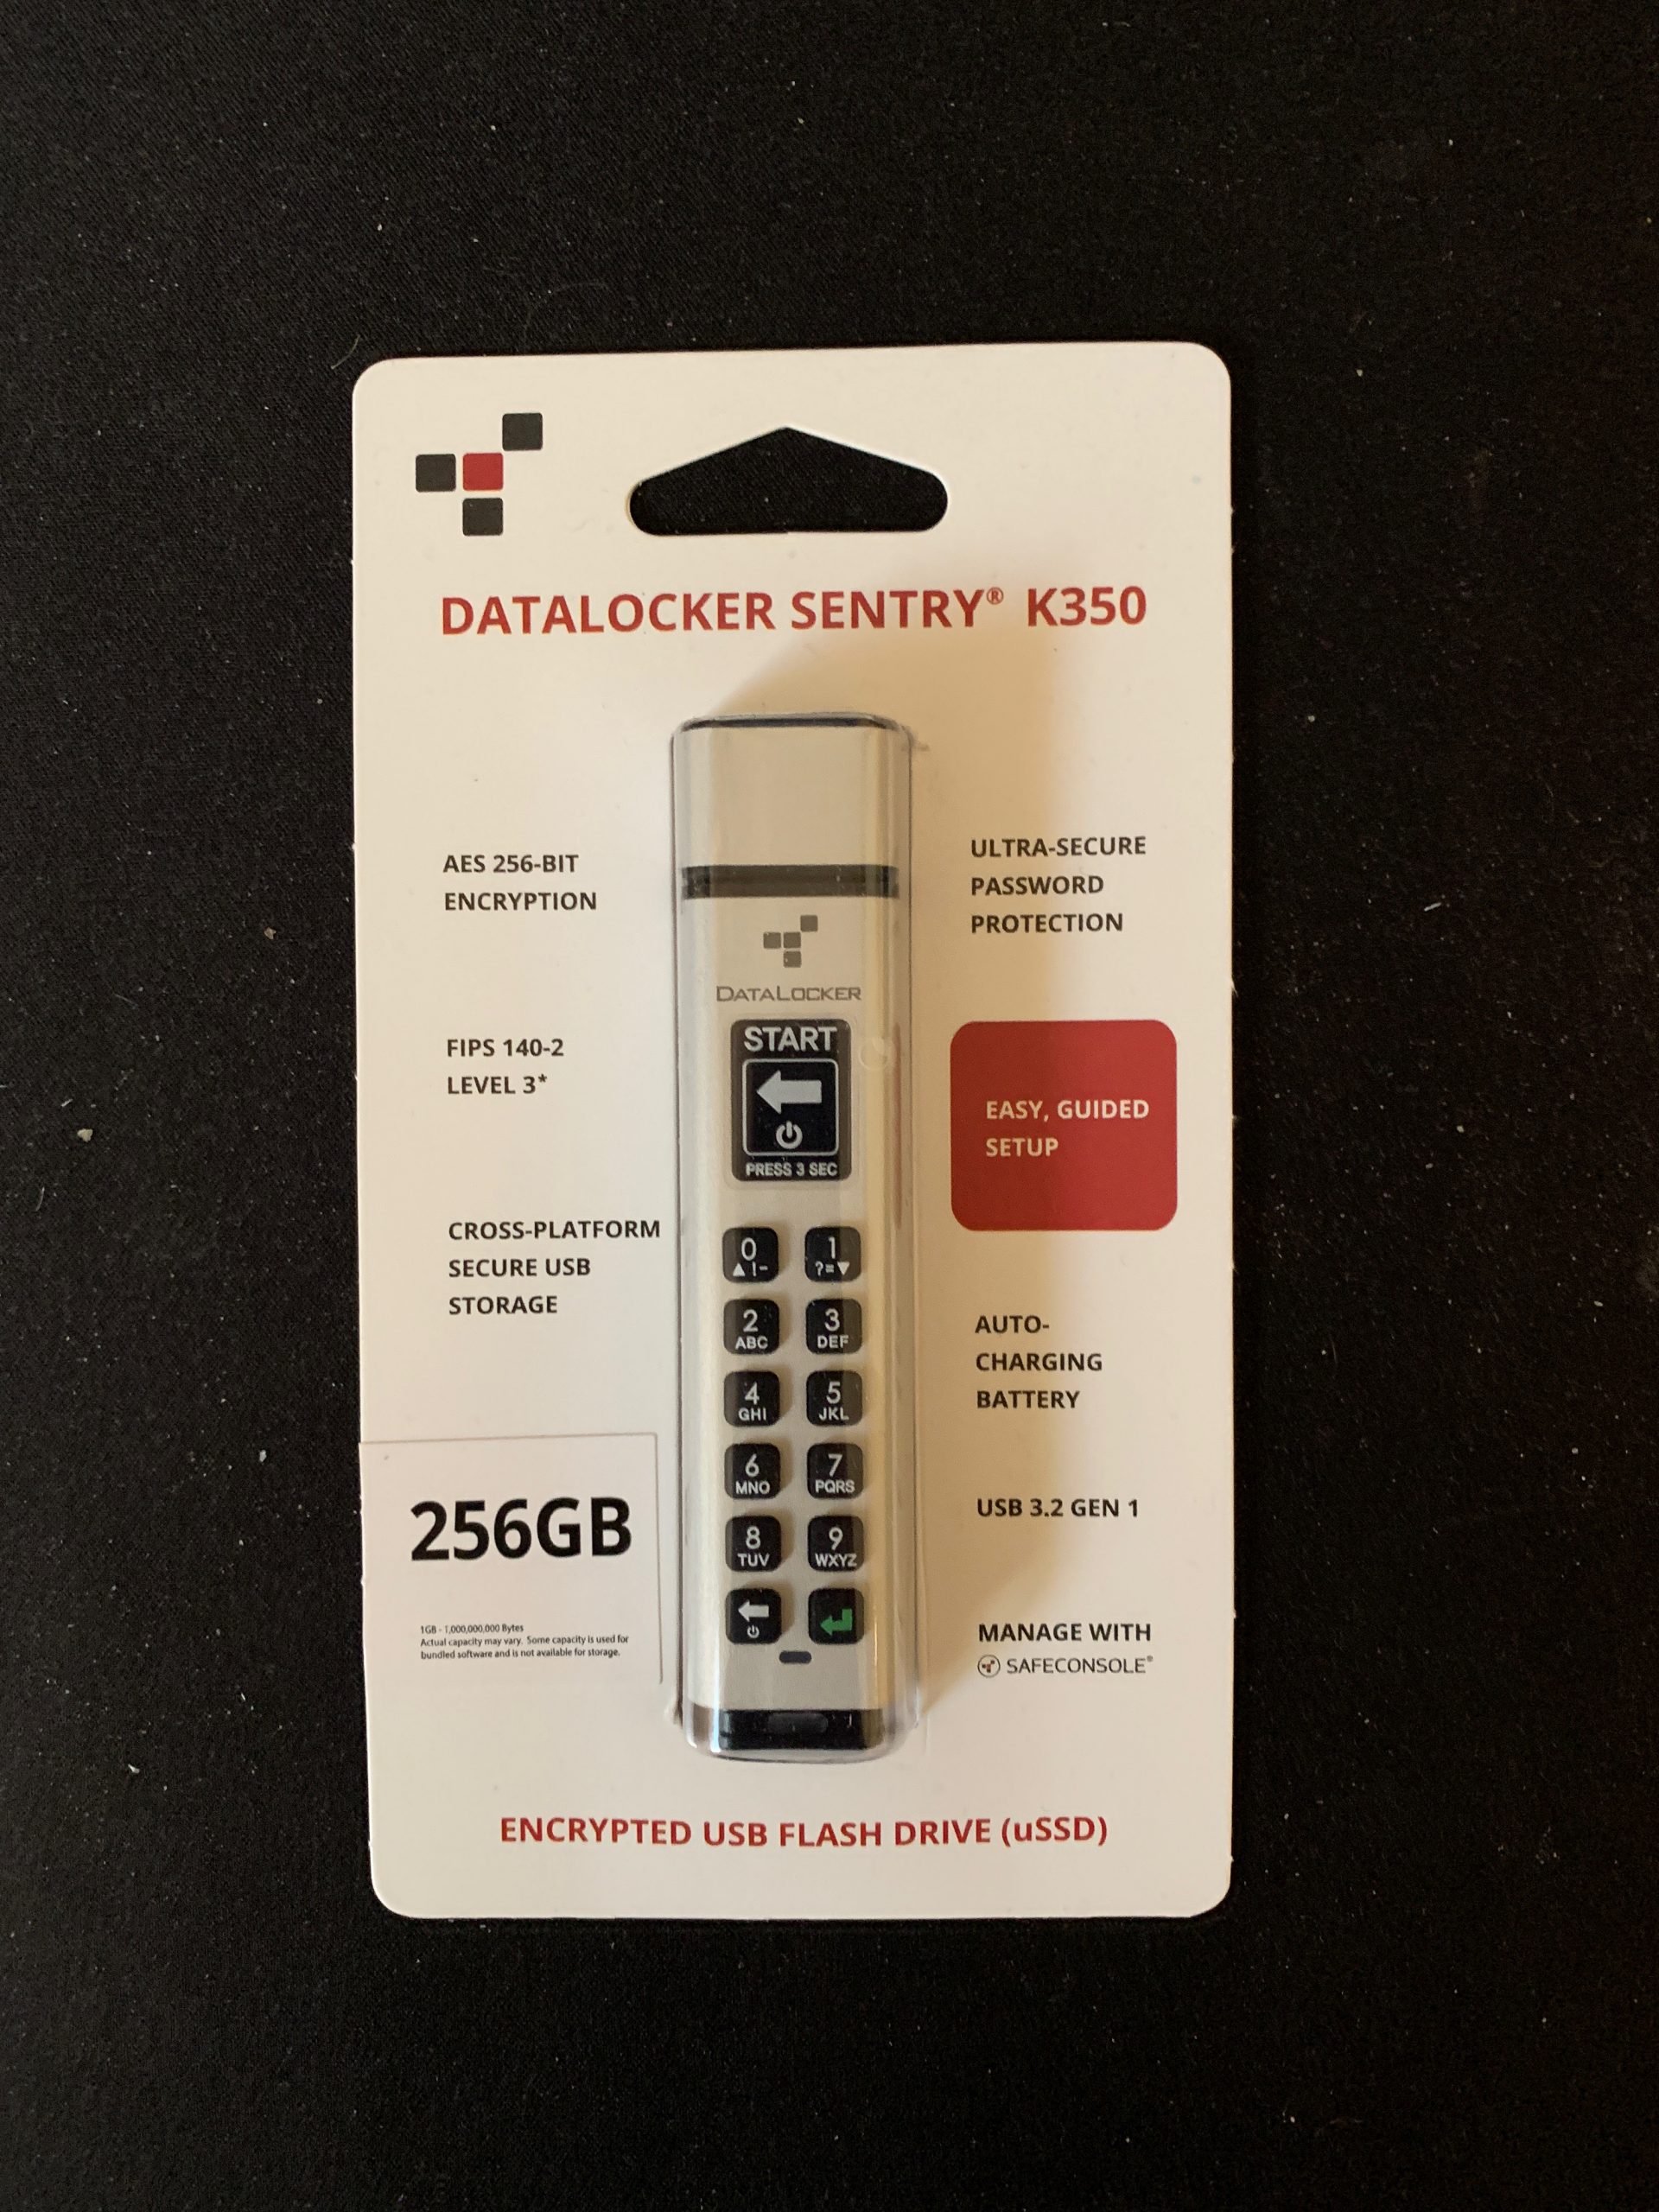
The DATALOCKER SENTRY K350 is packaged in a clear plastic blister pack on heavy cardboard stock. Like the USB drive itself, there is no easy way into the packaging so we used a small razor blade to open the edge of the plastic holder.

Inside the package is the DATALOCKER SENTRY K350 which includes a metal cap to cover, and protect the integrated USB-A connector at the top of the device.
That’s it! There are no extra parts, no user manual or other accessories.
That said, on the back of the card with some basic instruction and reference to a Quick Start Guide and a User Manual, both available on the DATASTORE web site. You can view a copy of the Quick Start Guide here, and the User Manual here.
DATALOCKER SENTRY K350 – Specifications
The DATALOCKER SENTRY K350 measures 3.92” long x .77” wide x .43” deep (9.98 cm x 1.98 cm x 1.11 cm), and weighs just 0.77lbs (35 grams). The outer case appears to be made of aluminum or a light weight composite material. The included protective cap has a rubber lining that acts as both a cushion for the USB-A port as well as contributing to the IP67 rating.
The inside of the DATALOCKER SENTRY K350 has an epoxy coating to protect the internal components as well as protecting the drive itself from tampering.
Internally the drive carries FIPS 140-2 Level 3 Certification and uses AES 256-bit hardware encryption and integrates a Common Criteria EAL 5+ certified secure microprocessor.
The integrated USB-A plug is compatible with USB 3.2 Gen 1 and USB 2.0. We were a little disappointed that DataLocker did not include a USB-A to USB-C adapter, given that most Macs today use the newer USB-C port style. Fortunately, this is an easy issue to correct by using a simple adapter.
In reality, using a USB-A design probably makes the most sense since it is still the most widely used cross platform port style. We also guess that most people may already use these adapters for other legacy peripherals they have.
The face of the DATALOCKER SENTRY K350 has a twelve (12) key alpha-numeric keyboard, which covers the numbers 0 – 9, the letters A – Z, some special characters, a Back Space and an Enter key. There is also a small LED screen that measures approx.. 7/16” wide x 5/8” long, which displays feedback of key presses and the drive status. Finally, below the keyboard is a blue LED indicator to show disk activity.
On the bottom of the driver is a small plastic end where you can attach a lanyard.
Earlier this year, we reviewed the DATALOCKER DL4-FE Encrypted SSD (read our review here). That was the first time we encountered a built in screen on an encrypted hard drive. So it wasn’t a surprise to see a similar setup in the DATALOCKER SENTRY K350.
The big difference is that while the DL4-FE needed to be connected to your computer, or a powered hub to function, the DATALOCKER SENTRY K350 has a self-contained lithium-ion polymer battery that powers the drive and is automatically recharged, when connected to your Mac.
Given the smaller size of the K350, we think this is an excellent idea and makes the use of the drive much easier.
Like most (or all) of the encrypted hard drives we have tested, the DATALOCKER SENTRY K350 is platform agnostic and runs on macOS, Microsoft Windows, Linux or any platform that supports a USB mass storage device.
DATALOCKER SENTRY K350 – Set-up
While we recommend you review the User Manual, or at least the Quick Start Guide before using the DATALOCKER SENTRY K350, the folks at DATALOCKER have made it pretty easy to get up and running.
Out of the package, the screen is covered by a sticker with a graphic to press the Backspace button for 3 seconds. This starts the drive, which runs a quick self-test and then asks you to create a password.
Password creation/entry is accomplished using the integrated keyboard. This is a bit of a throw-back to the early days of cell phones as the keys use the multi-touch format, meaning that the value of a particular key changes with the number of presses. For example, pressing the #2 key once shows a 2 on the screen. Wait 1 second and press it again and the value on the screen changes to A, another press makes it B and a fourth press C. You get the idea. Using this style allows you to create an unlimited number of passwords, making the potential for unauthorized entry near impossible.
Of course, this also assumes you use a strong password. The DATALOCKER SENTRY K350 helps with that by requiring a password that is at least 8-characters long and it prevents passwords that have consecutive numbers like, 12345678, 78901234, etc. There is also an option in the built-in Administrator Menu to require a password to have at least 1 letter, 1 number and 1 special character, and change the password length.
When you create an initial password, the DATALOCKER SENTRY K350 will ask you to enter it a second time (the second entry is only required the first time you set a password). Assuming you have a password match the drive will present you with a menu to Connect, and show a diagram instructing you to connect your drive to a USB-A port.
We connected the drive to the USB-A port of our CalDigit SOHO Dock and the screen shows an unlocked icon and it immediately mounted to our desktop.
In addition to the option to connect your drive, the initial menu also offers option to set the drive in READ-ONLY mode, BOOT MODE, which allows you to boot an installed operating system stored on the device, and MENU, which give access to the drive’s configuration menu.
The configuration menu is quite powerful and gives the user a variety of options to control the drive.
Menu Option Details Change Password Change the current login password Set User Configure a user profile (ADMIN only) SafeConsole Used to configure self-destruct counters and methods (ADMIN only) Zeroize Drive Zeroize the device (ADMIN only) Strong Password Enable various password options (ADMIN only) Password Length Set the minimum password length (ADMIN only) Auto-lock Time Modify the length of time before the device auto-locks Read-Only Mode Enable or disable forced read-only mode (ADMIN only) Keypad Preference Set letters to appear first on password entry (ADMIN only)
There is also the ability to do things like set a lock-out timer, a self-destruct code and a silent kill code.
For more details on what each of these options do, please consult the User Manual.
The DATALOCKER SENTRY K350 provides the option to set both an Administrator and User Password. As you can see in the chart above, the Administrator has the ability to set certain functions to protect the drive and its data, as well as restrict the user from doing unauthorized functions with the drive.
DataLocker also offers SafeConsole. This is their version of a remote management option which we have seen from other hardware encrypted drive providers. Currently, SafeConsole is a Windows only product so we could not test it. That said, in reviewing the SafeConsole information in the User Manual and the DataLocker web site, this appears to be a robust remote management option that would provide excellent remote management for organizations, large and small, that needs to deploy sensitive data to remote locations.
DATALOCKER SENTRY K350 – Test Results
Setting up the initial password was straightforward. We did notice that initially, we were a little too aggressive at how quickly we entered the individual characters and instead of entering the next character, we actually selected the second character for the same key. Once we realized what was happening, and watched what character was displayed on the screen, we made a slight pause after each key press to allow the character to register.
Once we connected the DATALOCKER SENTRY K350 to our MacBook Pro, it acted like any other USB drive. Unlike most of the other encrypted drives we have tested, there were no manuals or files on the DATALOCKER SENTRY K350. We actually appreciate this since you are free to reformat the drive if needed, without fear of erasing what might be important documentation in the future.
As we mentioned earlier, the DATALOCKER SENTRY K350 does not come with a way to connect to a USB-C port. We attempted to use one of our USB-A to USB-C adapters to connect the DATALOCKER SENTRY K350 directly to our Mac, and got some interesting results.
Using the adapter, we plugged the drive into our Mac but the drive did not register that it was connected and it did not mount on our desktop. In addition, the Mac had a kernel panic and the drive gave us an error code and locked up for a few minutes.
Our initial thought was that the drive and the adapter were not compatible. Just to verify that, after the drive became responsive again, we plugged the drive into the USB-C port on our CalDigit hub and to our surprise, the drive connected immediately and mounted on our desktop.
We’re not sure why the direct connection to our Mac didn’t work. It is obviously not the drive or the adapter, but something was off. We can’t really say this was a negative of the drive since it did work, but we thought it was important to mention this.
At the end of our testing, we wanted to see what would happen if we zeroed out the drive. Following the menu instruction we deleted all of the data, the password, etc. The drive restarted and asked us to once again create an initial password.
The Bottom Line
There are certainly no shortage of hardware encrypted USB drives on the market. Each manufacturer seems to have their own ideas on how they should be designed and operate and the DATALOCKER SENTRY K350 is no exception.
The built-in battery and LED screen makes this one of the easiest drives to navigate. We love the ability to use the keypad before having to connect the drive to your computer and since the Mac will recharge the internal battery, you should never have an issue with not being able to use the drive.
The DATALOCKER SENTRY K350 comes with a full complement of administrative feature including some that we didn’t have the space to discuss here but trust us, your data should be extremely safe on the DATALOCKER SENTRY K350.
The DATALOCKER SENTRY K350 comes in 16GB, 64GB and 256GB sizes and all have a 3-year limited warranty. The DATALOCKER SENTRY K350 is available from a variety of Resellers and you can find the list here.
We would like to thank the folks at DataLocker for providing the DATALOCKER SENTRY K350 for our testing and review.
Do you use a hardware encrypted USB drive? What do you like about it? Why not join the conversation and leave a comment below?
If you liked this article, please consider sharing it with your friends and leaving a comment below. Also, don’t forget to “Like” us on Facebook and add the Apple Tech Talk channel to your Apple News app.
Apple Tech Talker

Leave a Comment
You must be logged in to post a comment.