
Last week, we introduced you to the Epson EcoTank ET-8500 Photo Printer (read Part 1 of our review here). In that review we discussed the unboxing and set-up of the printer and got it connected to our wireless network. We also provided a review of what is an EcoTank printer, and reviewed the economics of Epson’s bottled ink vs. the more familiar ink cartridges.
With all of that done, it’s time to see just what the Epson EcoTank ET-8500 Photo Printer can do.
Disclosure: Apple Tech Talk participates in various affiliate marketing programs and may receive compensation if you purchase a product through one of our links, and/or in the form of product donations from the companies whose products we review . Unless otherwise specifically stated, Apple Tech Talk does not receive any other compensation for its reviews. The opinions expressed are based solely on our independent testing, are our own and are not shared with anyone prior to release on our site.
Apple Tech Talk Scorecard
| Pros | Cons |
| Exceptional Print Quality | Output tray does not retract automatically when powered off |
| Excellent paper handling | |
| Easy to use phot application included |
Epson EcoTank ET-8500 Photo Printer – General Printer Operation
Like most wireless printers, the Epson EcoTank ET-8500 Photo Printer takes care of itself once it is set-up.
Copying was straight-forward and the touch-screen made quick work of our copy jobs allowing a full choice of settings for the copy type, quantity of copies, whether the copy was color or B&W, copy size reduction, etc.
Scanning can be done directly from the touch screen or using the Epson Scan application , which we have used for all of our Epson printer and Scanner testing.
The Epson EcoTank ET-8500 Photo Printer was added into the Epson Scan application with no issues and is now a menu selection along with our other Epson devices on the network. The Epson Scan software recognized that the Epson ET-8500 is a phot scanner and provides scanning options for photos as well as documents, which do not appear for the other non-photo devices.
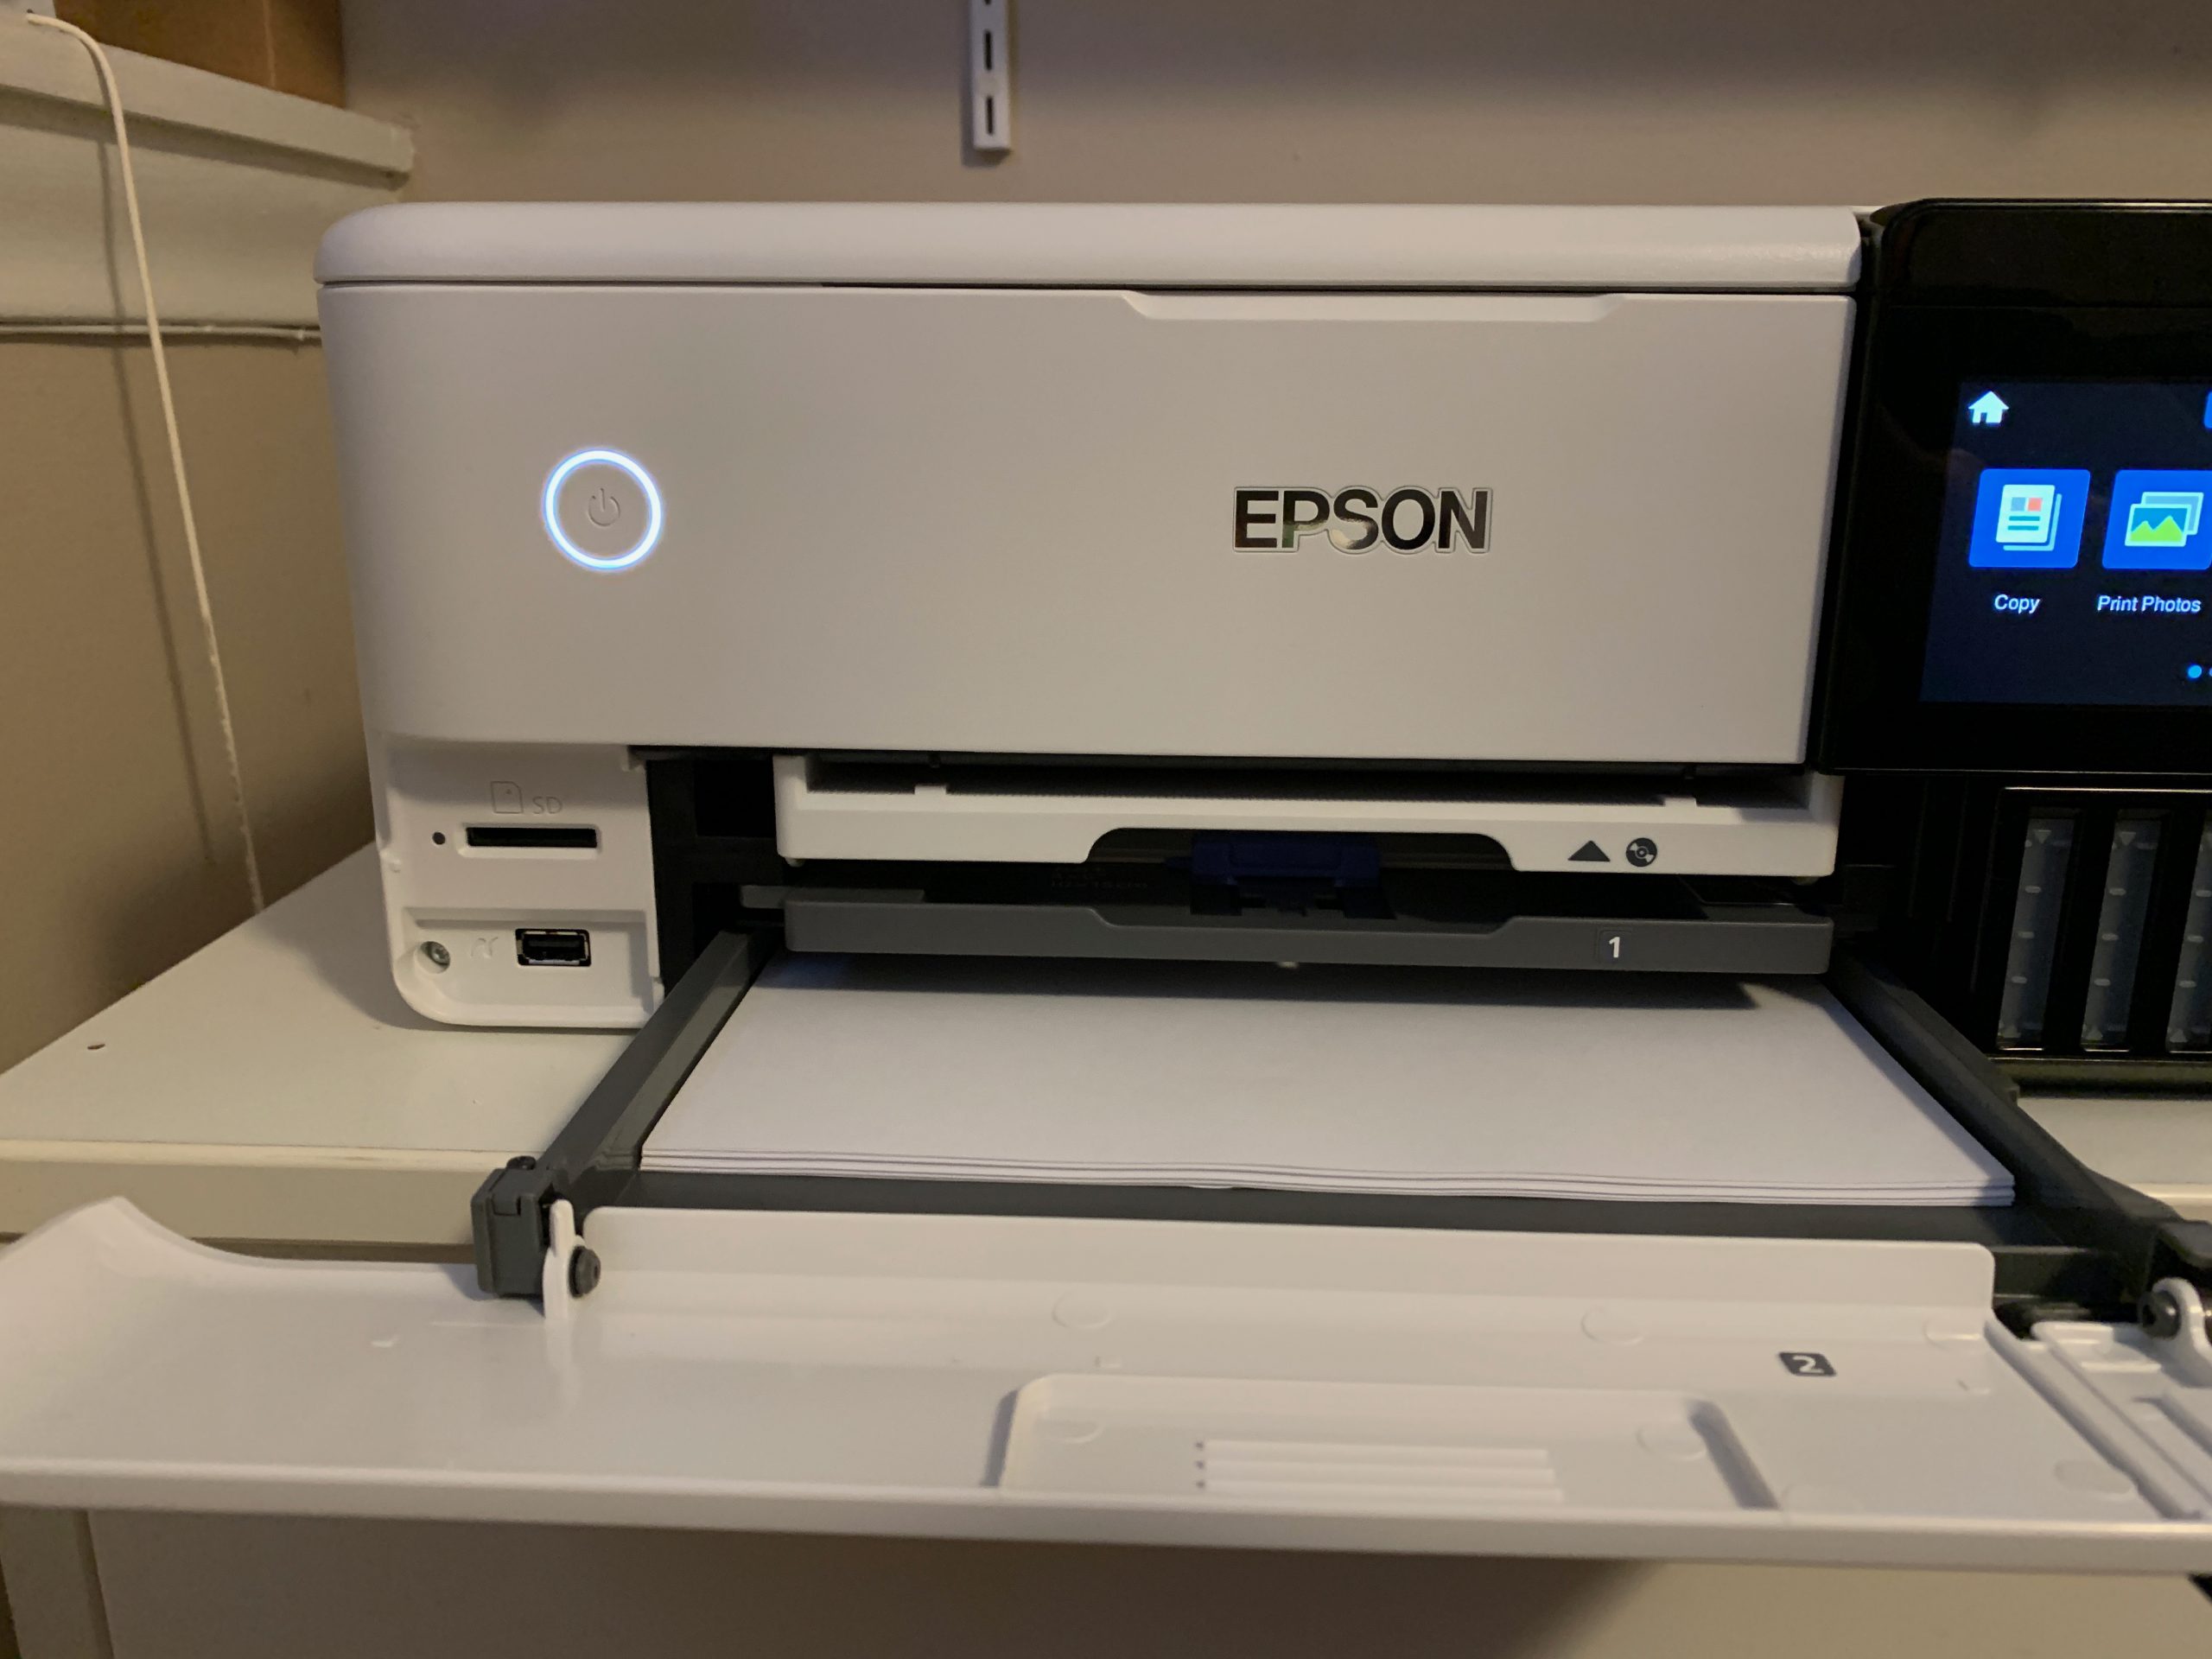
The printer has three (3) paper trays. Tray 1 is intended specifically for 4 x 6 photo paper, Tray 2 holds the 8.5 x 11 paper but can also be adjusted to hold 5 x 7 and 4 x 6 paper. This can be very handy for people using the printer primarily for photos as you can print a small 4 x 6 print as a test and then print a larger 5 x 7 or 8 x 10 without having to change paper. This also allows you to have plain paper in tray 2 and 4 x 6 photo paper in Tray 1 so you can print small photos and documents without changing paper.
Located on the bottom of Tray 2 is the CD carrier which allows you to print directly to a printable CD.
There is a third paper tray on the rear of the printer which provides a straight paper path for thicker card stock or specialty papers.
With the combination of paper trays, we could print documents, small photos and large photos, without having to change any paper settings.
The printer allows you to designate what paper is being used in each tray. This not only allows the printer to automatically select which tray to use for a specific print job, i.e. photo vs. document, but adjusts the ink output to match the specific paper type (more on that in a moment).
The Output tray sits on top of Tray 1 and automatically extends when a print job starts There is also an LED which lights up above the output tray.
We like the way Epson handled the Output Tray on the ET-8500. Since you can retract the tray after you are dome with printing, it allows for a smaller storage footprint and you do not have to remember to extend the tray as it automatically extends when the printing starts. If you have not opened the front cover, the tray will push it open as it extends and the front cover closes when the tray retracts back into the printer.
When you have finished using the printer, you can touch a button of the touch screen to return the Output Tray to its stored position. We were disappointed to see that, if you power off the printer before retracting the tray, the printer will not automatically retract it. This seems like an oversight in the design, especially given that you can set the printer to automatically power off after a set time. This leaves the printer off, with the Output Tray extended and the front cover partially or fully open. Perhaps, if it is something that can be addressed by a firmware update, Epson could address it in the future.
Here’s a quick video to show you more about the Epson EcoTank ET-8500 Photo Printer.
Epson EcoTank ET-8500 Photo Printer – Document Output
Although the Epson EcoTank ET-8500 is classified as a photo printer, most people would not want to invest in a printer for documents and a separate printer for photos. Fortunately, the Epson EcoTank ET-8500 Photo Printer has no trouble pulling double duty.
In our first round of tests, we used the Epson EcoTank ET-8500 Photo Printer much as we did the Epson EcoTank ET-2760 (read Part 1 of our review here and Part 2 here). We copied several documents in both color and black & white, as well as scanned documents of various types, sizes, colors and quality. We also printed a variety of Word documents, Excel spreadsheets and pdfs.
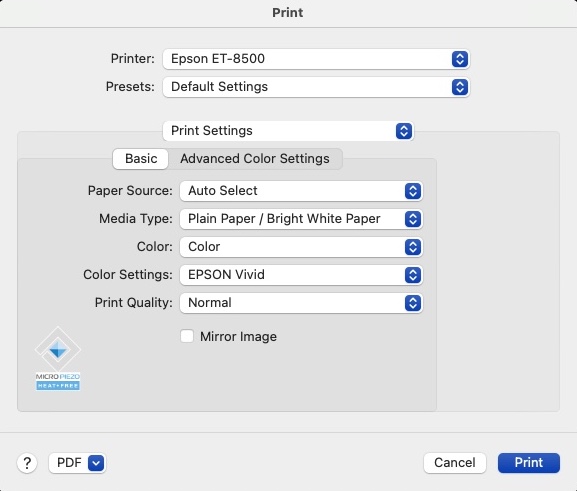
The print driver is well designed and gives you all the control you would expect. Like most Mac print drivers, there are multiple options for things like layout, paper handling, color matching and printer setting. The Epson EcoTank ET-8500 Photo Printer also supports two-sided printing.
In all cases, the Epson EcoTank ET-8500 Photo Printer performed well. Even when using generic copy paper, text was clear and crisp and the colors were accurate for graphics and diagrams, even when using the “Normal” printer setting. If finer output is needed, you have the option of selecting a “Fine” or “Best Quality” output. While this does sharpen the output, it slows the print speed significantly. In our tests, it was hard to tell the difference since the output was consistently excellent.
Epson EcoTank ET-8500 – Photo+ App
While the Epson print driver and Epson Scan application takes care of the basic printing and scanning functions, the photo printing is best handled by the Epson Photo+ app, which was installed as part of the original software installation.
Upon using the app for the first time, you are asks for permission to access most of the places you would store a photo, and even some places you might not. This includes Desktop, Documents, Pictures, including your Photo library and any other folders in the Picture folder and other hard drives directly connected to your Mac. We were also happy to see that we could see any photos on our Synology NAS, once we mounted the share on our Mac.
This is a one-time process and on subsequent use of the app, it opens directly to the main screen.
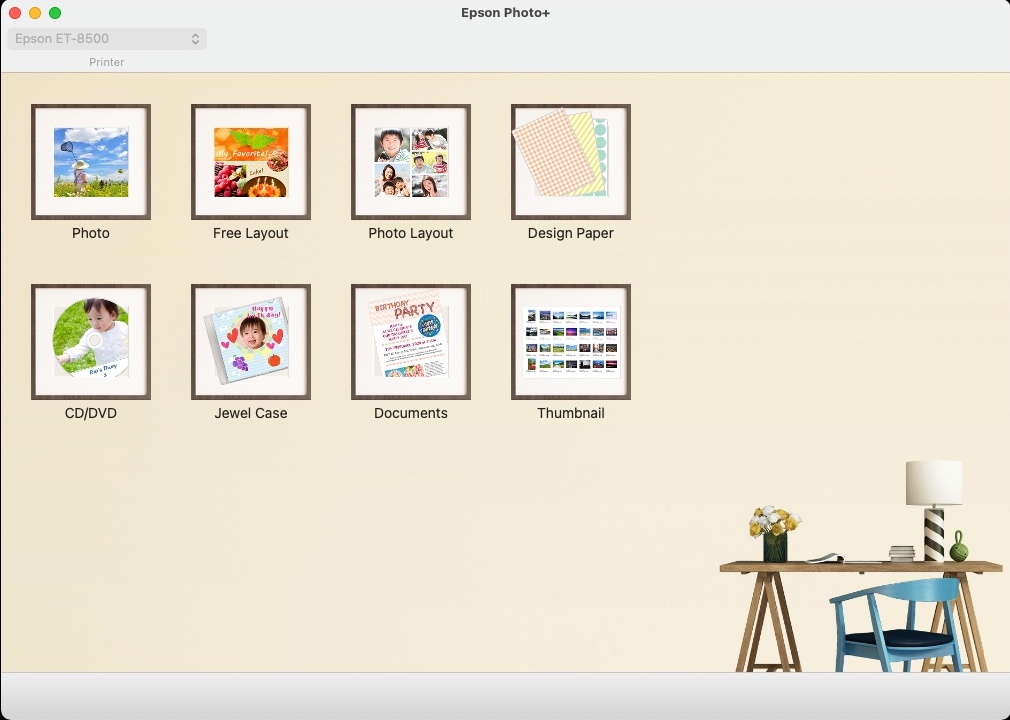
The first screen of the Epson Photo+ app is very basic and looks a little dated. But don’t be fooled by its simplicity. This is a powerful, full-featured app.
As you can see above, the app has options for a wide variety of projects. While we can’t cover each one in detail, we wanted to show you the variety of layout options that are possible with just a few clicks.

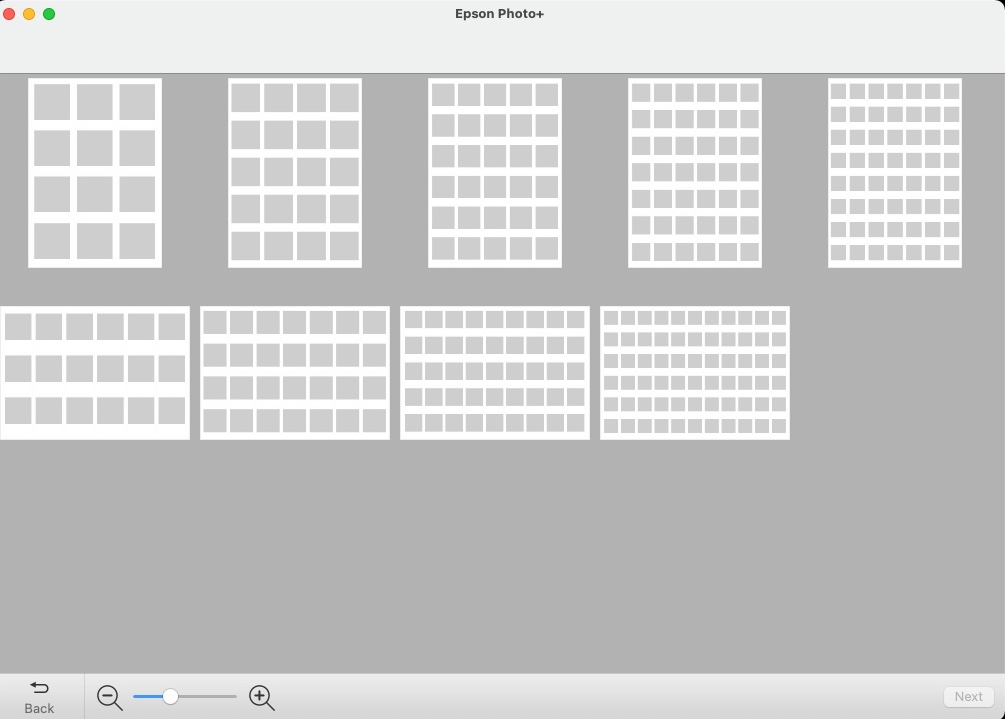
Any one of these options would provide a great time saver. Having all of these options in a single app only enhances the abilities of the Epson EcoTank ET-8500.
For the purposes of our testing, we wanted to focus on the ability to print single photos, with the understanding that the quality of that output would carry through to any of the options selected in the Epson Photo+ app. So to get started, we selected Photo from the main screen.
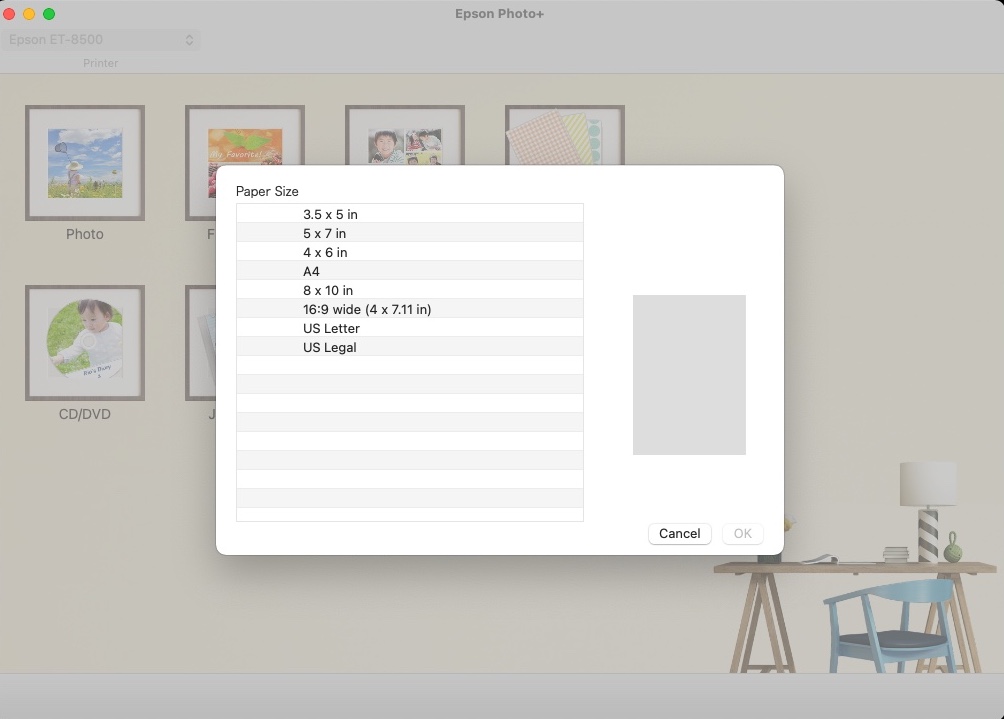
You are then asked to select the paper size, which is the size of the print you want to output.

That opens a window with all of your allowed photo locations but it defaults to the photo library on our Mac. From there you can select one or more photos that you want to print. Once the photo(s) are selected, you are presented with the main photo screen.
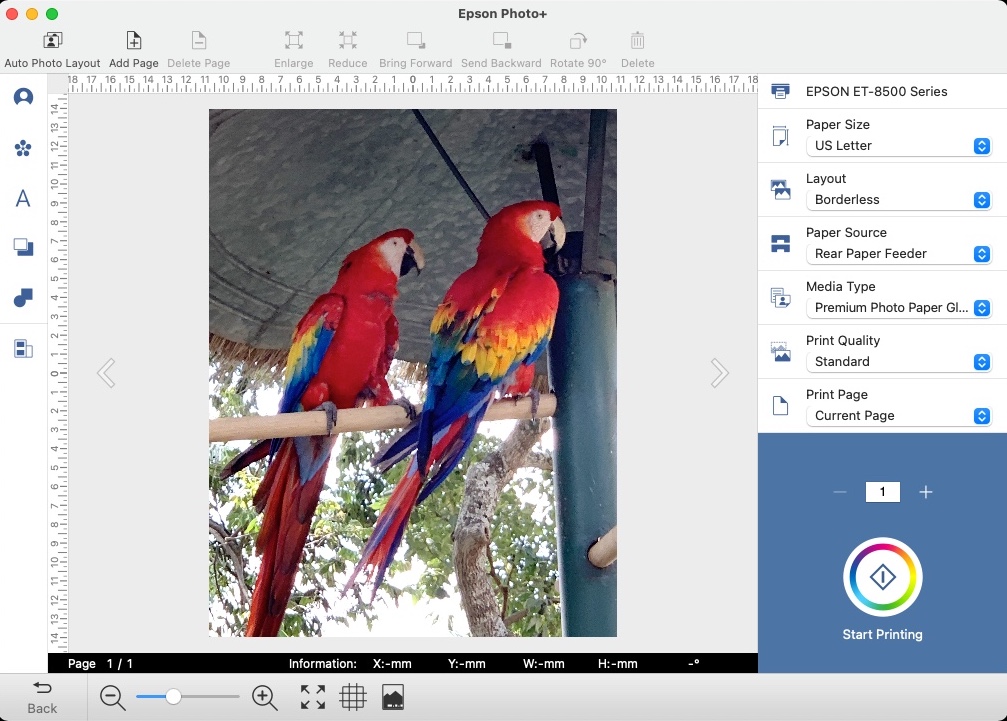
This is where you get to make the final adjustments to the photo and select your output options. You have options to select paper size, whether the photo will have a border or be borderless, the paper tray to be used, the type of paper, print quality and the page(s) to print.
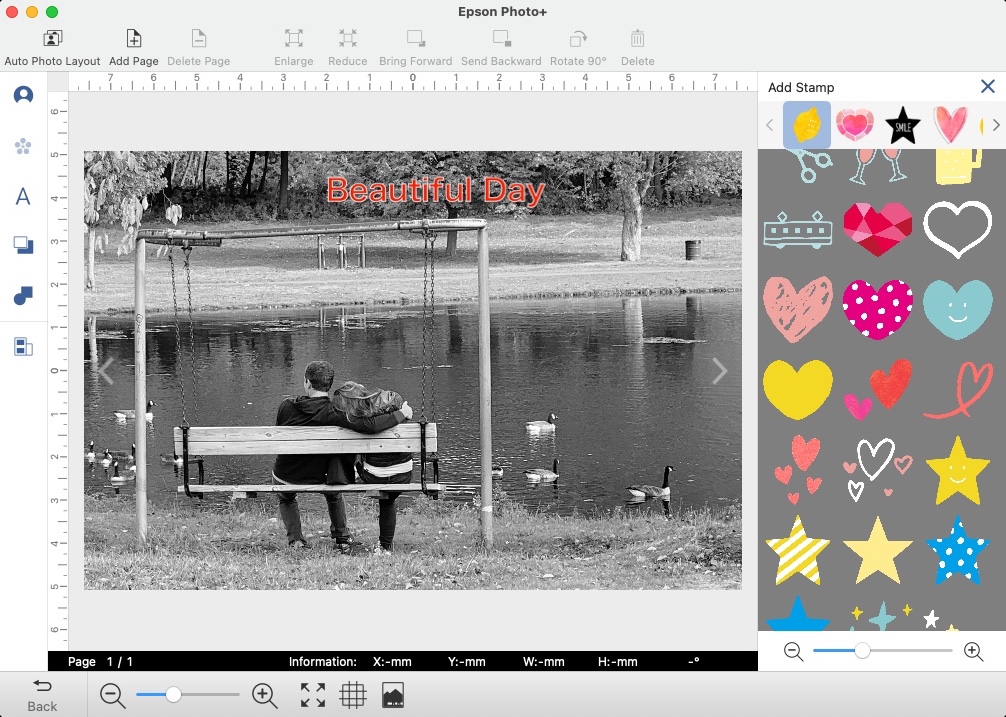
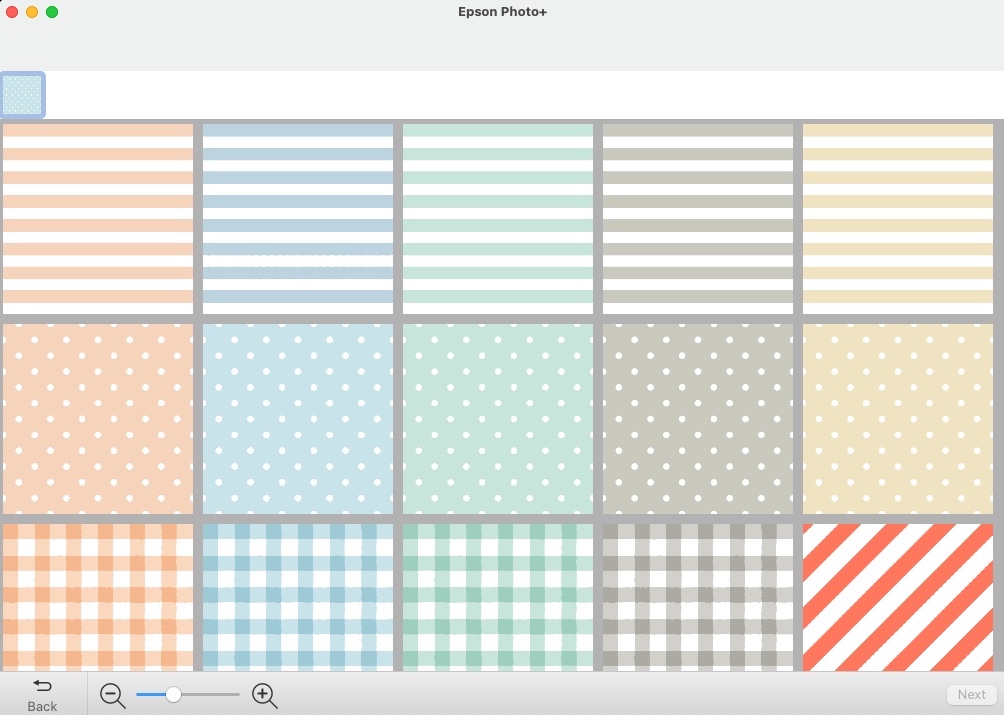
On the left side of the screen are other options which allow you to do things like add text, stickers, shapes and more to make the photo unique. We would see this being a great option for things like invitation, baby announcements or anything where you want to accent the picture with a message.
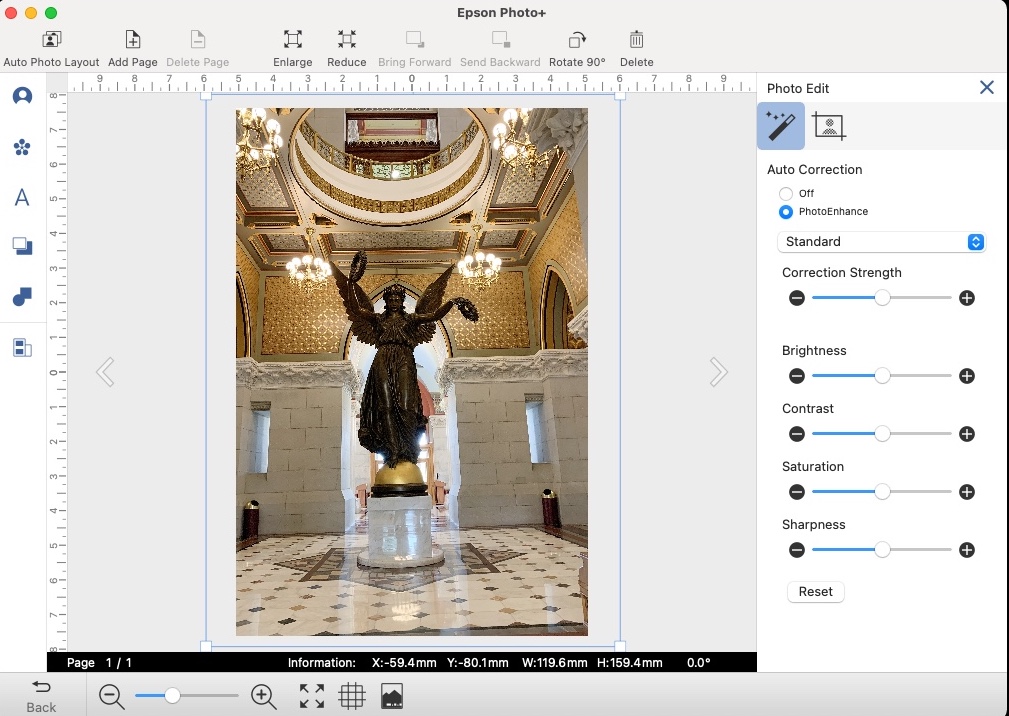
Clicking on the picture itself opens an adjustment pallet for color saturation, brightness, contrast, etc.
In our case, not being professional photographers, we just accepted the photo as presented, which included the built in photo enhancement. That said, someone with more skills would certainly be able to make further refinements.
We are not suggesting this is a replacement for an application like Photoshop, but we think you will agree that for a free application included with the printer purchase, Epson Photo+ offers a lot of control over a single photo or a whole host of other photo projects.
There is also a version of the Photo+ app for the iPhone and iPad which allows you to print directly from your mobile device and have many of the same features of the desktop application.
The Bottom Line
It’s great that the Epson EcoTank ET-8500 Photo Printer can print documents and has some great software included at no charge. But this is a “photo printer”. So how well does it print photos? For the answer to that question and a lot more interesting information, we invite you to check out Part 3 of our review next week. (Jump to Part 3 of our review here.)
If you liked this article, please consider sharing it with your friends and leaving a comment below. Also, don’t forget to “Like” us on Facebook and add the Apple Tech Talk channel to your Apple News app.
Apple Tech Talker

How do you correctly power off this printer?
Not in the manual!
The paper tray is electric & automated, comes out automatically when you print.
Is it supposed to automatically go back in when you power off? Or do you have force/push it back in manually?
Not in the manual!
This is a terrible printer, poor manual, I would not buy it again. HP from now on.
Hi Mike, thanks for your comment. We actually raised this issue in our review.
You are correct that when you send a print job to the printer, the output tray automatically comes out, opening the front panel in the process. Unfortunately, it does not automatically retract when the print job is done, or more importantly, when the printer is powering off.
What we have found is when you are ready to power off the printer, make sure you are on the Home screen of the printer. You should see a button that says Output Tray. Press the button and the tray will retract. You can then power off the printer.
We raised this issue with Epson after our review and suggest they try to come up with a firmware update that would retract the output tray before the printer is powered off. To date, there is no update.
Hope this helps.
I can’t follow the instructions on the back of the printer which purport to show you how to fit the drive unit for the rear printer slot. Can you help?
I have no trouble using the rear tray (or any of the other trays for that matter), it’s just this slot for printing one-off pieces of paper or thick card.
The manual doesn’t mention how to install the drive unit for the slot. I can see where it comes out of the back of the unit where it’s stored for delivery but can’t connect it up so I can use it